
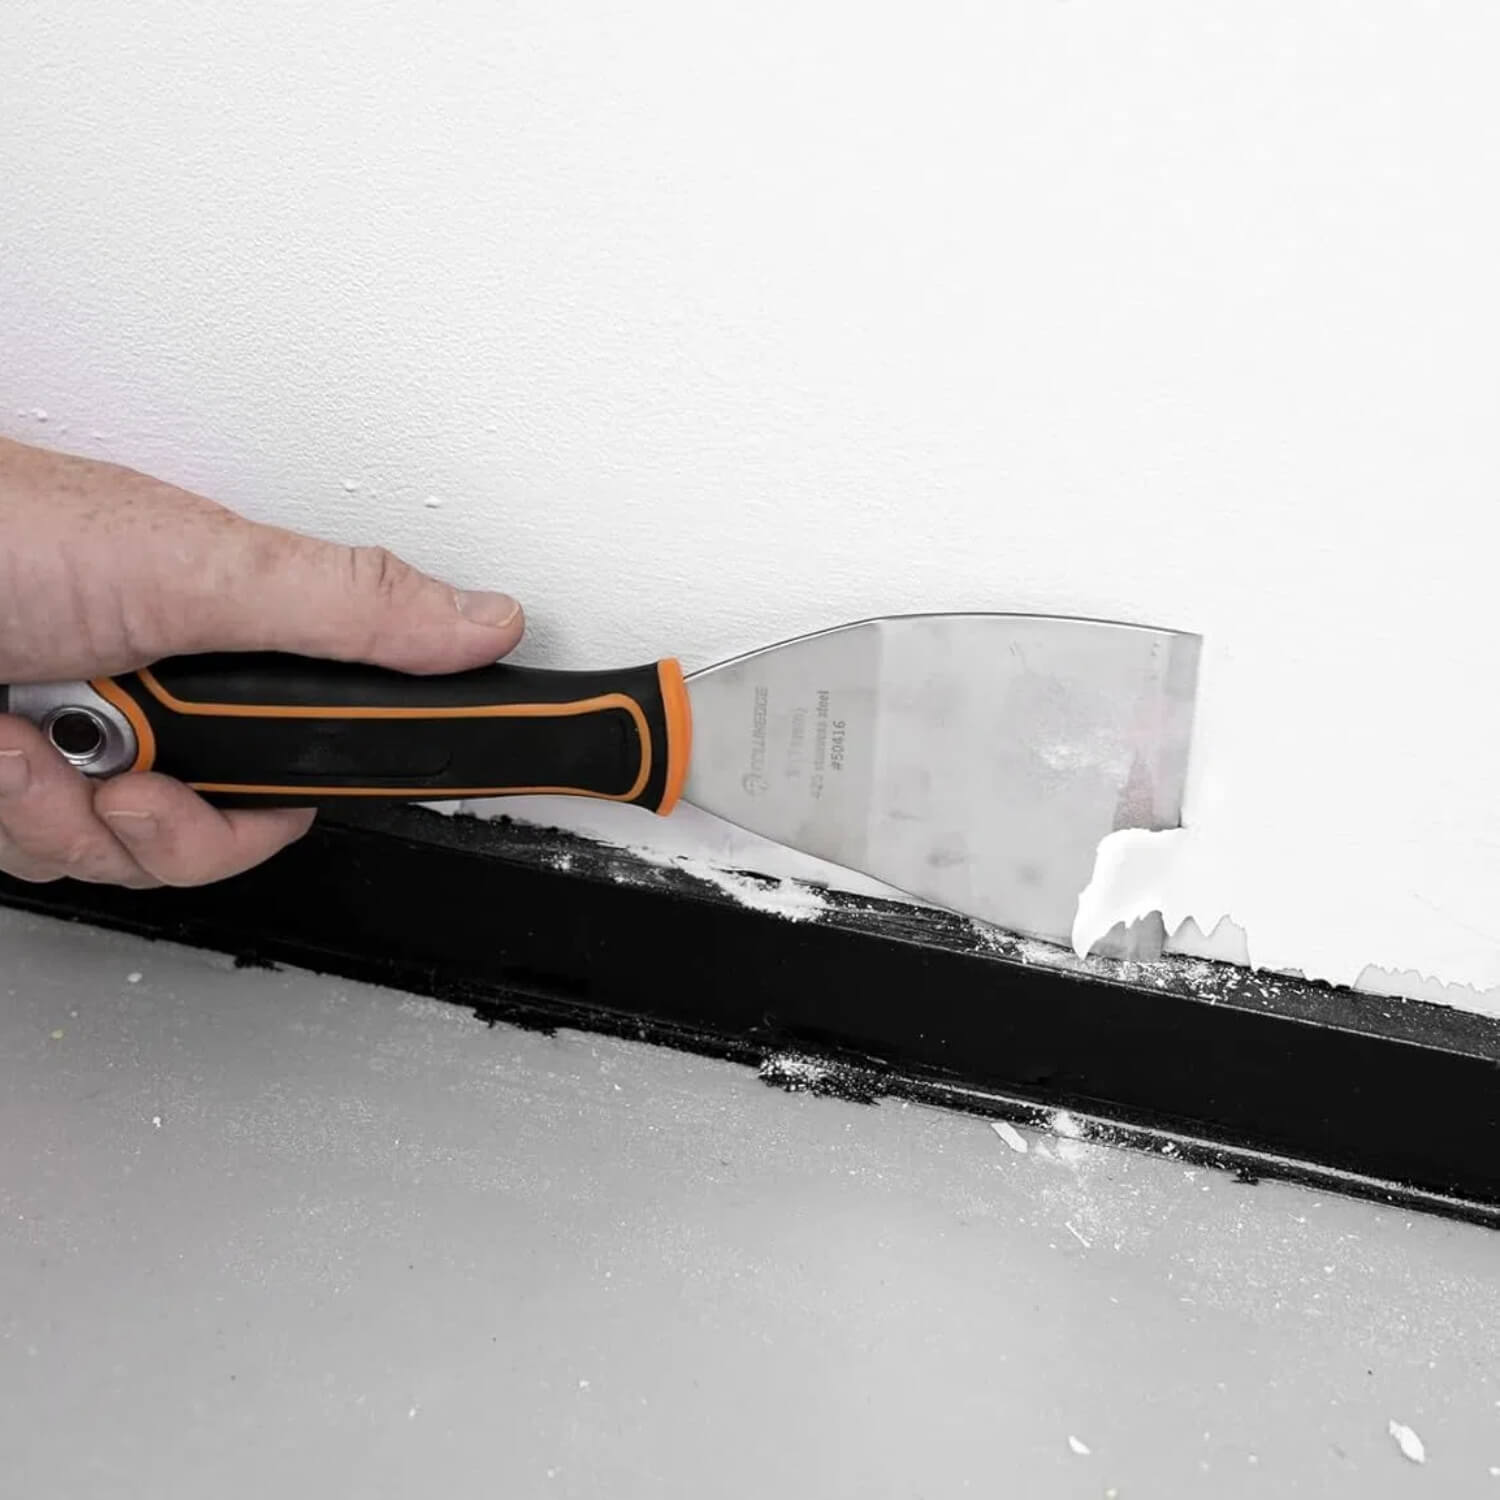
How to Use a Putty Knife
A putty knife is a simple but practical tool for painting, wall repair, and surface preparation.
It can be used to apply filler, patch small holes, smooth repaired areas, remove loose paint, and clean away old putty or surface residue.
Using a putty knife correctly depends on several factors. You need to choose the right blade for the task, prepare the surface properly, control the amount of material, and maintain a steady blade angle and pressure.
The following steps explain how to use a putty knife for common scraping, filling, and smoothing tasks.
Prepare the Tools and Surface
Before starting, prepare the tools and materials required for the project.
You may need:
- A putty knife
- Putty, spackle, wood filler, or joint compound
- Sandpaper or a sanding sponge
- A clean cloth
- A drop cloth
- Safety glasses
- Work gloves
- A dust mask
Surface preparation is also important.
Inspect the repair area for dust, grease, loose paint, and other surface debris. Make sure the surface is dry before beginning. If the filler needs to be mixed or prepared, follow the manufacturer's instructions.
Step-by-Step Guide
Step 1: Choose the Right Putty Knife
Select the putty knife according to the task.
Use a stiff blade for scraping loose paint, old putty, wallpaper edges, or hardened residue.
Use a flexible blade for applying filler, filling holes and cracks, and smoothing the repaired surface.
Step 2: Hold the Putty Knife Correctly
Grip the handle firmly with your dominant hand.
Place your index finger along the top of the handle if you need more control. Keep your wrist in a natural position and avoid gripping the tool too tightly.
A stable grip makes it easier to control the blade angle and apply consistent pressure.
Step 3: Maintain the Right Blade Angle
When applying filler, hold the blade at a low angle to the surface.
An angle of around 30 degrees can be used as a starting point. A lower blade angle helps spread the material, while a slightly steeper angle makes it easier to remove excess filler.
When scraping, keep the blade at a low angle and avoid pushing the corner directly into the surface. This can reduce the risk of scratches or damage.
Step 4: Scrape Away Loose Material
Before applying filler, remove any loose or damaged material from the repair area.
Use a stiff blade to scrape away:
- Loose or peeling paint
- Cracked old putty
- Loose wallpaper
- Adhesive residue
- Flaking material
Start from an edge that is already loose. Keep the blade at a low angle and push it forward with short, steady movements.
Avoid forcing the blade into firmly bonded material, as this may scratch or damage the surface.
Step 5: Clean the Repair Area
After scraping, remove dust, chips, and other debris. Make sure the repair area is clean and dry, with no loose material remaining around the hole or crack.
A properly prepared surface helps the filler bond more effectively.
Step 6: Apply, Fill, and Smooth the Material
Use the flat surface of a flexible blade to pick up a small amount of putty, spackle, or filler.
Press the material firmly into the hole or crack. Make sure it fills the damaged area instead of only covering the surface.
Then, move the putty knife smoothly across the repair while maintaining steady pressure. Spread the material evenly in one direction.
Wipe the blade clean, hold the knife at a slightly steeper angle, and pass it over the surface again to remove excess material.
The goal is to bring the repaired area close to the level of the surrounding surface and reduce visible ridges or blade marks.
For larger repair areas, work in manageable sections to keep the material even and prevent it from drying before it is smoothed.
Step 7: Let the Material Dry
Allow the filler to dry completely.
Drying time varies depending on the material, thickness, temperature, and humidity. Follow the manufacturer's instructions.
Do not sand or apply another layer while the filler is still wet.
Once dry, check whether the repair has shrunk or formed a low spot.
Step 8: Apply Another Layer if Needed
A second layer may be needed when:
- The hole is deep
- The material shrinks while drying.
- The first layer does not fully cover the damaged area.
- The repair remains lower than the surrounding surface.
Apply the second layer in a thin coat and smooth it in the same way.
Allow it to dry completely before sanding.
Step 9: Sand the Repaired Area
Once the filler is dry, lightly sand the repaired surface.
Use fine sandpaper or a sanding sponge to smooth the ridges and blend the repair into the surrounding area.
Avoid sanding too aggressively, as this may remove too much filler or damage the nearby surface.
After sanding, wipe away the dust before priming or painting.
Step 10: Clean the Putty Knife
Clean the blade before the remaining material hardens. Follow the material manufacturer's cleaning instructions, then dry the blade thoroughly and store the tool in a dry location.
Common Mistakes to Avoid
Applying Too Much Pressure
Too much pressure can damage drywall paper, scratch the surface, or push filler out of the repair.
Use firm pressure when filling a hole, then reduce the pressure while smoothing the surface.
Skipping Surface Preparation
Dust, grease, loose paint, and surface debris can prevent filler from bonding properly.
Always clean and dry the repair area before applying equipment.
Using Too Much Material
Applying too much filler can increase drying time and create more sanding work.
It may also cause the repaired area to sit higher than the surrounding surface.
Use small amounts and add another layer if necessary.
Holding the Blade Too Upright
Holding the blade at a steep angle can remove too much filler or leave visible marks.
Keep the blade at a controlled angle and adjust it gradually as needed.
Failing to Work in Sections
Trying to cover a large area at once can make it difficult to maintain an even layer.
The material may also begin drying before it has been smoothed.
Work in smaller sections to maintain better control.
Rushing the Drying Process
Sanding or recoating filler before it has dried can pull material out of the repair and create an uneven surface.
Allow each layer to dry completely before continuing.
To use a putty knife effectively, choose the right blade, prepare the surface carefully, work with small amounts of material, and maintain a steady angle and pressure.
Allow each layer to dry fully, sand the repair carefully, and clean the blade before the material hardens.
With the right technique, a putty knife can make small repairs and surface preparation easier, cleaner, and more efficient.


