How to Paint Cabinets
To paint cabinets, remove the hardware, clean the surfaces, lightly sand or de-gloss the finish, apply primer if needed, then paint in thin, even coats.
Use an angled brush for edges, corners, cabinet frames, and recessed details. For larger flat areas, a small roller can help create a smoother, more even finish.
Painting cabinets takes patience, but it is one of the most effective ways to refresh a kitchen, bathroom, laundry room, or storage space without replacing the entire cabinet system.
Repurposing an Old Buffet
A real buffet makeover featuring ROLLINGDOG painting tools.

Step-by-step: How to paint cabinets
Step 1: Prepare the Workspace
Before you start painting, clear the area around the cabinets and protect nearby surfaces.
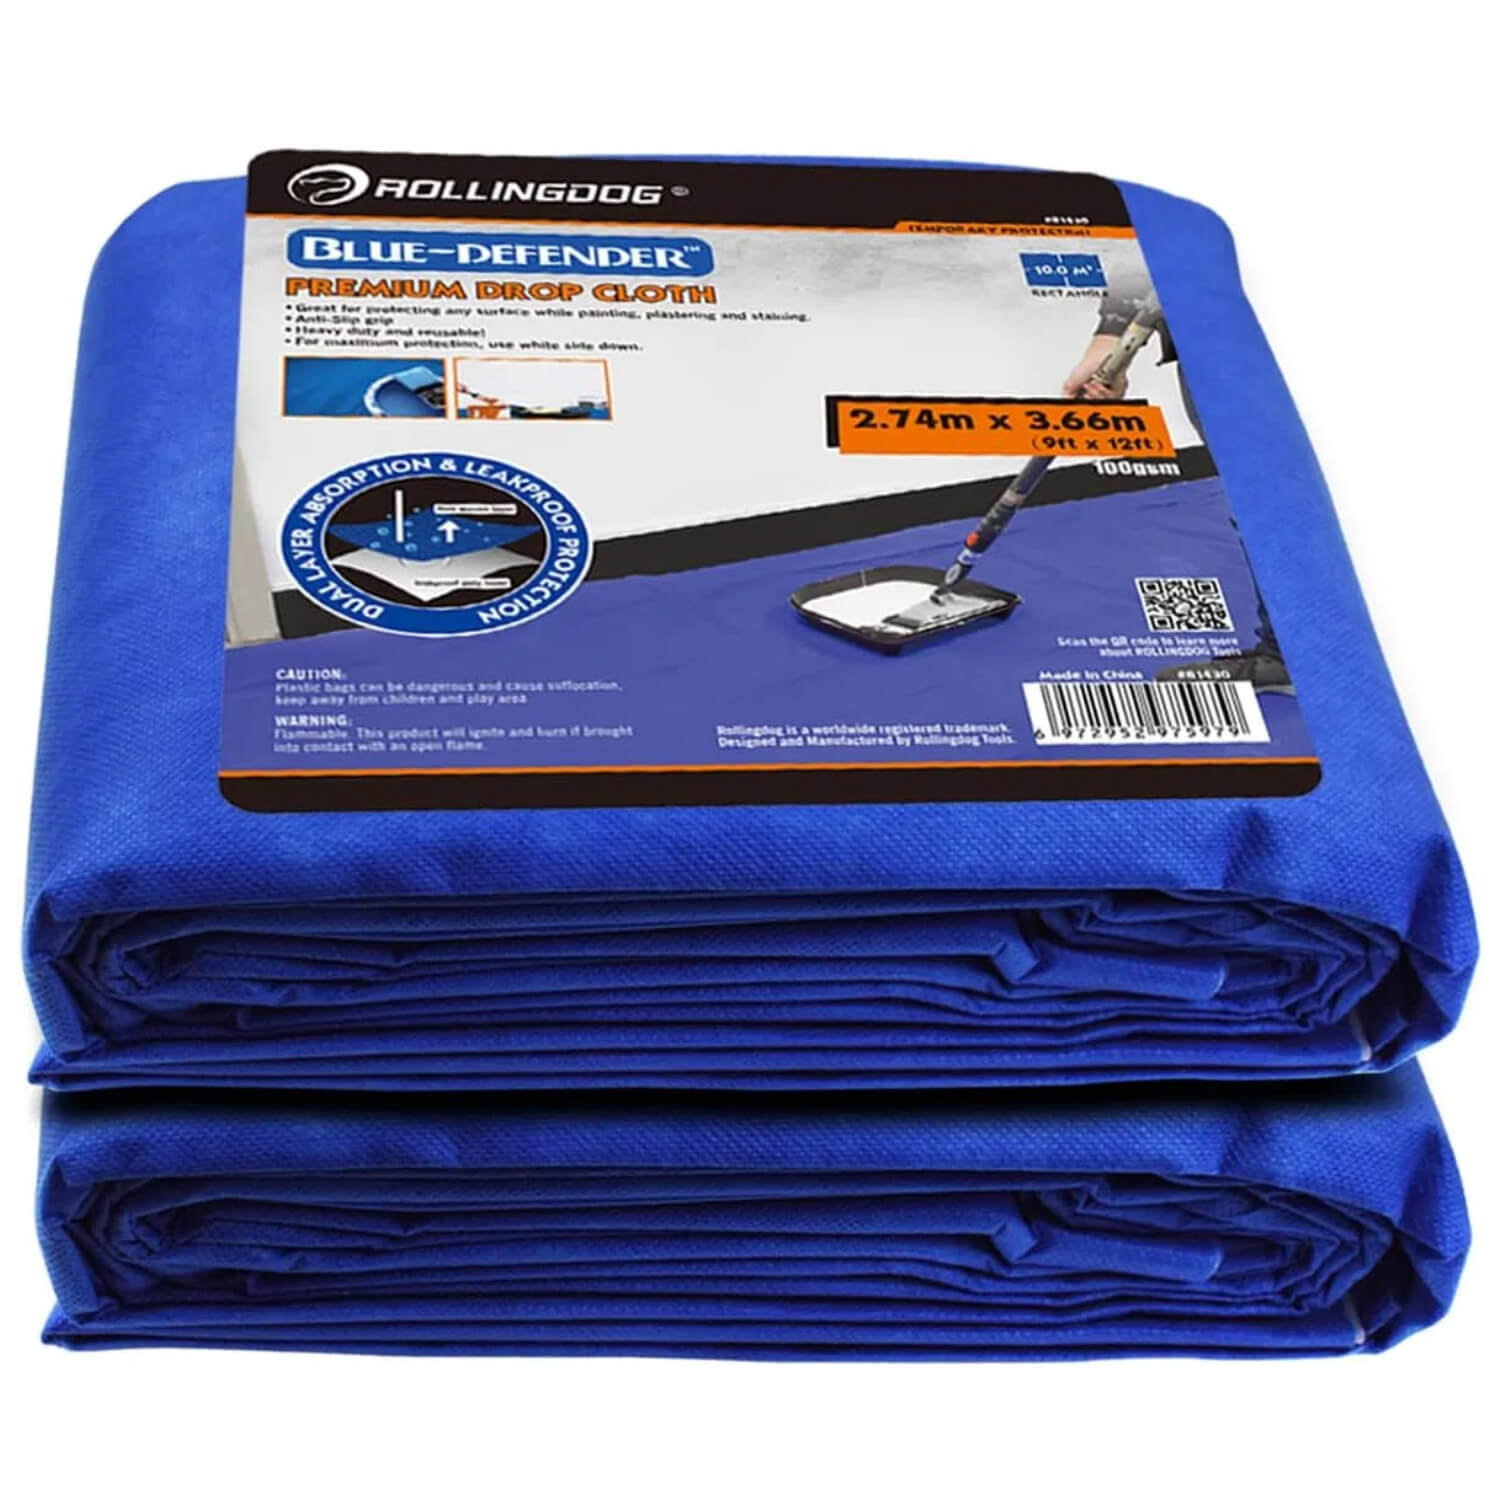
Lay down a drop cloth to cover the floor, countertops, or any area that may be exposed to dust or paint.
Step 2: Remove Hardware and Clean the Cabinets
Remove cabinet doors, drawers, knobs, pulls, and hinges if possible.
Next, clean the cabinet surfaces thoroughly. Cabinets often collect fingerprints, grease, dust, and residue, especially around handles and edges. Wipe the surfaces with a suitable cleaner and let them dry completely before moving on.
Step 3: Sand and Fill Gaps
Lightly sand the cabinet doors, drawer fronts, and frames to dull the existing finish, so the primer and paint can grip better.
If there are small holes, dents, cracks, or gaps, fill them before painting. Once the filler is dry, sand those areas smooth.
After sanding, remove all dust with a vacuum, tack cloth, or damp cloth. Make sure the surface is clean and dry before applying primer.
Step 4: Apply Primer If Needed
Primer is not always required, but it can be helpful in certain cabinet painting projects.
If your cabinets are made of raw wood, stained wood, glossy surfaces, laminate, or you are painting from a dark color to a much lighter color, applying primer can help the paint adhere better and create a more even base.
Primer is also useful if you have filled holes, dents, or gaps, as it helps cover repaired areas before painting.
Step 5: Paint the Cabinets
Start with the detailed areas first.
Use an angled brush to paint cabinet frames, corners, door edges, recessed panels, and trim details. The angled shape gives you better control in narrow spaces and helps create cleaner lines.
For larger flat areas, use a small roller to create a smoother and more even finish.
Step 6: Reinstall Drawers, Doors, and Hardware
Once the paint is dry and has had enough time to cure, carefully reinstall the cabinet doors, drawers, hinges, knobs, and pulls.
After everything is back in place, check the edges, corners, and hardware areas for any small touch-ups.
Tools You May Need
For a smoother cabinet painting project, prepare the tools before you start:
- Drop cloth
- Cleaning cloth
- Fine-grit sandpaper or sanding sponge
- Primer
- Cabinet paint
- Angled paint brush
- Small paint roller
- Paint tray
Painting cabinets is a detailed project, but it can completely change the look of a room.
The key is preparation: clean the surface, sand lightly, protect the area, and work in thin, controlled coats.
Take your time, let each coat dry properly, and your cabinets can look refreshed without a full replacement.
FAQ
Do I need to sand cabinets before painting?
In most cases, yes. Light sanding helps dull the existing finish and improves paint adhesion. You do not usually need to remove all the old finish unless it is peeling or damaged.
Can I paint cabinets without removing the doors?
You can, but removing the doors usually gives a cleaner result. It makes it easier to paint edges, avoid drips, and reach detailed areas.
Should I use a brush or roller for cabinets?
Use both. An angled brush works well for edges, corners, frames, and details. A small roller is better for larger flat areas.
How many coats of paint do cabinets need?
Most cabinets need two coats of paint after primer. Dark colors, light colors over dark surfaces, or heavily used cabinets may need additional coverage.
How do I avoid brush marks on cabinets?
Use thin coats, avoid overloading the brush, follow the direction of the surface, and lightly sand between coats if needed. For flat areas, use a small roller after brushing the details.
recommanded products

4 inch Paint Roller Set
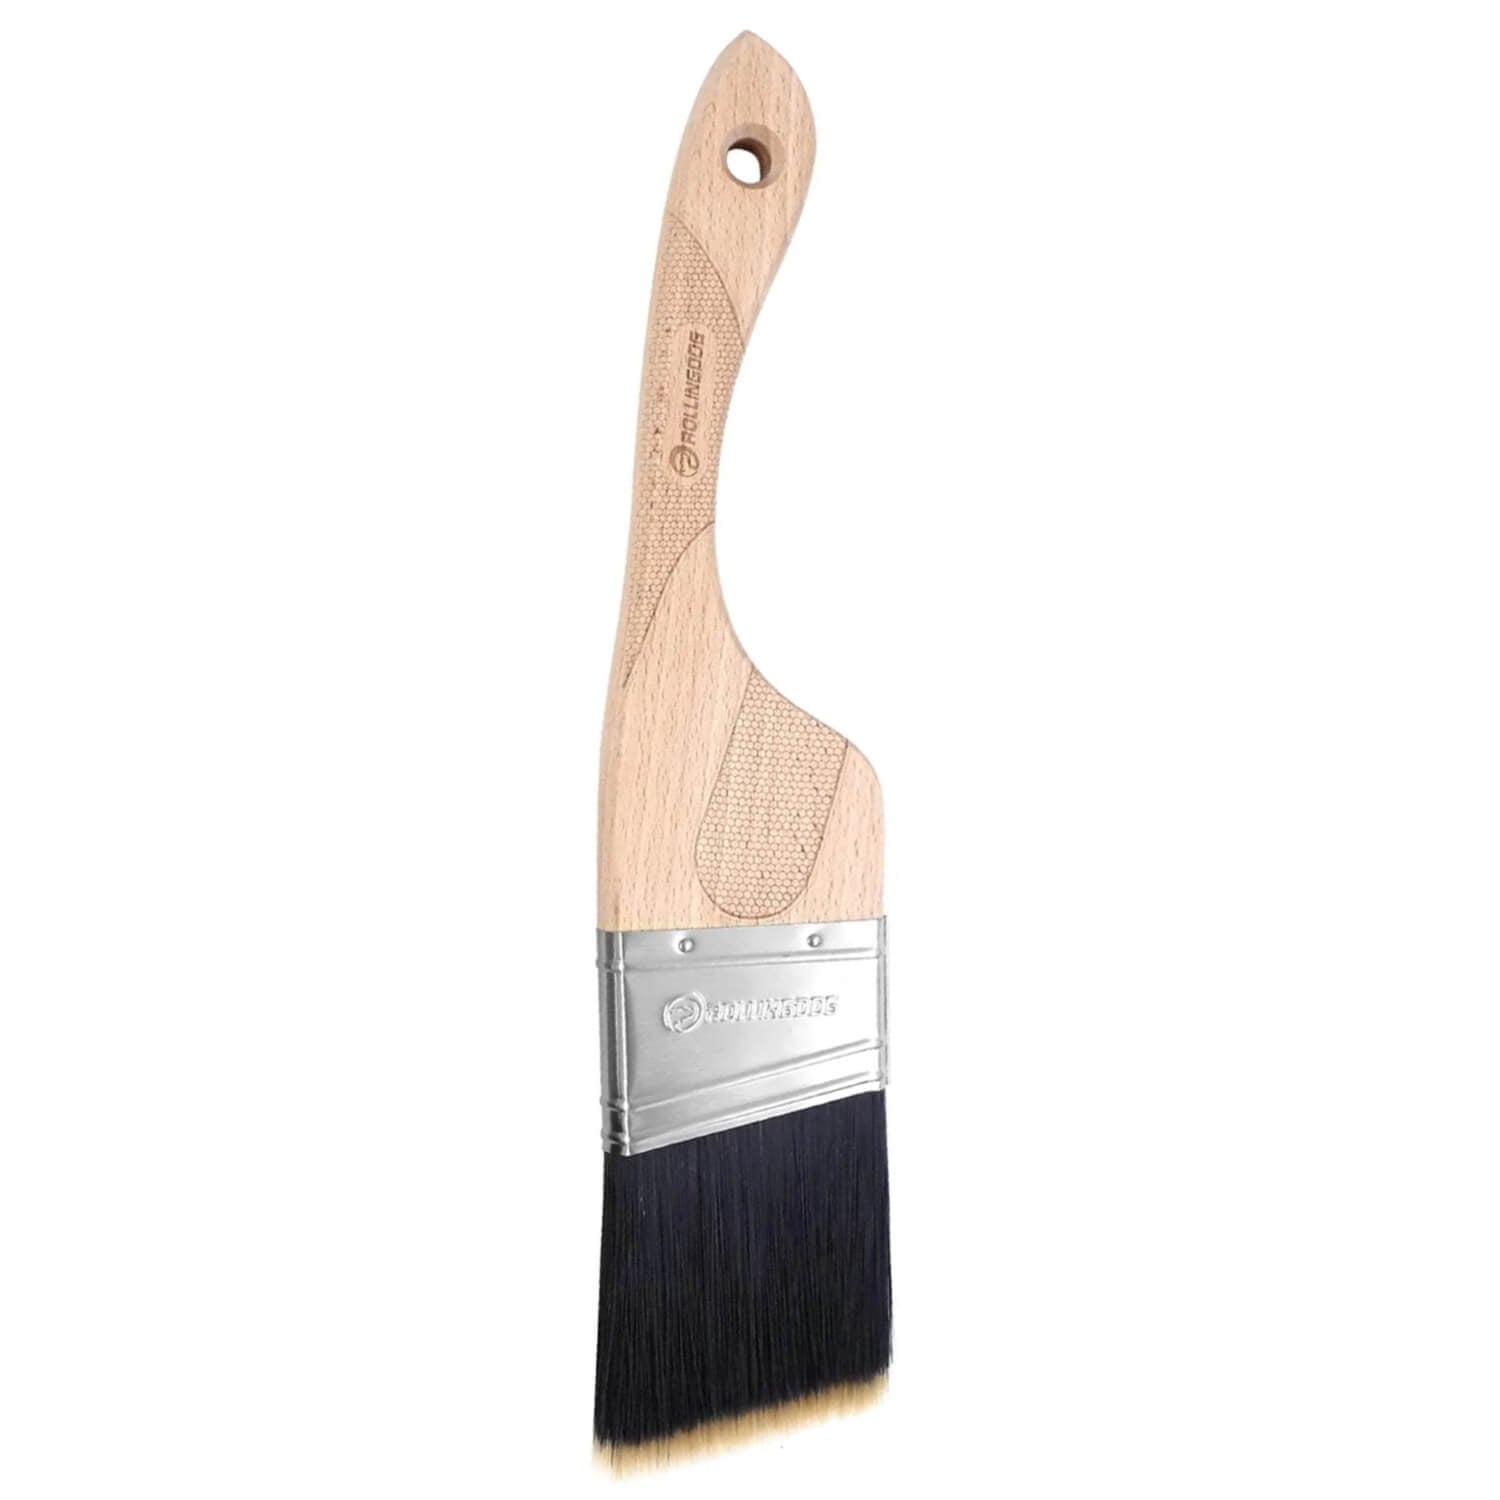
Angled Brush
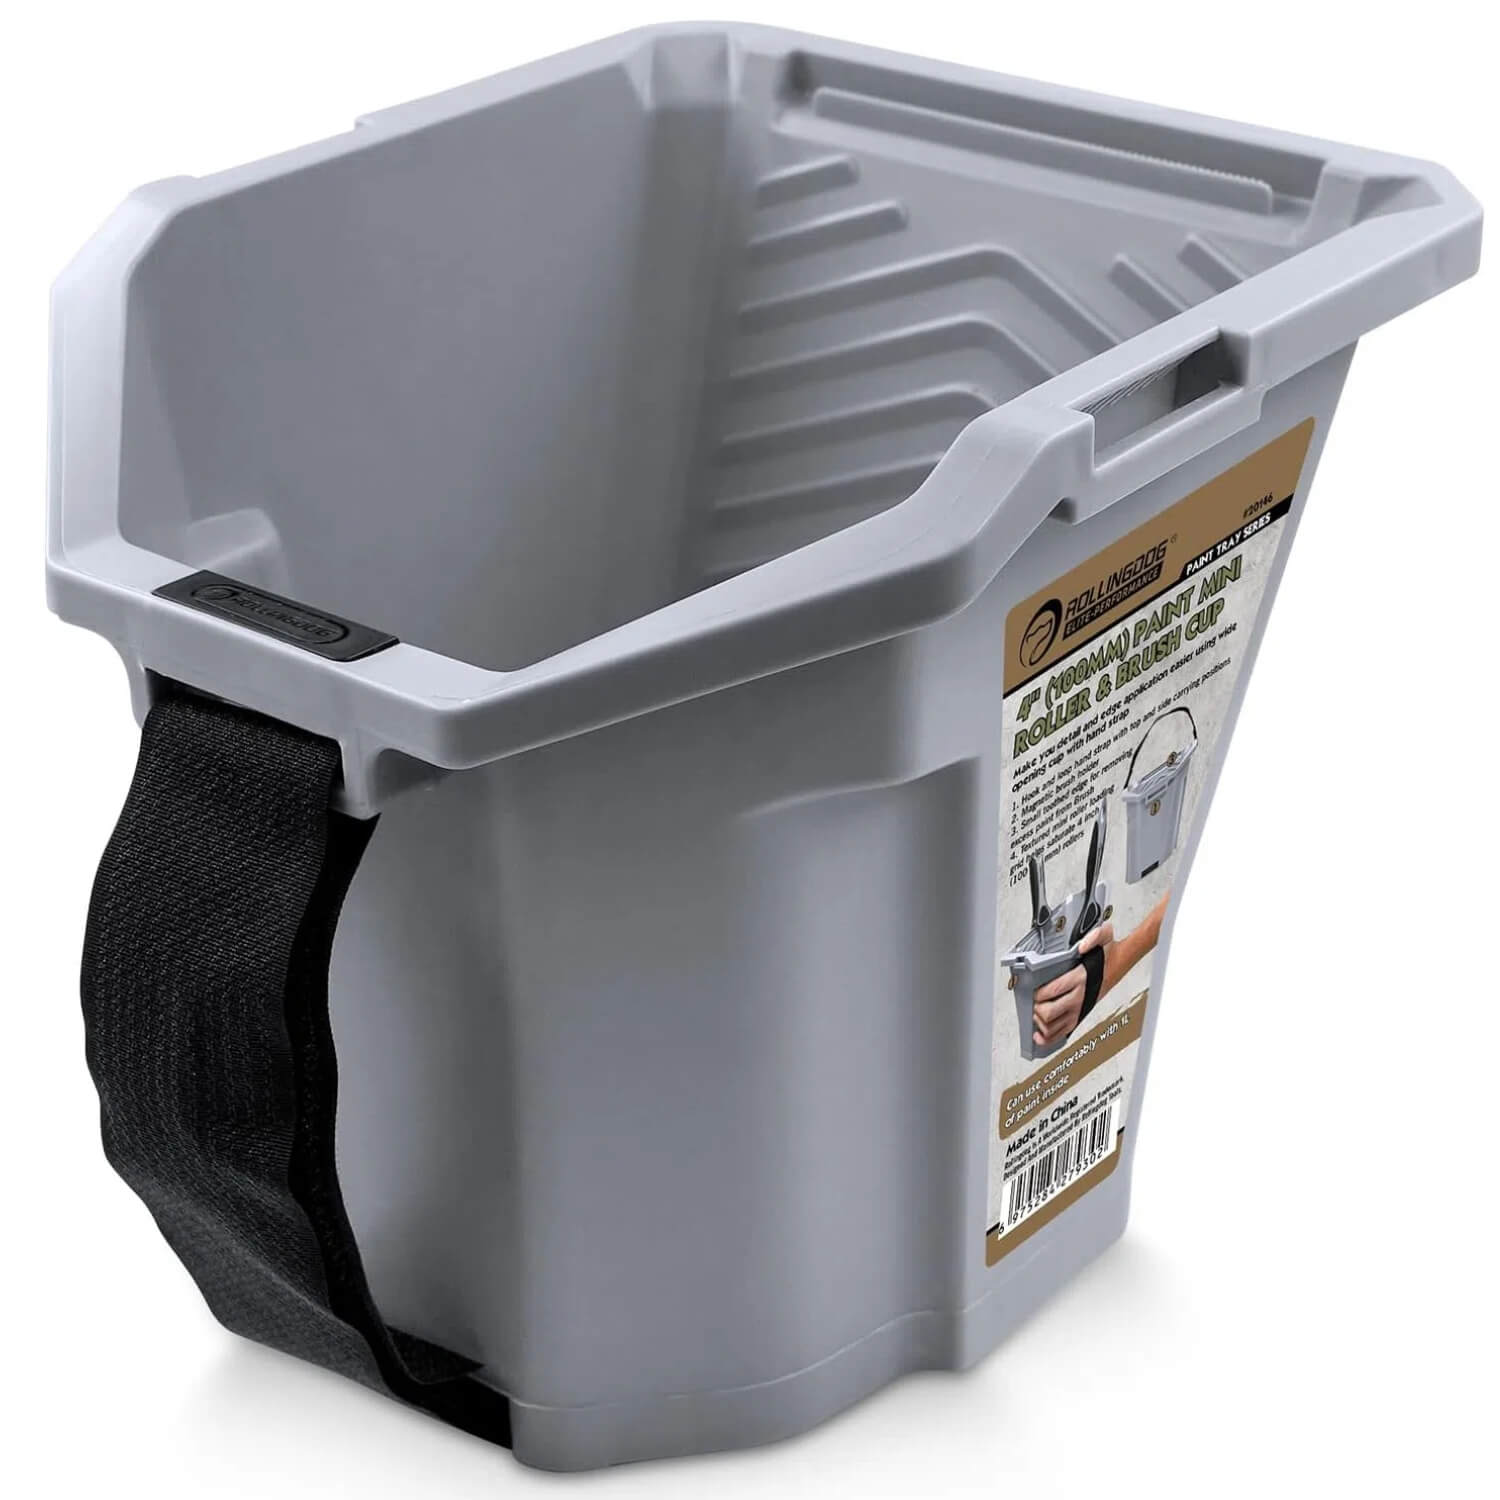
1L Portable Paint Pail