How to Paint a Wooden Fence
To paint a wooden fence, clear and protect the area first, then clean the fence and let it dry completely. Scrape away loose paint, sand rough areas, and apply primer if needed. Use a roller for large flat boards and a brush for edges, gaps, and posts. Let the first coat dry, then apply a second coat for better coverage and protection.
Why Paint a Wooden Fence?
Painting your wooden fence is a simple way to refresh its appearance while adding a layer of protection to the wood. A fresh coat of exterior paint can help disguise discoloration, create a cleaner look, and give your yard a more intentional style.
Paint or Stain: Which Is Better for a Wooden Fence?
Before you start, it helps to decide whether paint or stain is the better choice for your fence. Both can improve the look of wood and provide protection, but they create different finishes.
If you want a cleaner, more colorful, and more noticeable transformation, paint is usually the better choice. If you want to keep the natural wood grain visible, a stain may be a better fit.
For this guide, we will focus on how to paint a wooden fence.
Tools You'll Need
- Limewash Brush
- Scraper
- Sandpaper
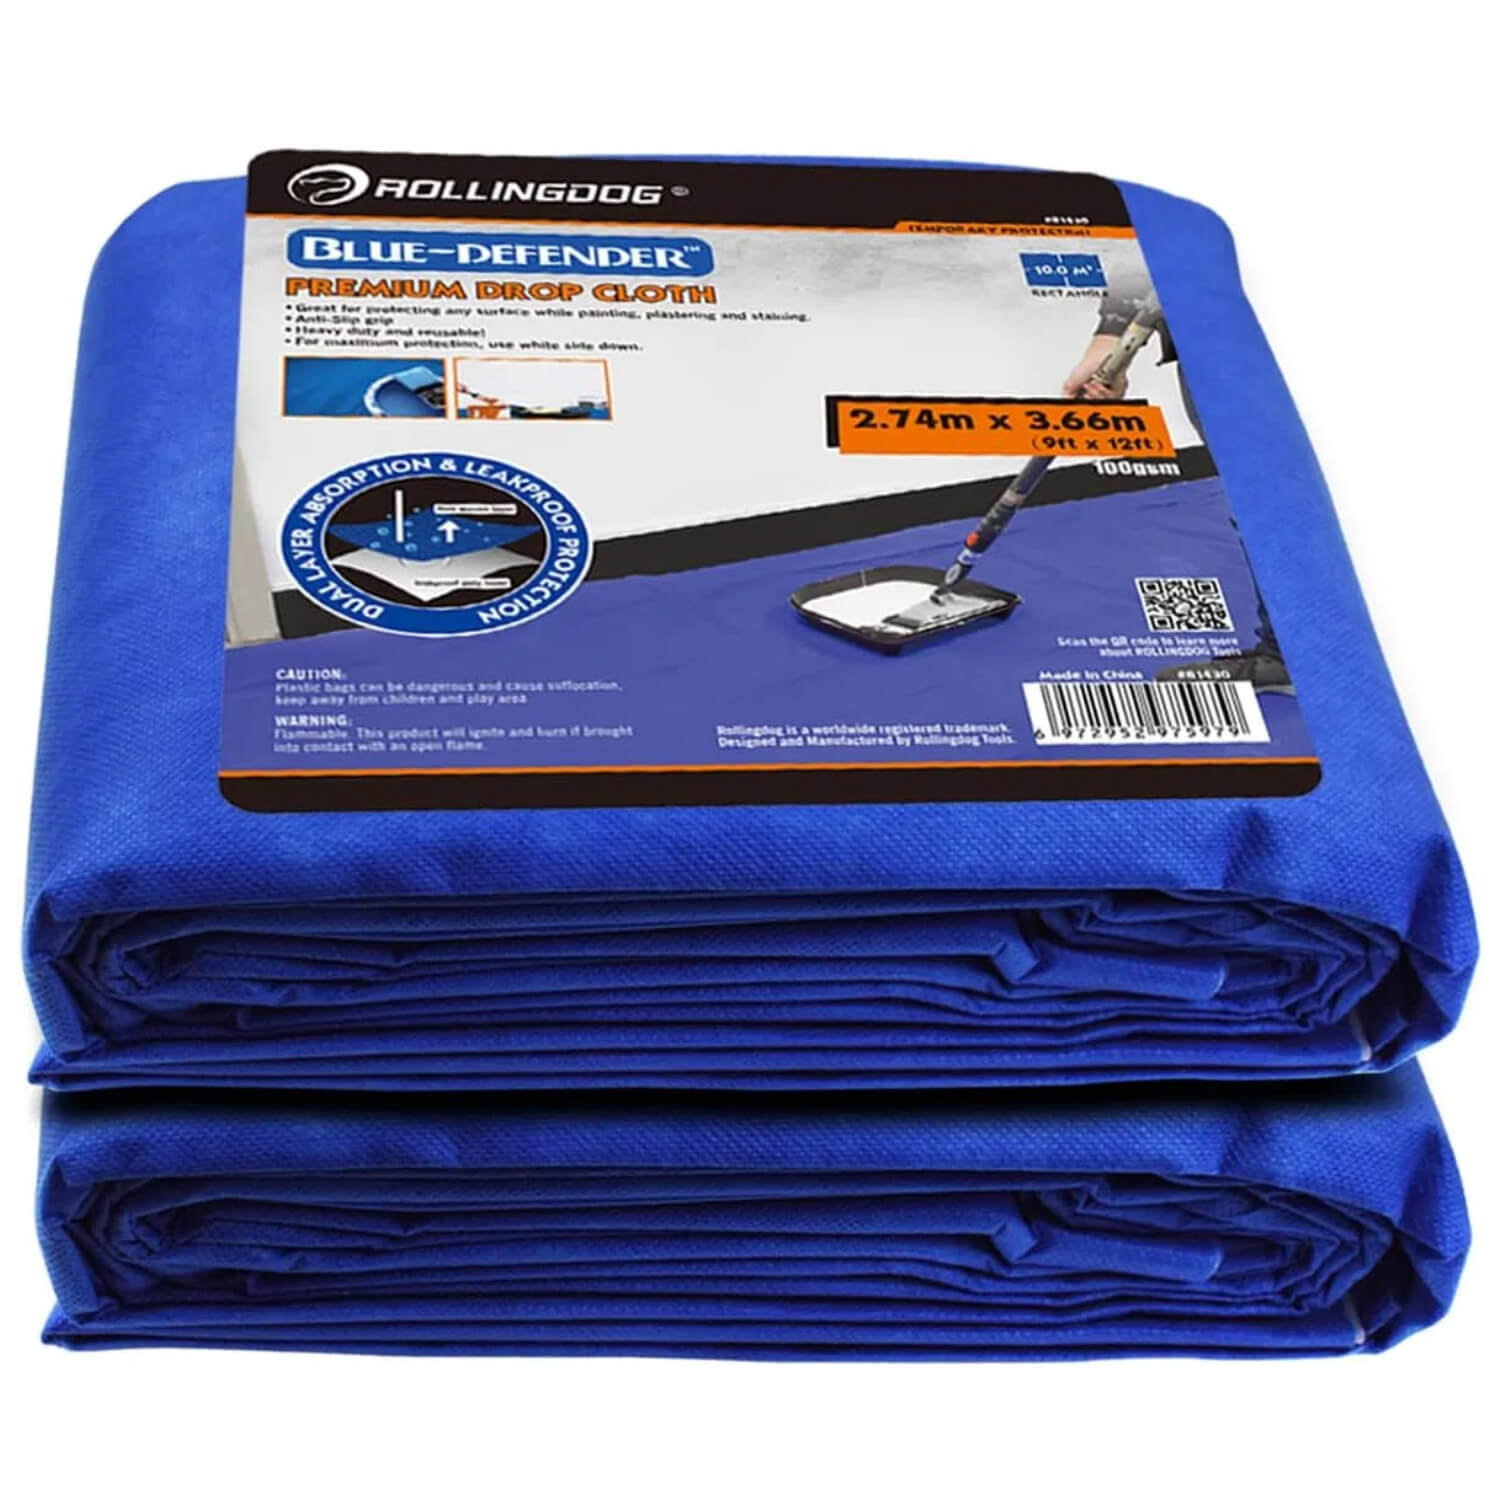
- Drop Cloth
Step-by-step: How to Paint a Wooden Fence
Step 1: Clear and Protect the Area
Before you start painting, clear the space around the fence. Trim grass near the bottom boards, move outdoor furniture or decorations away, and remove anything that may block your work area.
Cover nearby plants, grass, patio surfaces, and ground areas with a drop cloth or plastic sheeting.
Step 2: Clean the Fence
Remove dust, dirt, mildew, and loose debris from the fence surface. Depending on the condition of the fence, you can use a stiff brush, garden hose, or pressure washer.
After cleaning, let the wooden fence dry completely before moving to the next step. Painting over damp wood can lead to poor adhesion, bubbling, or peeling later.
Step 3: Scrape and Sand Rough Areas
Use a scraper to remove loose or peeling paint.
Sand rough spots, splinters, and uneven areas with sandpaper or a sanding block.
This step helps the paint adhere better and creates a cleaner final finish.
Step 4: Apply Primer If Needed
Primer is especially helpful for bare wood, repaired areas, stained surfaces, or fences with a darker previous color. It helps improve paint adhesion, creates a more even base, and can make the final color look cleaner and more consistent.
Step 5: Paint the Fence
Start at the top of the fence and work downward. This helps you control drips as you paint.
Follow the direction of the boards as you paint. Use vertical strokes on vertical boards and horizontal strokes on horizontal boards. This helps the finish look more natural and even.
Step 6: Let It Dry and Apply a Second Coat
Once the first coat is dry, check the color and coverage. If the finish looks uneven, the previous surface still shows through, or you are painting new or bare wood, apply a second coat.
A second coat usually gives better color depth, smoother coverage, and stronger protection for outdoor wood.
Step 7: Inspect and Touch Up
Once the paint is dry, walk along the fence and check for missed spots, thin areas, drips, or uneven coverage.
Use a brush to touch up small areas and let everything dry fully before removing drop cloths, plastic sheeting, or painter's tape.
With proper preparation, the right tools, and a patient step-by-step process, painting a wooden fence can be a manageable project that refreshes your outdoor space and helps protect the wood for years to come.
FAQ
Do I need to sand a wooden fence before painting?
Yes, you should at least sand rough spots, splinters, peeling paint, and uneven areas. Sanding helps create a smoother surface and improves paint adhesion.
Do I need to prime a wooden fence before painting?
Primer is recommended for bare wood, repaired areas, stained surfaces, or major color changes. It helps the paint adhere better and creates a more even base.
How many coats of paint does a wooden fence need?
Previously painted fences in good condition may need only one coat, but if the color looks uneven or the old finish shows through, a second coat is recommended.
Recommended Products
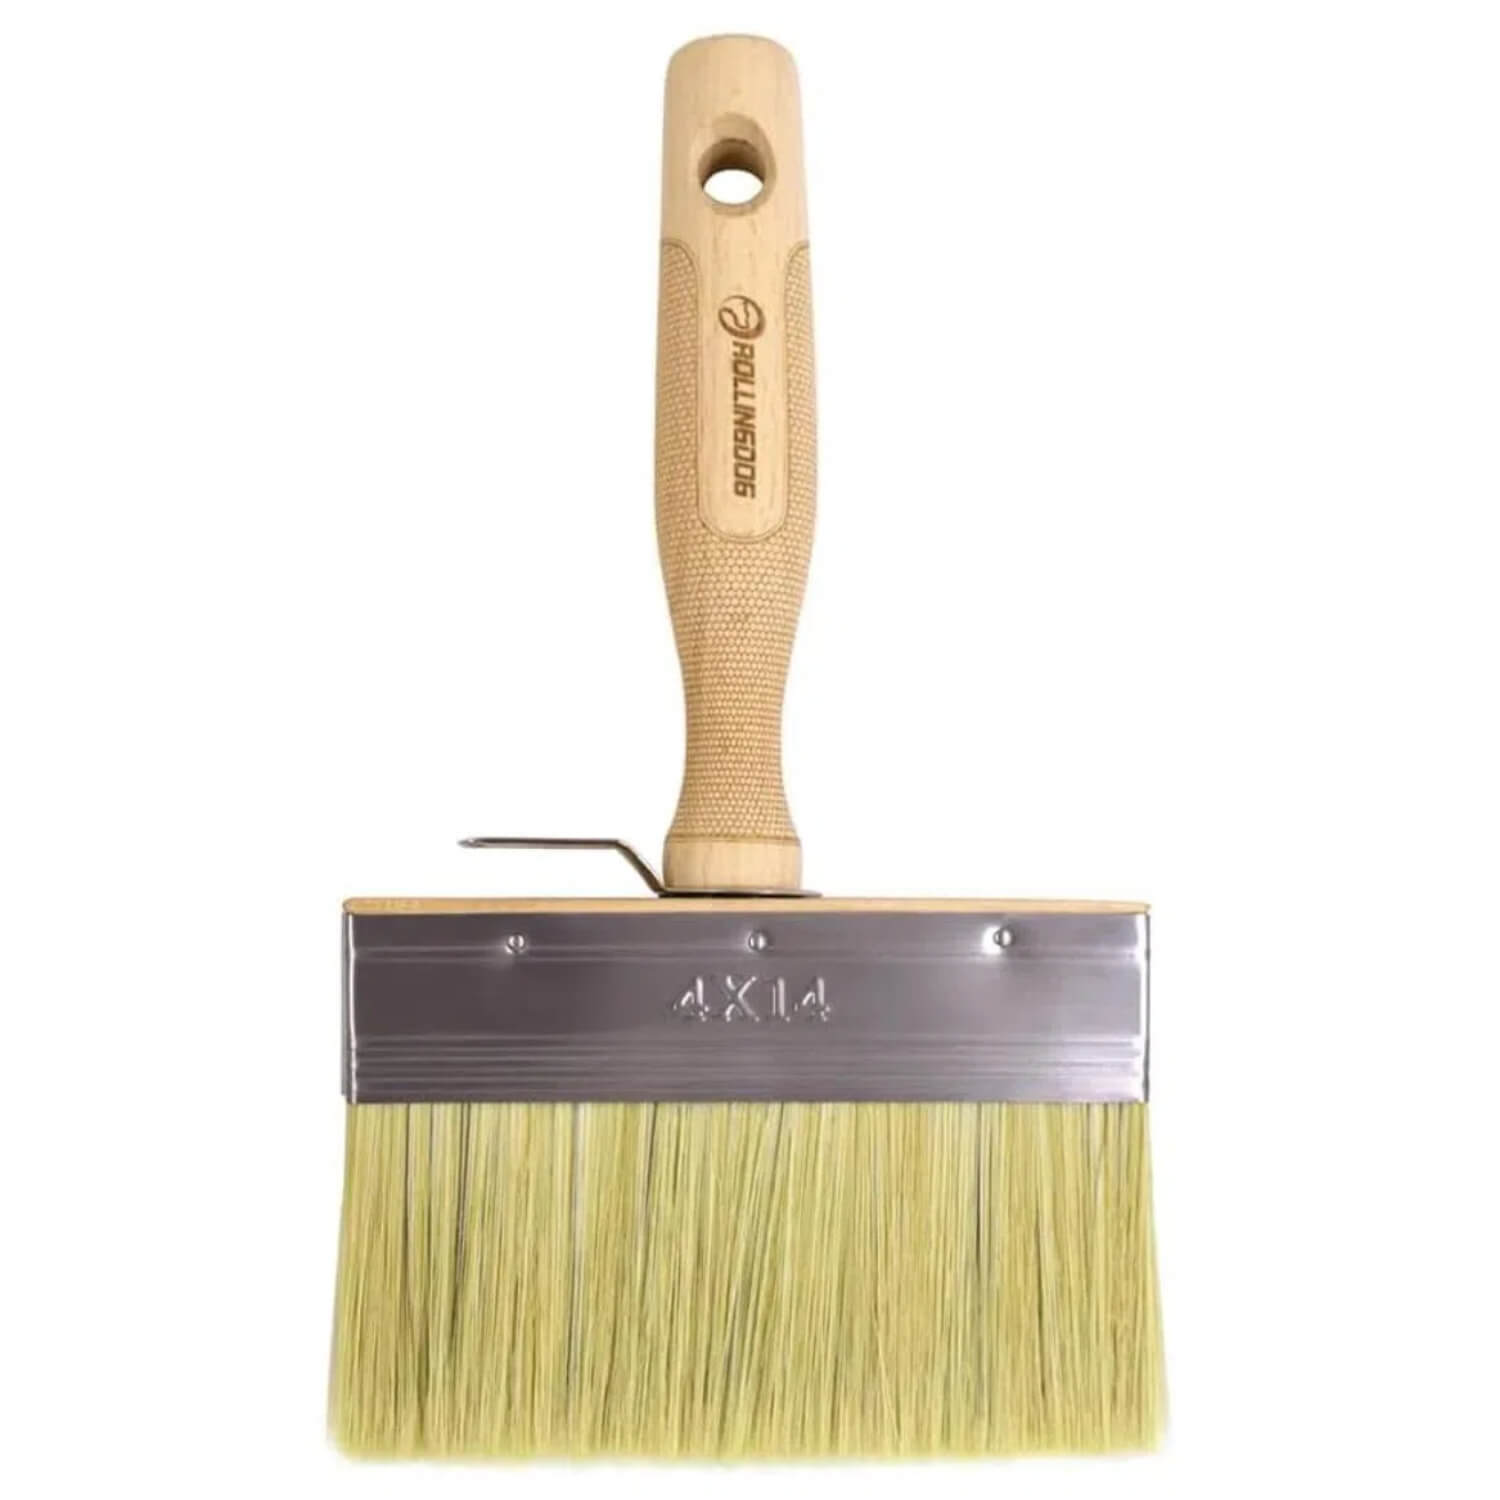
Limewash Brush
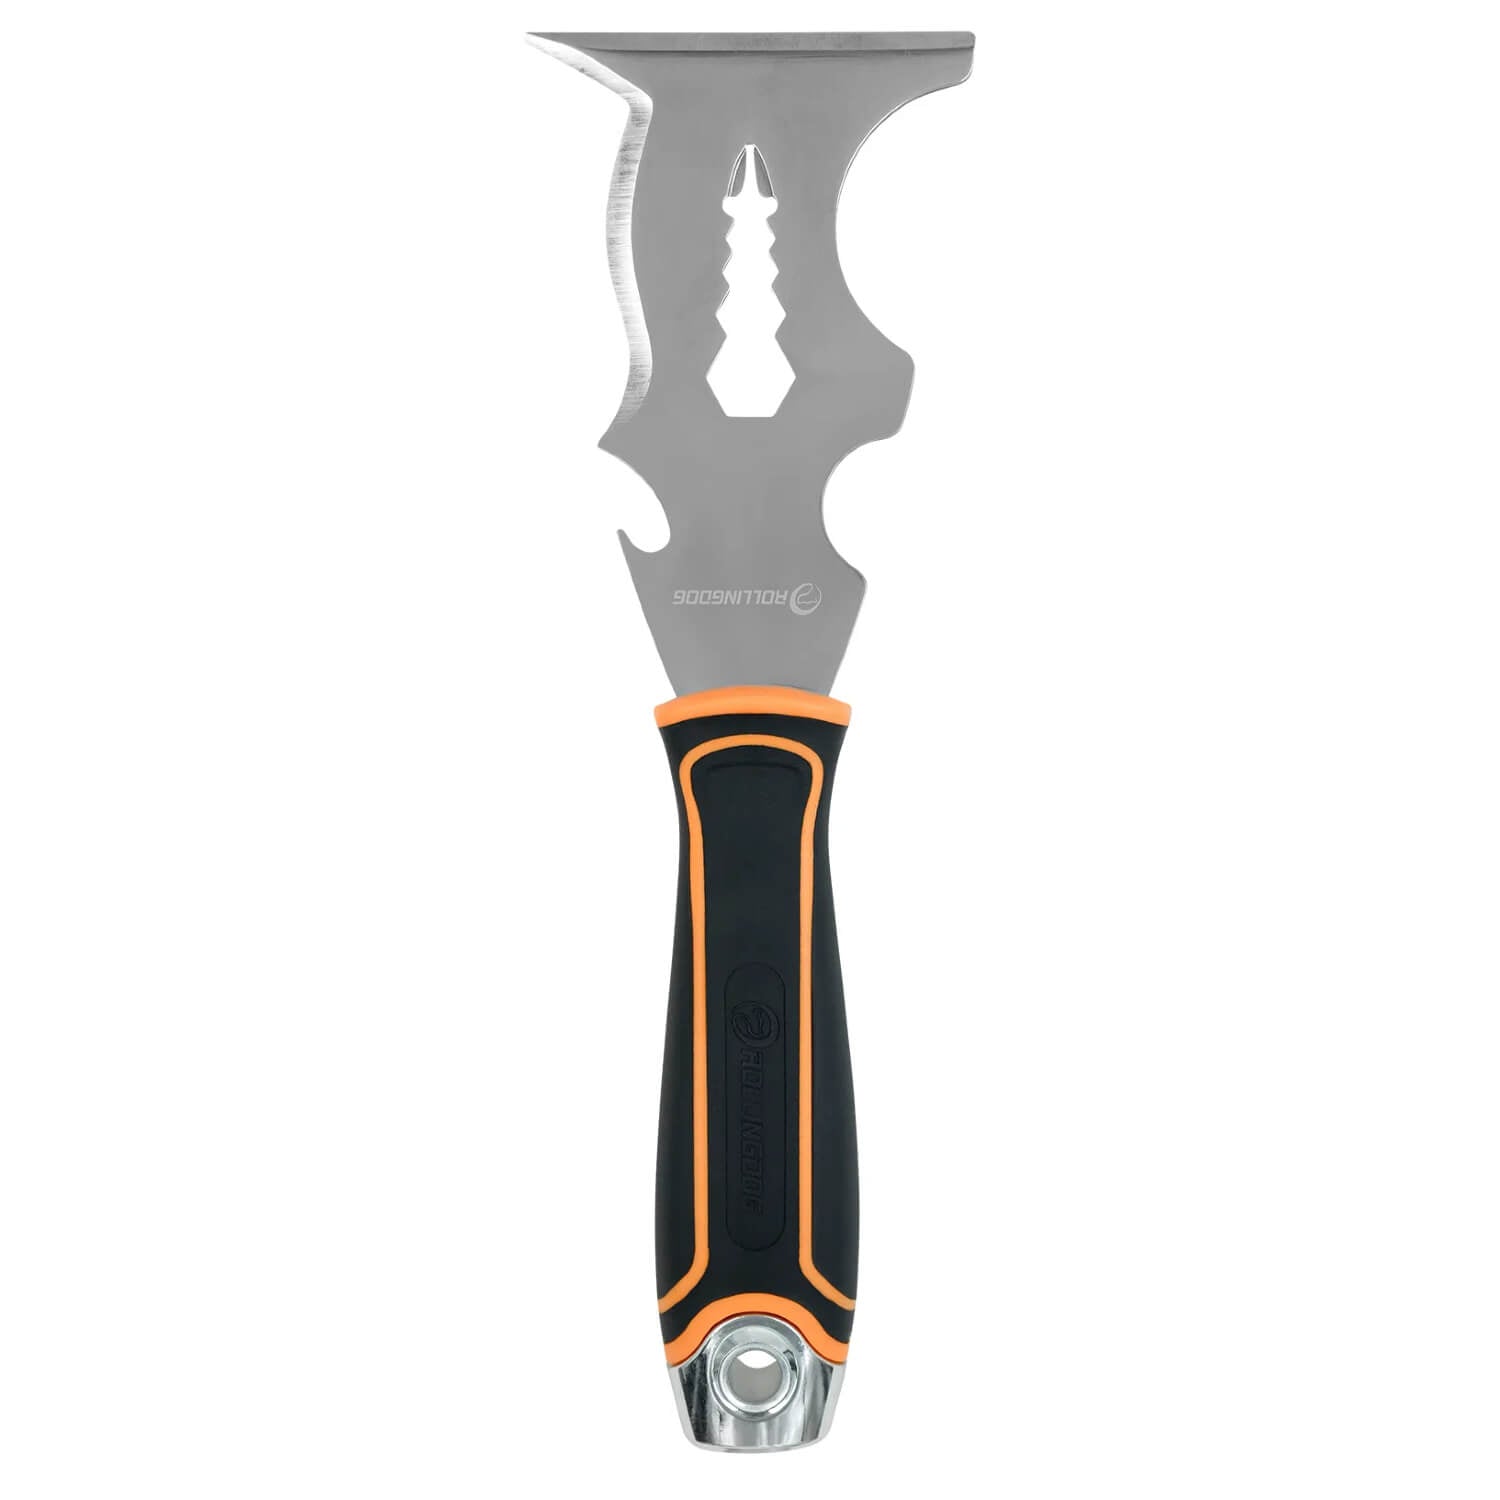
Scraper