

How to Paint a Wall with a Roller
Painting a wall with a roller is easiest when you work in small sections, keep a wet edge, and control pressure rather than force. Even finishes come from consistent technique, such as, how you load the roller, how much pressure you apply, and how you overlap each pass, more than from speed or experience.
Why Painting a Wall with a Roller Isn’t as Simple as It Looks
Painting a wall often looks straightforward, yet many people end up with streaks, roller marks, or patchy areas once the paint dries. Walls don’t usually fail because of poor paint quality, they fail because small technical mistakes add up.
Common frustrations include uneven pressure, visible overlap lines, and sections that dry before they can be blended. In most cases, the issue isn’t strength or speed, but control. Understanding what causes these problems makes wall painting far more predictable and much easier to get right.
Step-by-Step Wall Painting Guide
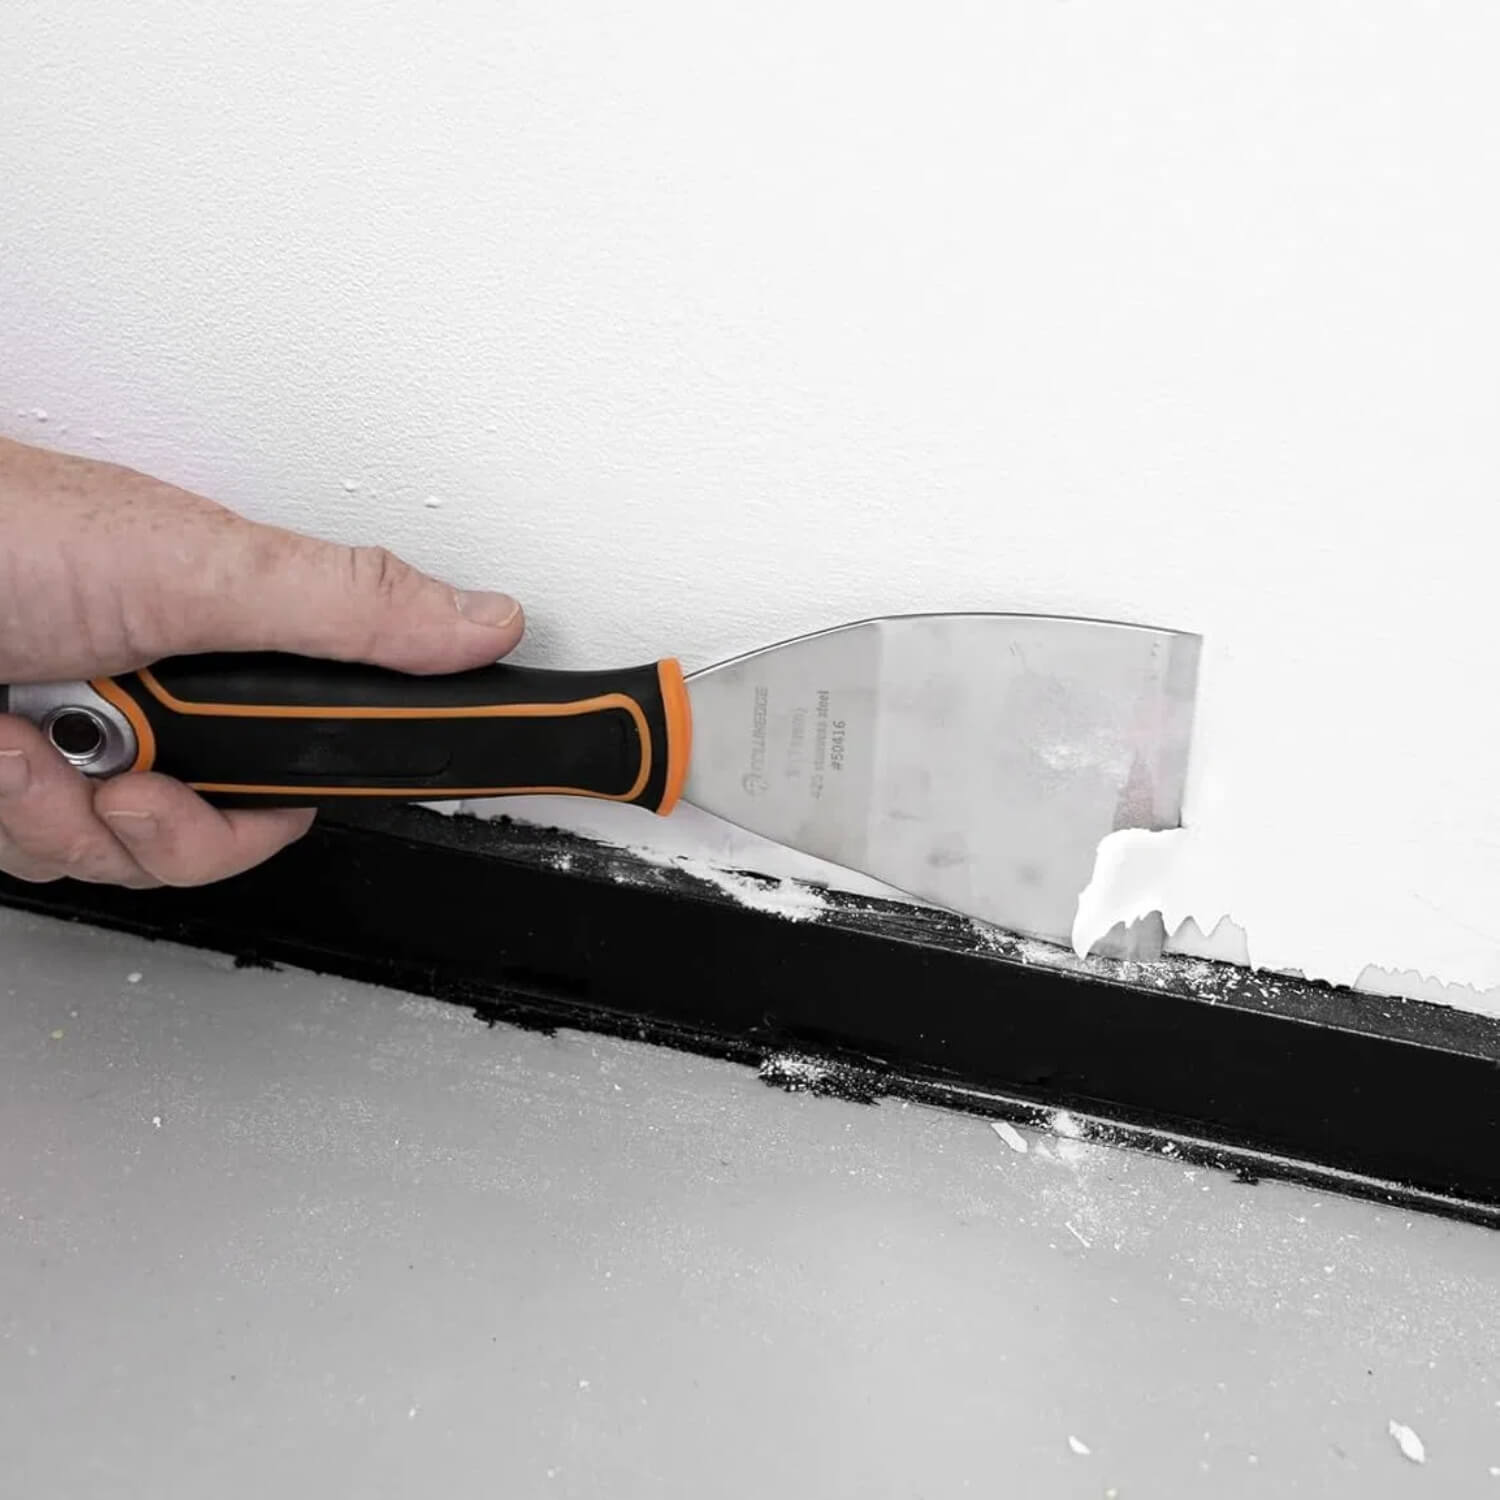
Step 1: Prepare the room and wall surface
Good results start before any paint goes on the wall. Preparing the space and surface helps paint go on evenly and dry consistently.
Clear or cover furniture and protect floors with drop cloths. Clean the wall to remove dust, grease, or residue that can interfere with adhesion. Check for holes or cracks, fill them with spackle, and sand lightly once dry. Wipe away dust, so the wall is clean and smooth before painting.

Step 2: Prepare the roller and paint
Many wall-painting problems start with a poorly loaded roller.
Before painting, make sure your roller is properly prepared:
- Lightly dampen the roller cover and remove excess water.
- Pour paint into a tray and work it into the roller evenly.
- Roll back and forth until the cover is fully coated but not dripping.
A well-loaded roller releases paint evenly and reduces streaks from dry or overloaded spots.

Step 3: Cut around edges and corners
Before rolling large areas, use a brush to cut in along edges, corners, trim, and around outlets.
Work in manageable sections instead of cutting the entire room at once. This allows you to roll into the cut-in paint while it’s still wet, helping the brushed and rolled areas blend seamlessly.

Step 4: Roll the wall in sections
Rolling technique matters more than speed. Working in sections keeps the paint wet and easier to blend.
Start near one corner and paint a section about 3-5 square feet at a time. Roll in a gentle “W” or overlapping vertical pattern, then fill in evenly without pressing hard. Slightly overlap into the previous section to maintain a wet edge and avoid visible lap marks.
Continue section by section across the wall.
Step 5: Control pressure and technique
One of the most common mistakes when painting walls is applying too much pressure.
Let the roller do the work. Use steady, moderate pressure, which is enough to maintain contact with the wall, but not so much that paint is squeezed out unevenly. Heavy pressure often causes streaks, roller marks, and thin patches.
If the roller stops releasing paint smoothly, reload it rather than pushing harder.
Step 6: Second coat and drying
Most walls require a second coat for consistent color and coverage. Allow the first coat to dry fully according to the paint manufacturer's instructions.
Apply the second coat using the same section-by-section method. Avoid touching up areas that have already started to dry, as this can leave visible marks. Once finished, allow the wall to dry completely before reinstalling fixtures or moving furniture back.
Tips for Painting a Wall with a Roller (Even Finish, No Streaks)
- Work in small sections, so the paint doesn’t dry before blending.
- Maintain a wet edge by overlapping each section slightly.
- Avoid overloading the roller, which can cause drips and texture buildup.
- Use consistent pressure and let the roller release paint naturally.
- Finish each section in a consistent direction.
- Don’t overwork paint as it begins to dry.
These habits do more to prevent roller marks than rushing or pressing harder.
FAQ: Common Wall Painting Questions
How to paint a wall with a roller for beginners?
Focus on preparation and technique rather than speed. Work in small sections, keep the paint wet as you move, and apply steady pressure. Beginners get better results by slowing down and letting the roller do the work.
How to paint a wall with a roller evenly?
Even coverage comes from proper roller loading, consistent pressure, and overlapping each pass. Uneven finishes usually happen when paint dries too quickly or pressure varies across sections.
How to paint a wall with a roller without streaks?
Streaks are often caused by dry rollers or pushing too hard. Reload the roller regularly, maintain a wet edge, and avoid rolling over paint that has already started drying.
Are you supposed to wet a roller before painting?
Lightly dampening a roller before loading paint helps it absorb and release paint more evenly. The roller should be damp, not wet.
Is there a wrong way to paint a wall?
Yes, common mistakes include using too much pressure, working in sections that are too large, and overworking drying paint. Correcting these habits usually fixes most wall-painting issues.
Can you use a paint roller for exterior walls?
You can, but exterior walls require different tools, paint types, and techniques. Exterior surfaces are often rougher and affected by weather conditions. This guide focuses on interior wall painting, where control and consistency are the main factors.
Tools That Make Wall Painting Easier
Using the right tools makes wall painting more predictable and less tiring.
- Paint roller - A quality roller helps distribute paint evenly across the wall.
- Roller nap - Choose the right nap length for smooth or lightly textured walls.
- Paint a tray or bucket with a grid - Helps load the roller evenly without excess paint.
- Angled paint brush - Makes cutting in along edges and corners cleaner and easier.
- Drop cloths and surface protection - Proper surface protection reduces hesitation and interruptions, helping maintain a steady pace and consistent technique throughout the wall.
Well-matched tools reduce common mistakes and make it easier to maintain consistent technique.
Painting a wall with a roller isn't about strength or speed, it's about control. When you prepare properly, work in manageable sections, and apply consistent pressure, smooth and even results are well within reach.
Take your time, trust the process, and focus on technique. With the right approach, painting a wall yourself can be both manageable and rewarding.
