How to Cut in Paint Without Tape
Painting clean edges is one of the biggest challenges in any painting project. Many DIY painters rely on painter's tape to create straight lines, but applying tape carefully can take extra time and preparation.
The good news is that with the right technique, you can cut in paint without tape and still achieve clean, professional-looking edges.
In this guide, you'll learn how to cut in paint without tape, what tools you need, and the techniques that help create crisp paint lines along ceilings, trim, and corners.
Why Many Painters Skip Painter's Tape
Painter's tape can be helpful for beginners, but many experienced painters prefer cutting in by hand.
There are several reasons why professionals often skip tape:
It saves time
Applying tape carefully along ceilings, trim, and baseboards can take almost as long as the painting itself.
Tape can still allow paint to bleed
If the edge of the tape isn't perfectly sealed, paint may seep underneath and create uneven lines.
With the right tools and a little practice, cutting in can become faster and more flexible than taping every edge.
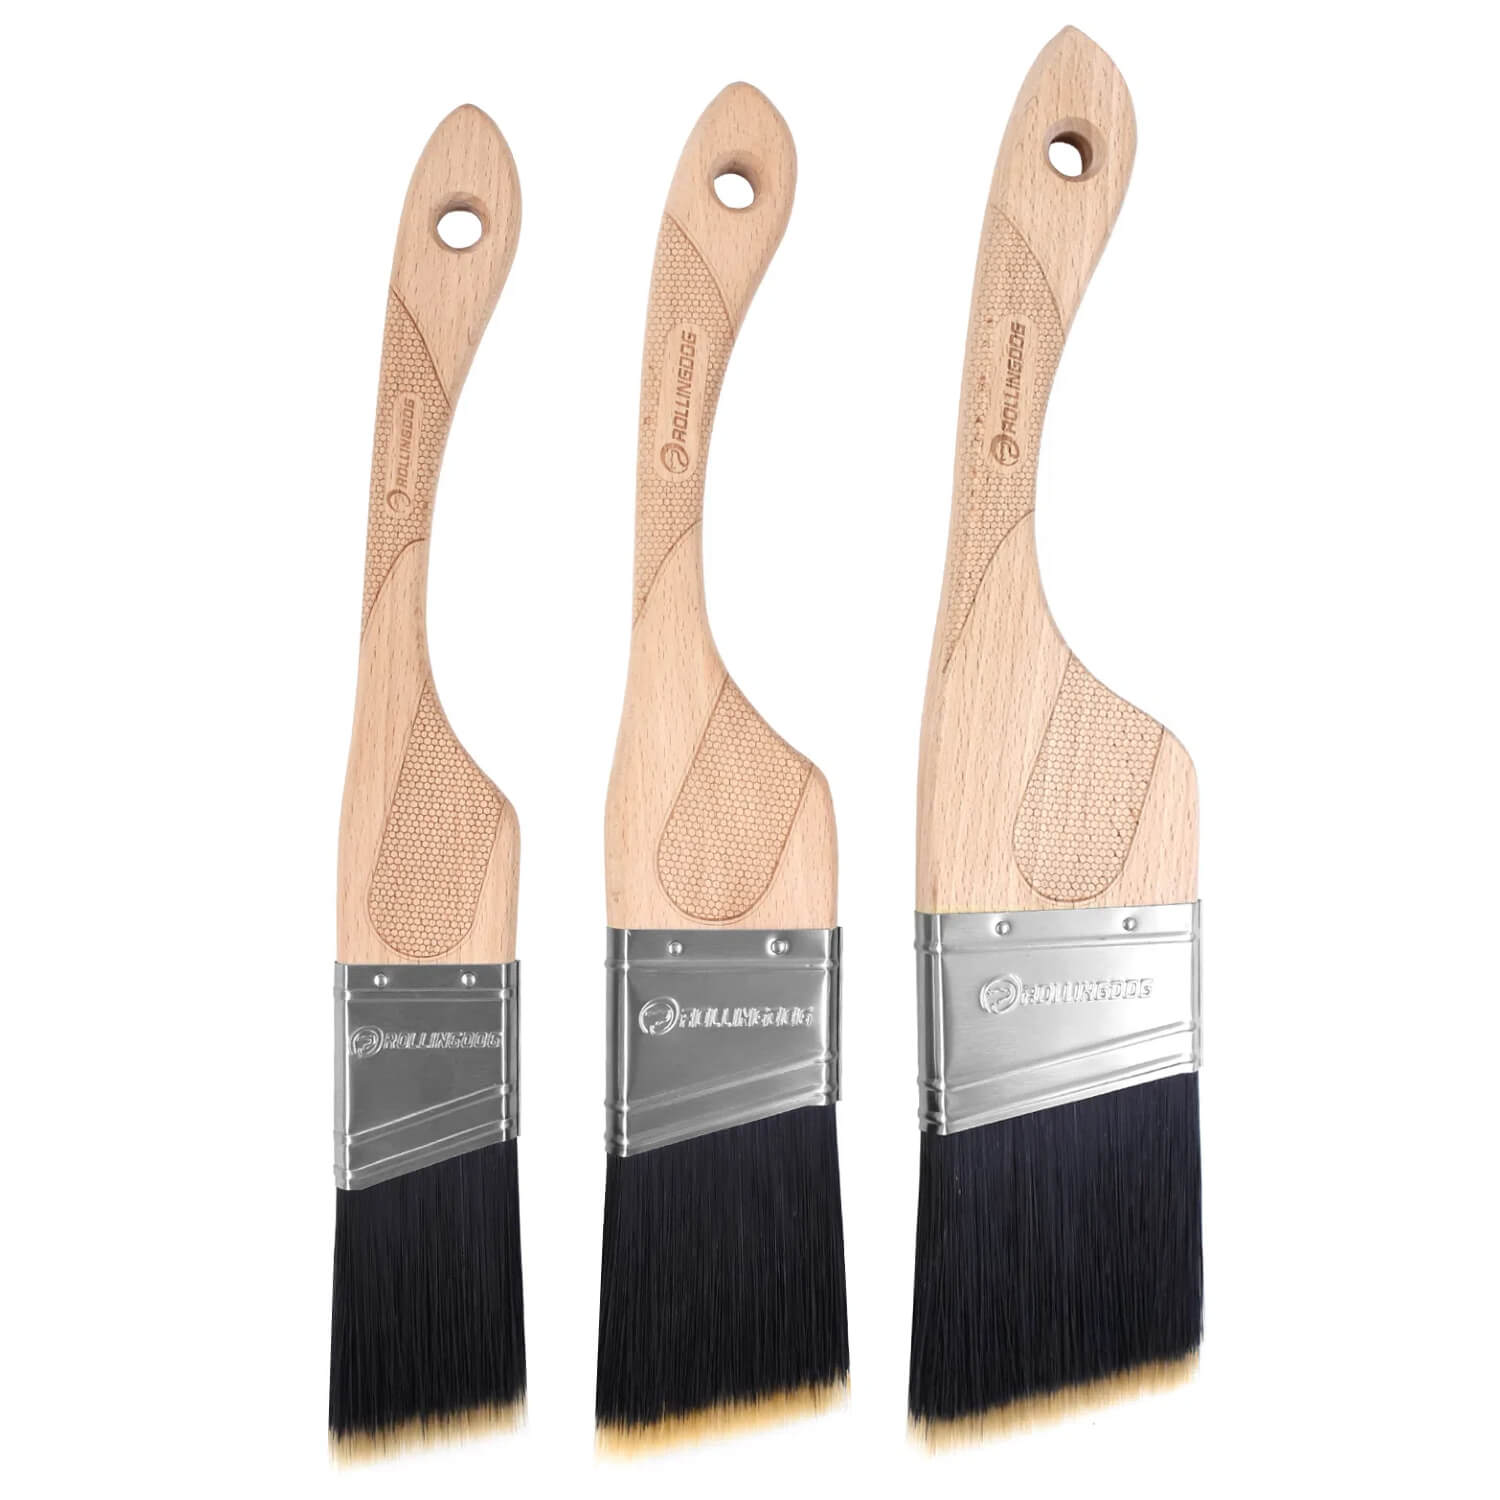
Tools You Need to Cut in Paint Without Tape
Achieving clean paint lines without tape depends largely on using the right tools.
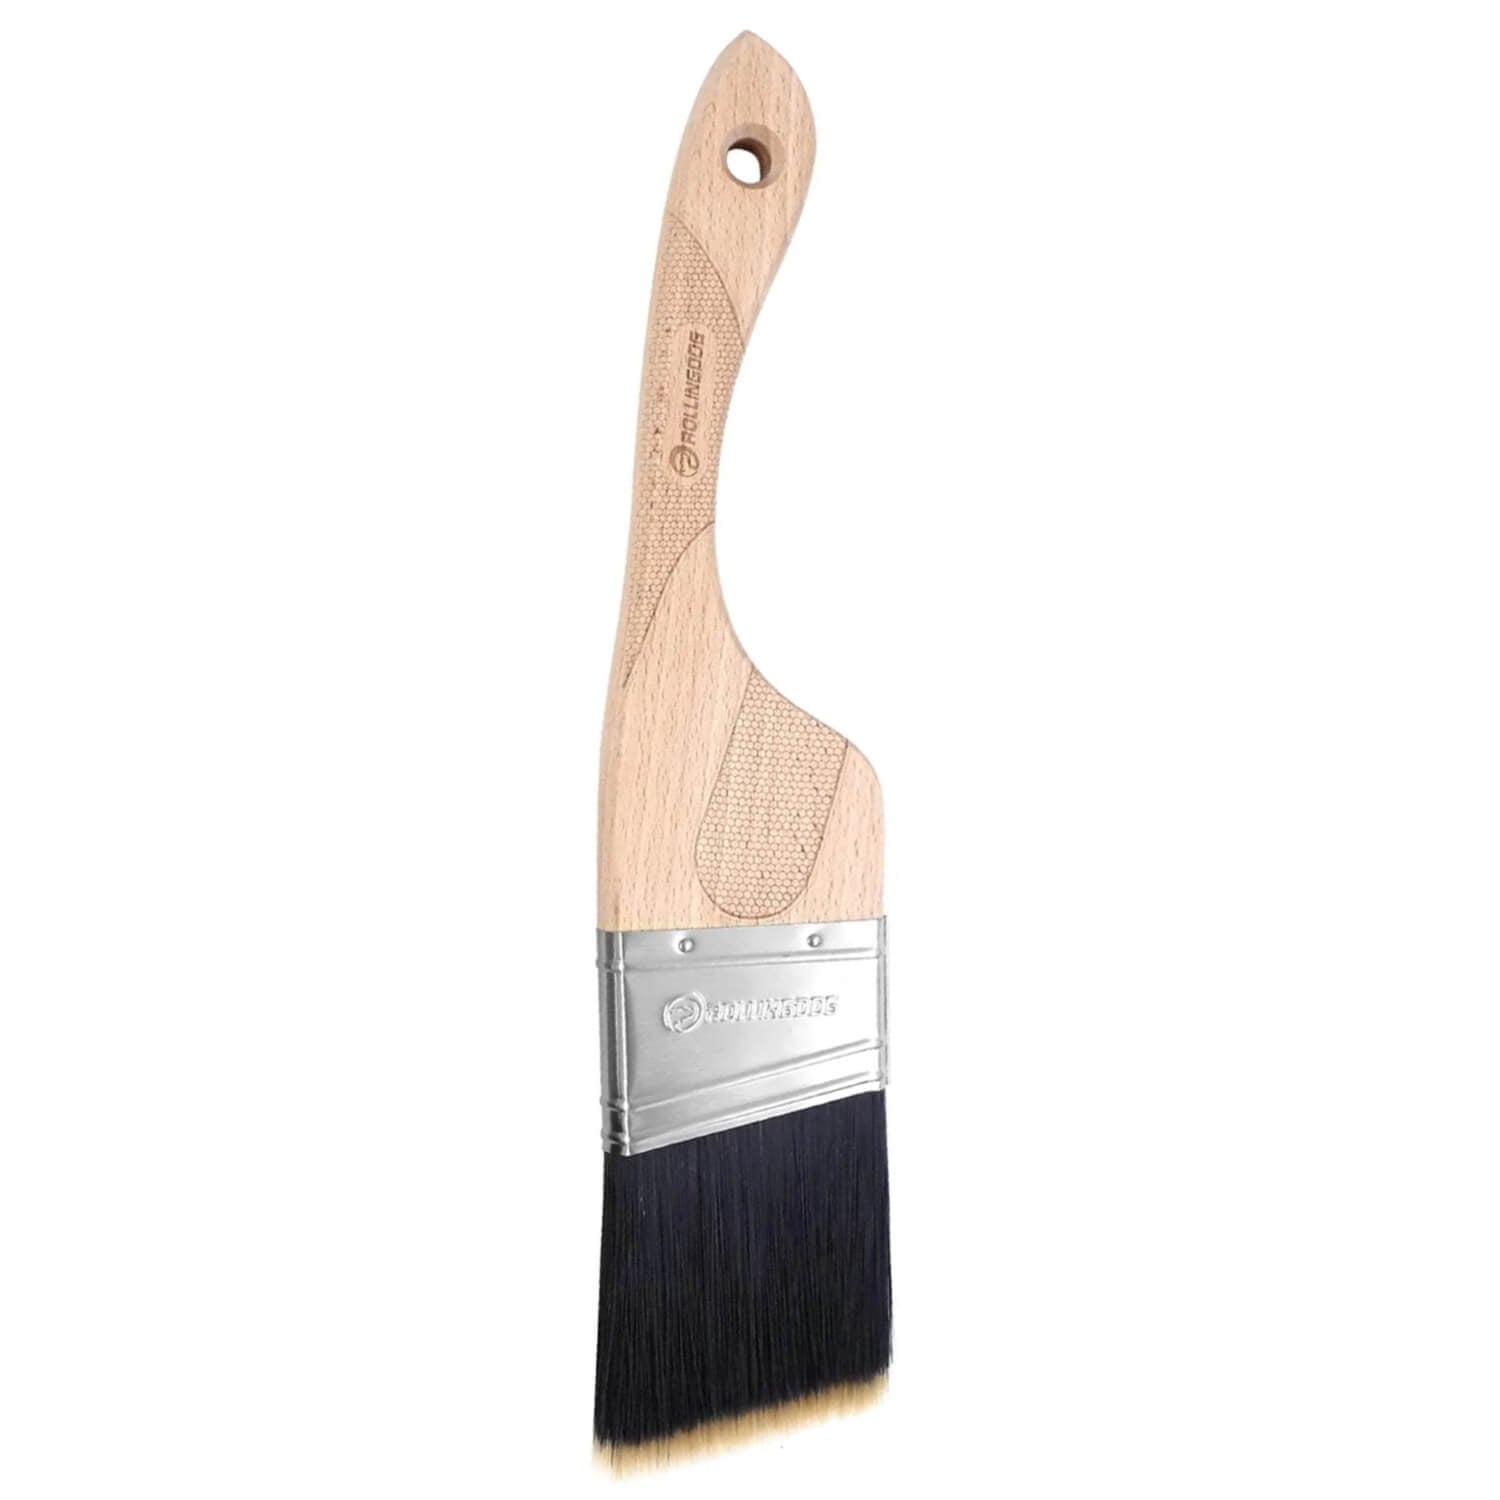
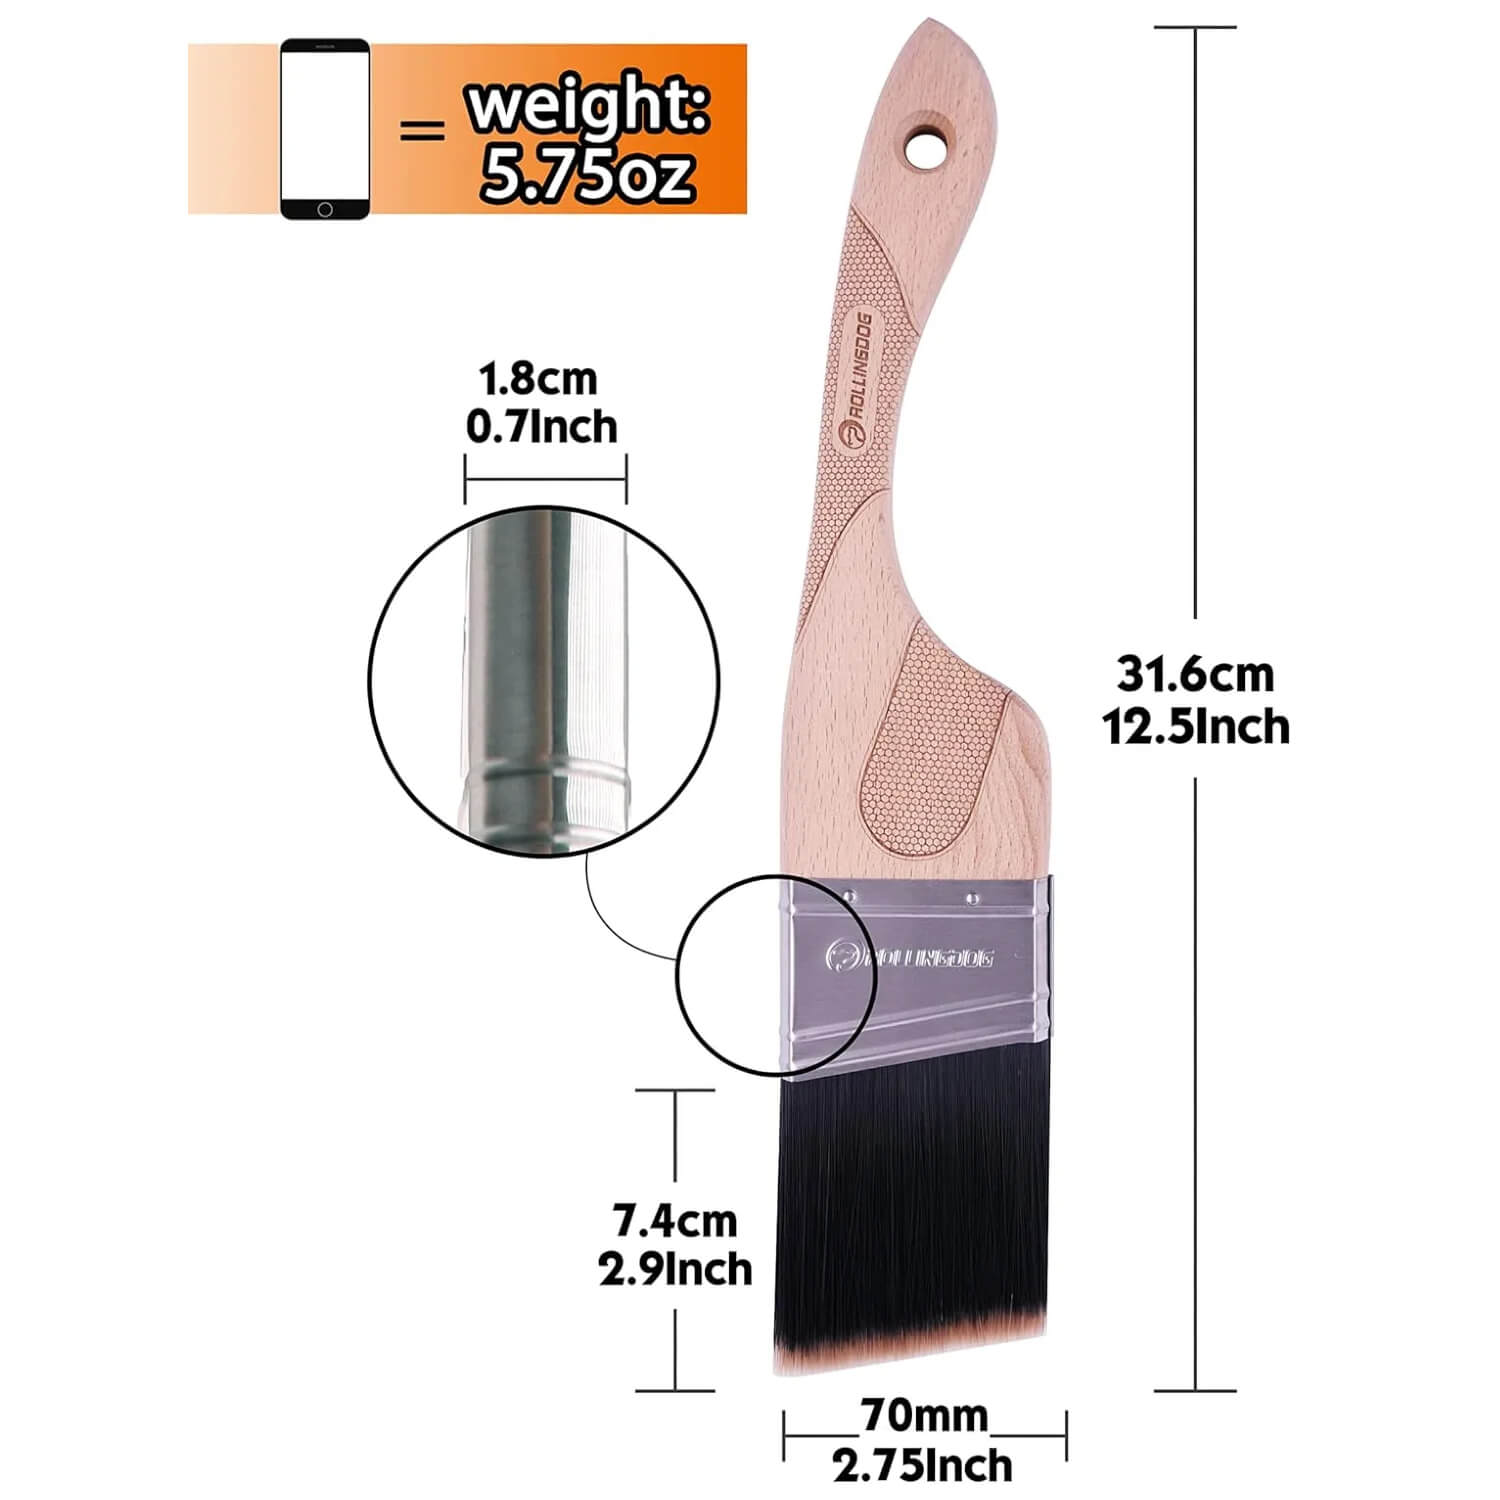
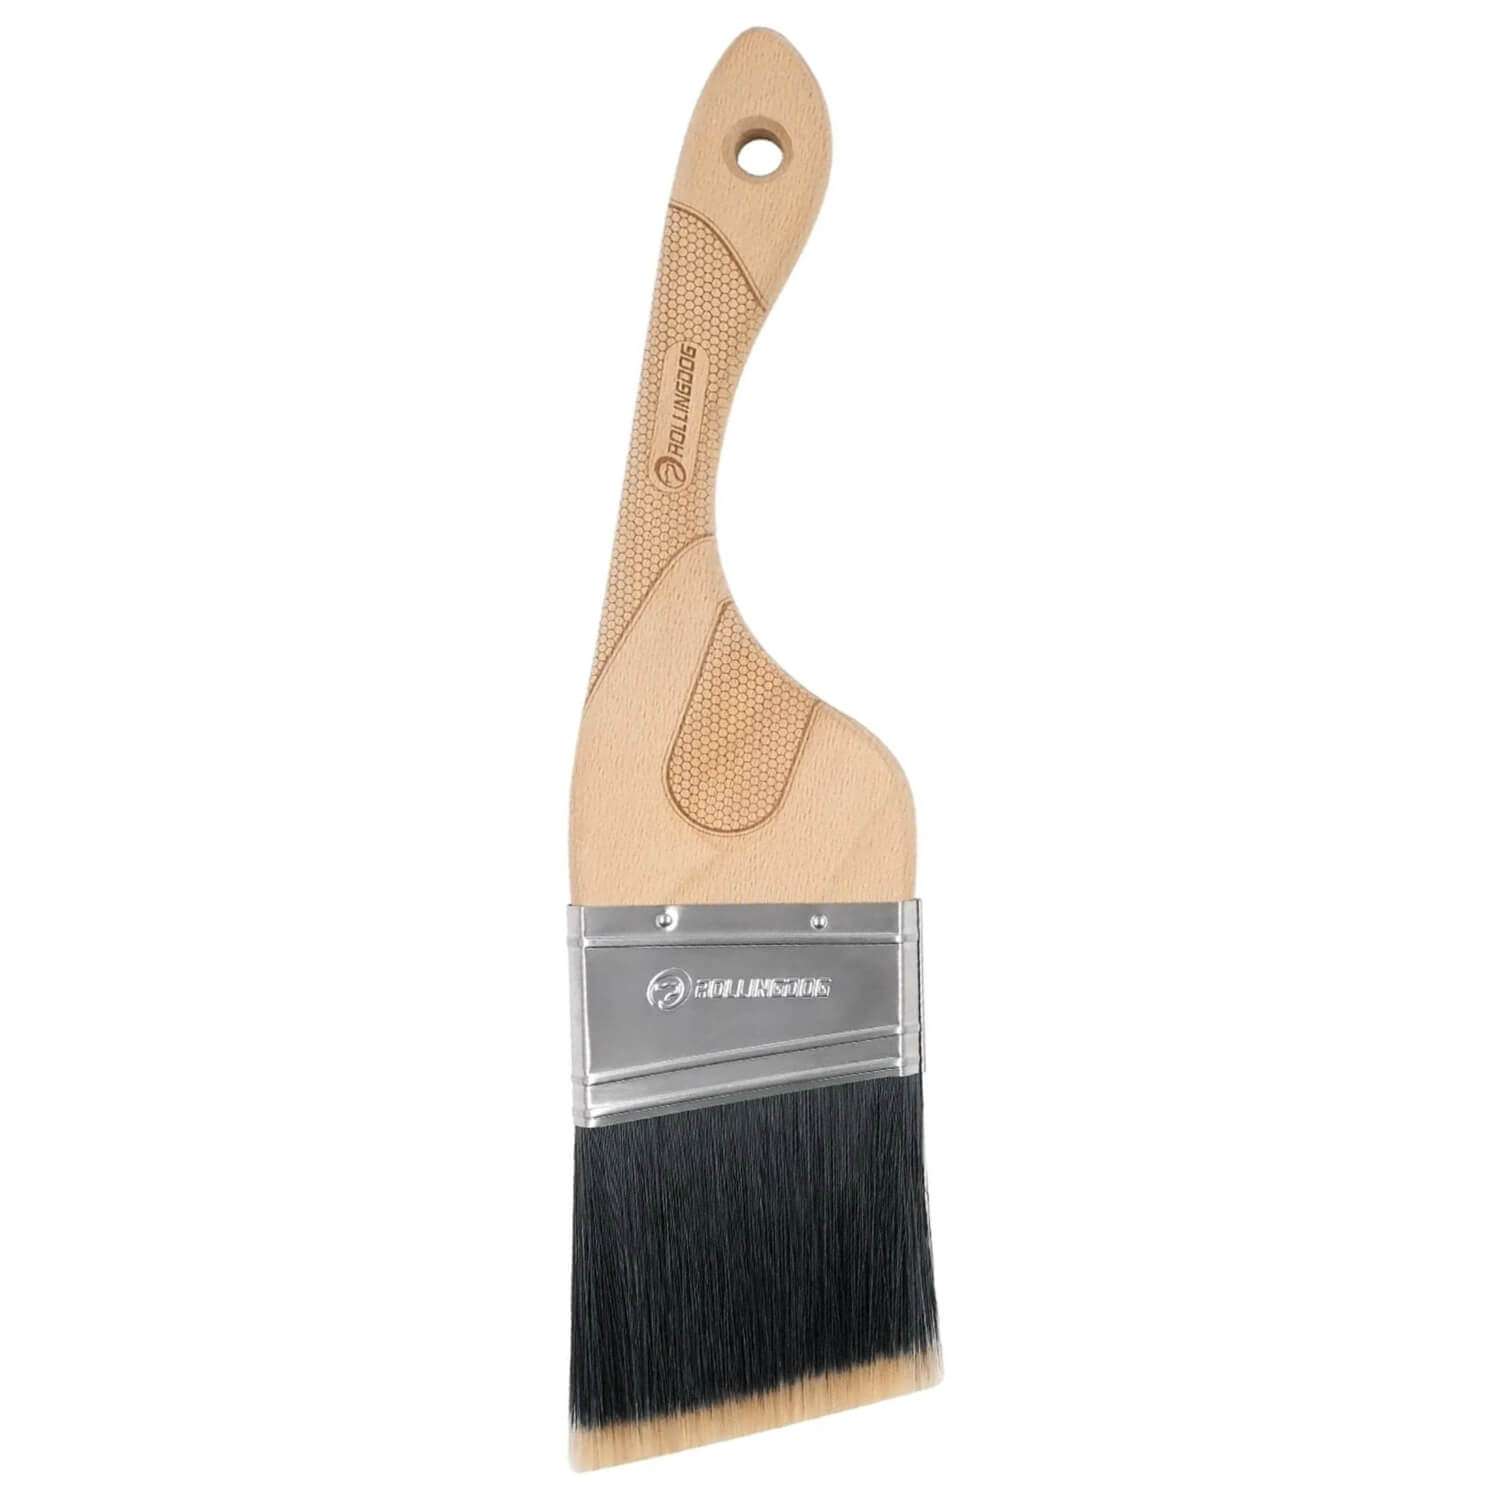
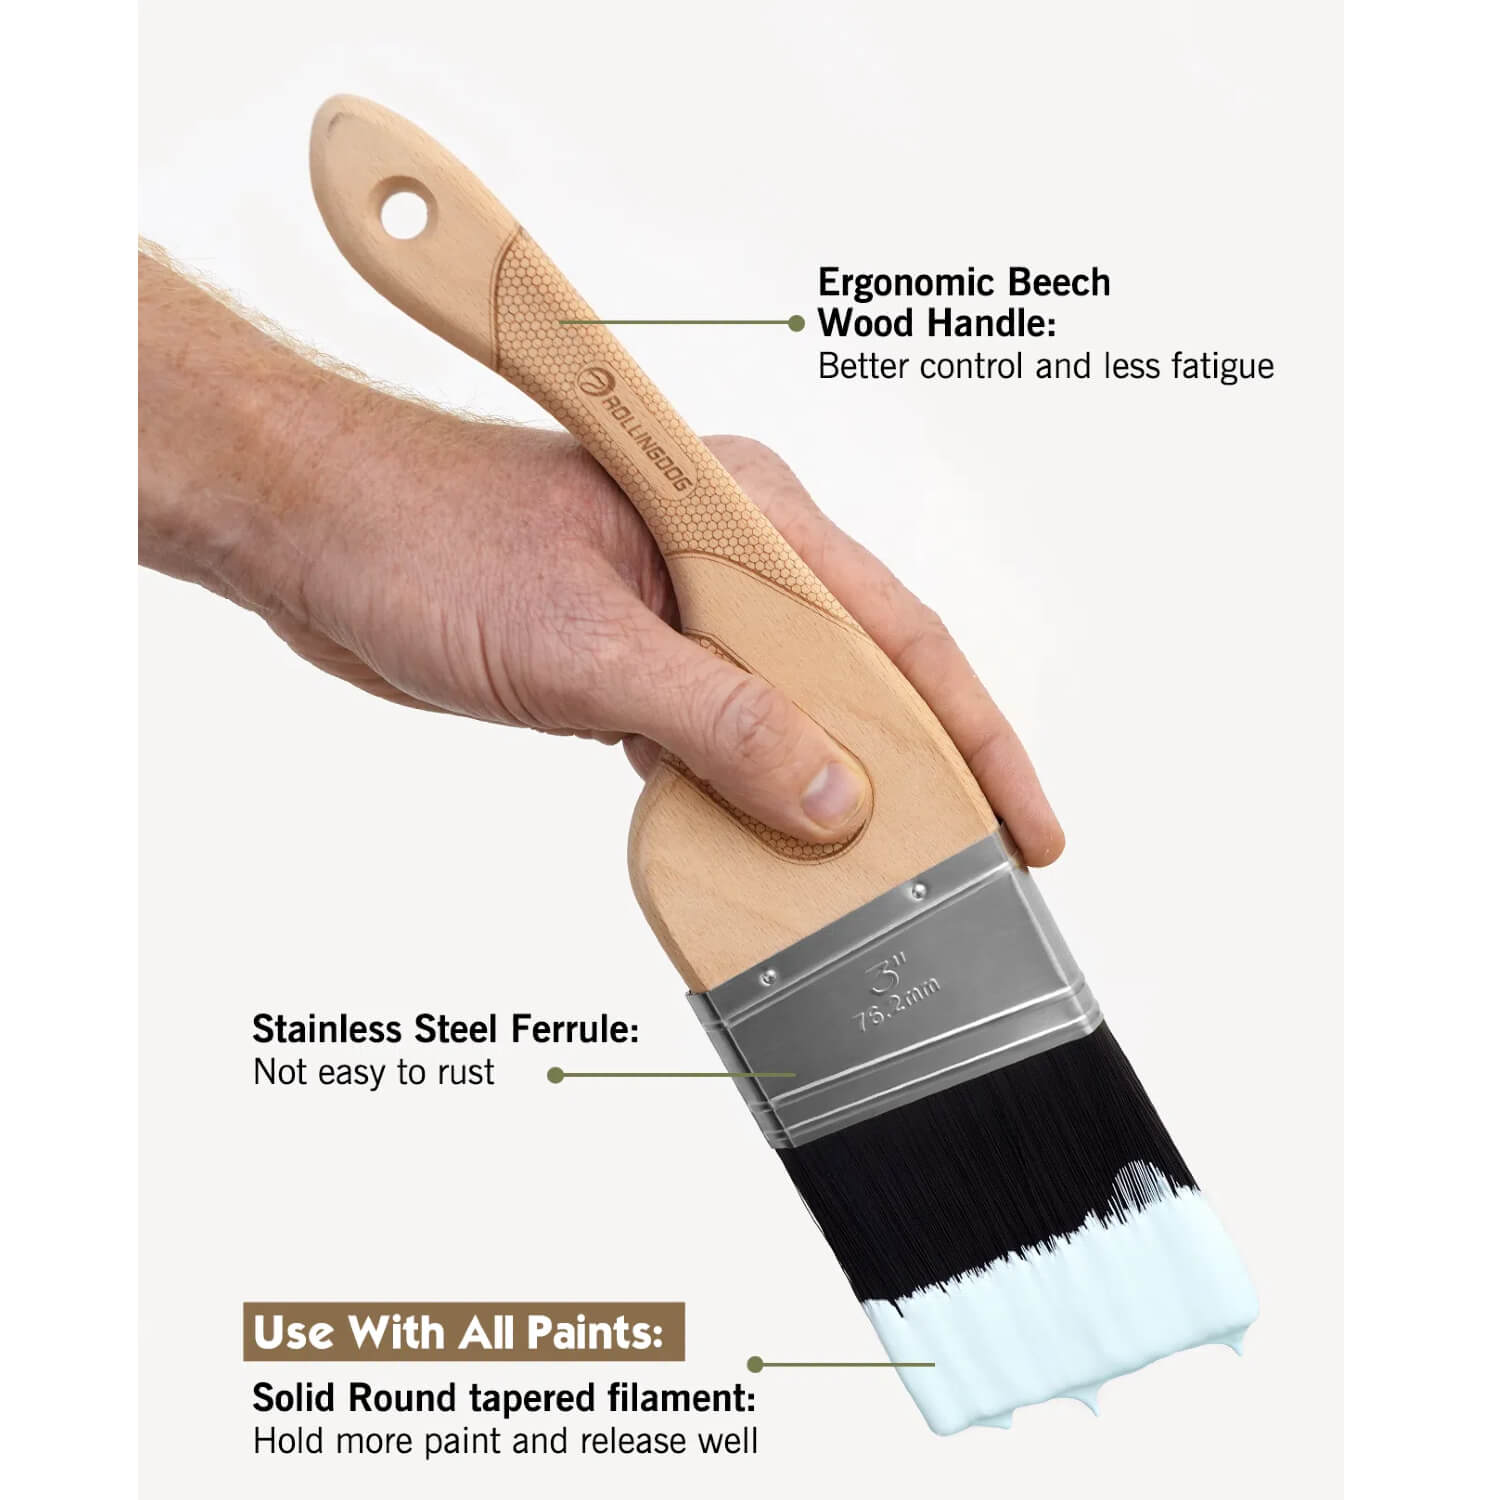
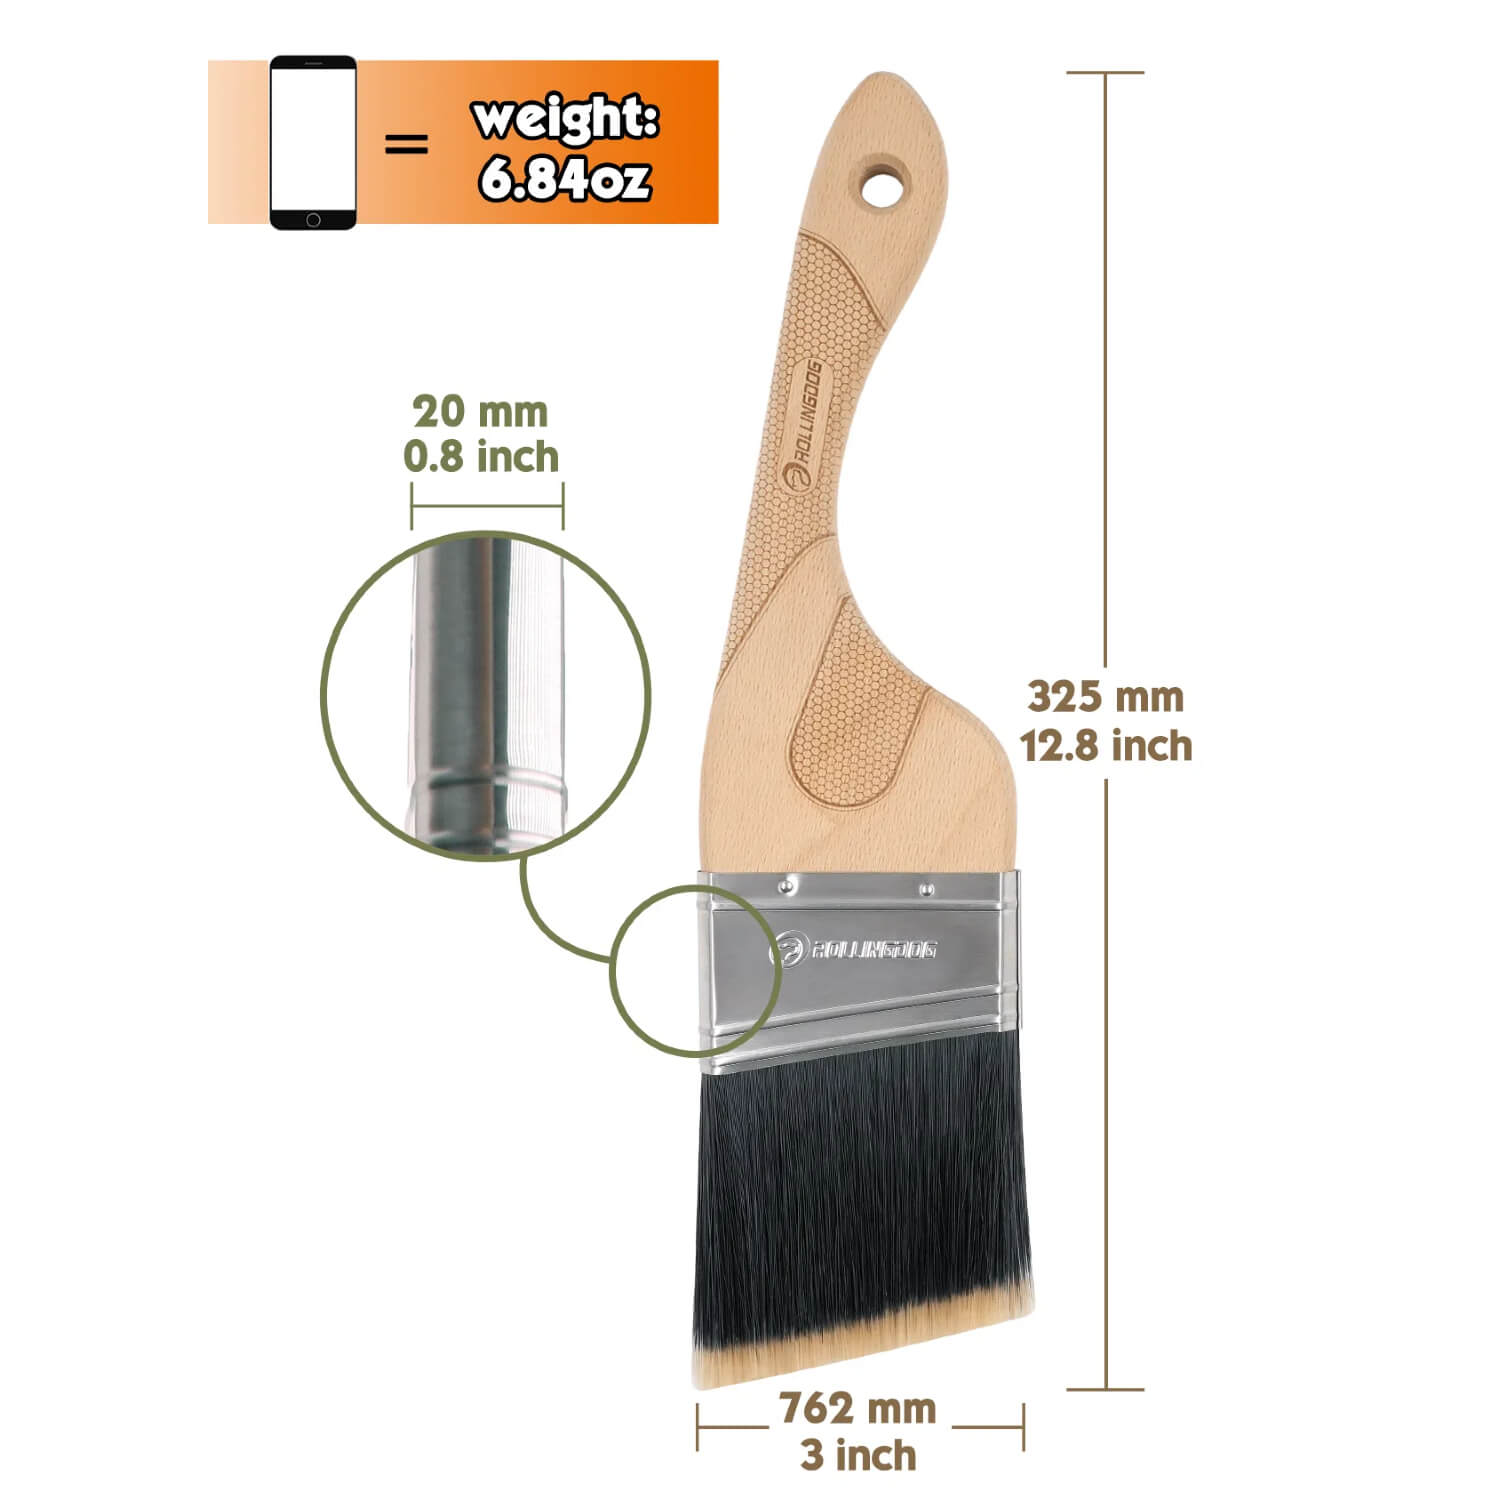
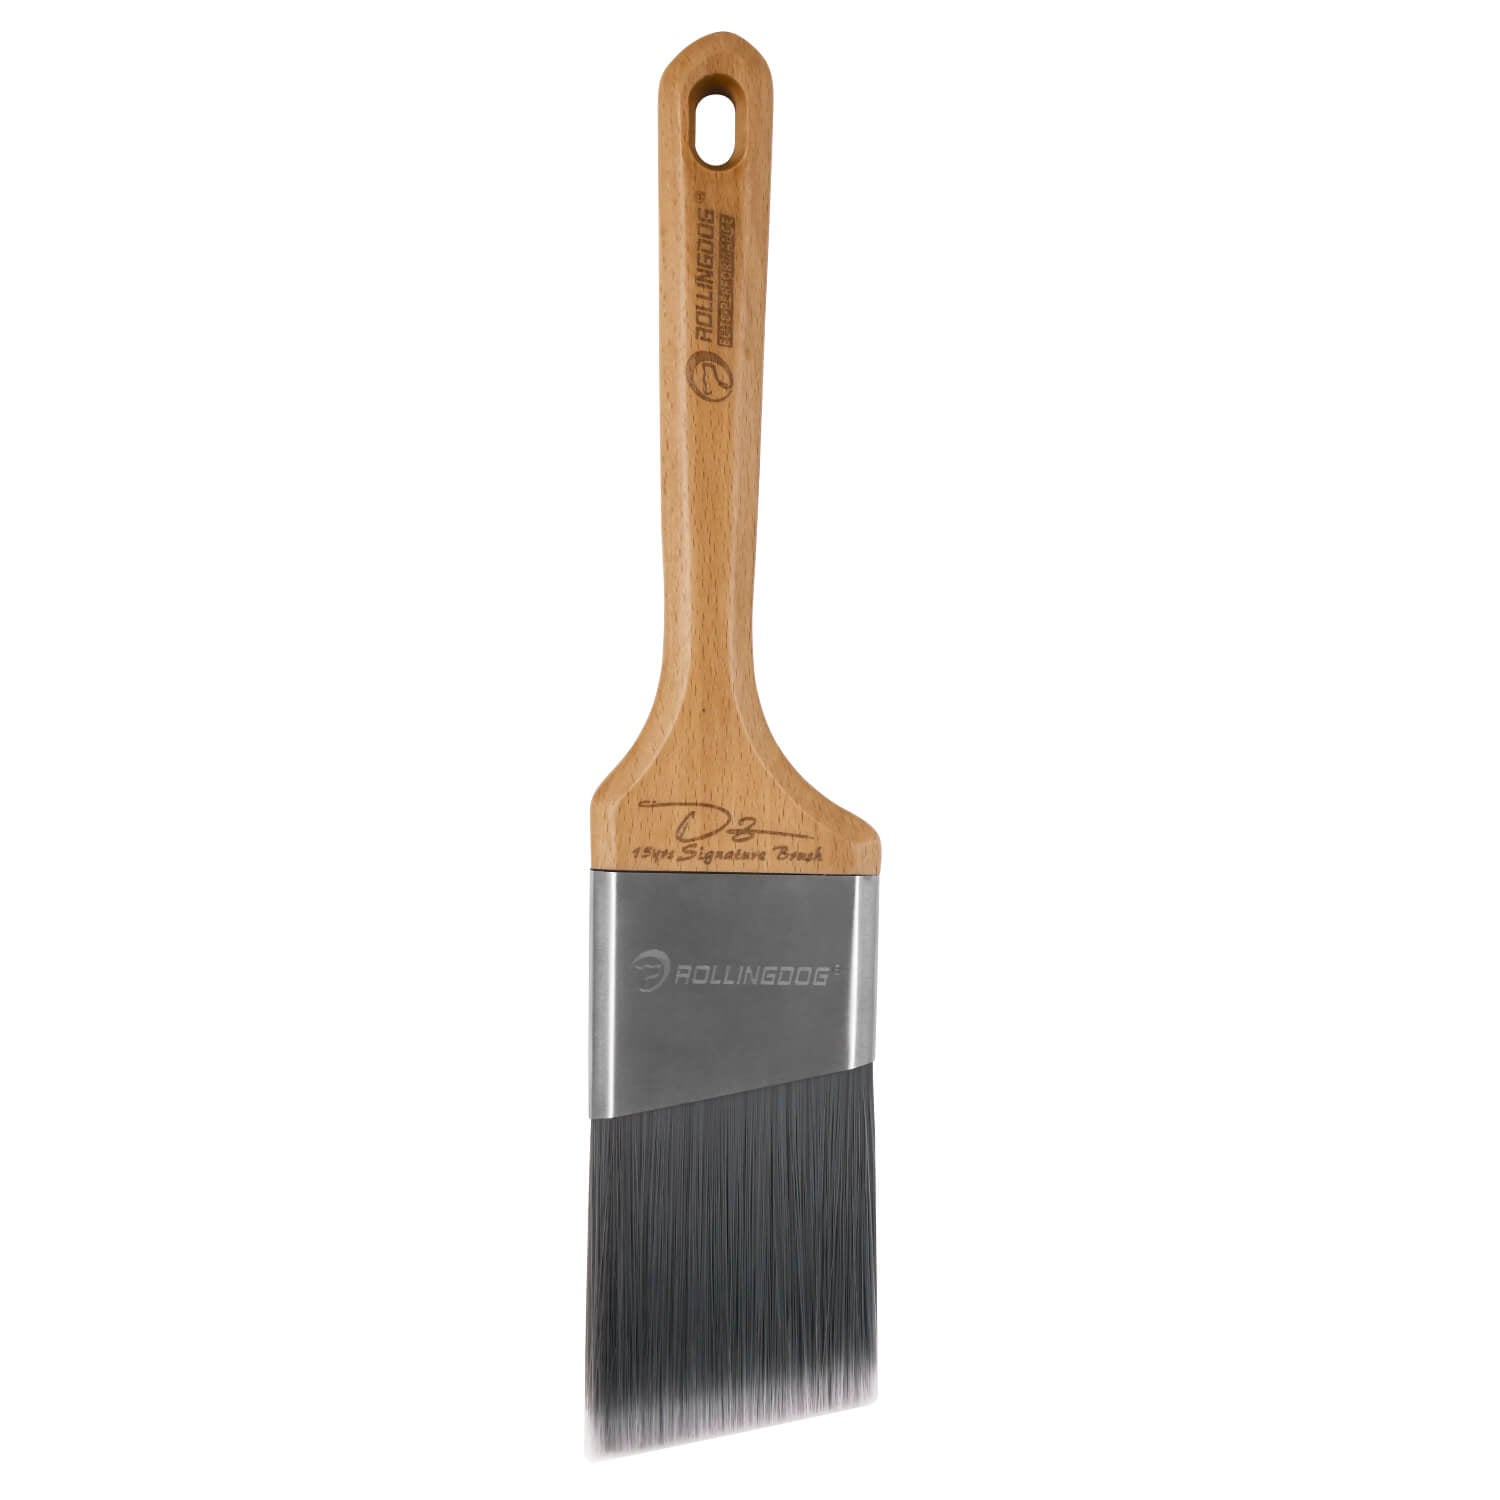
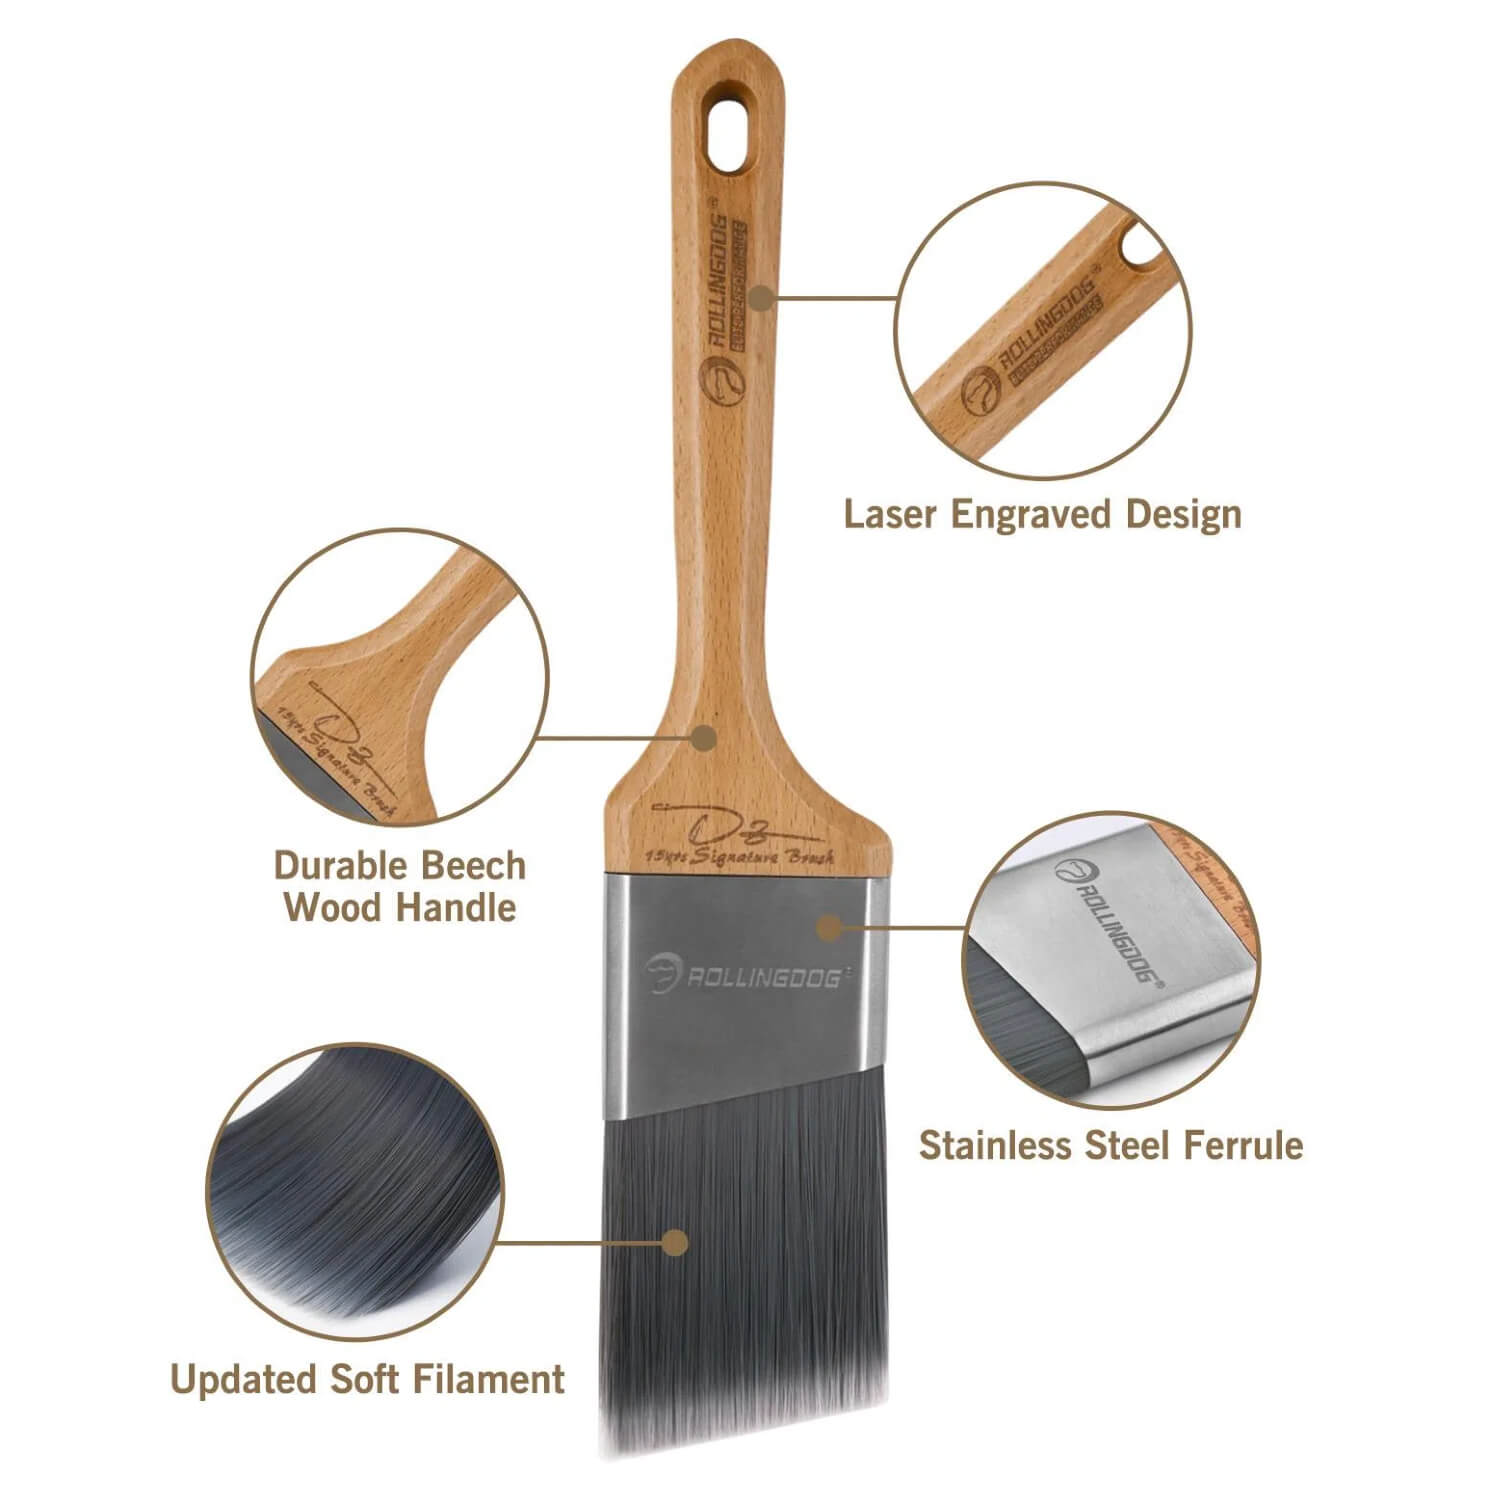
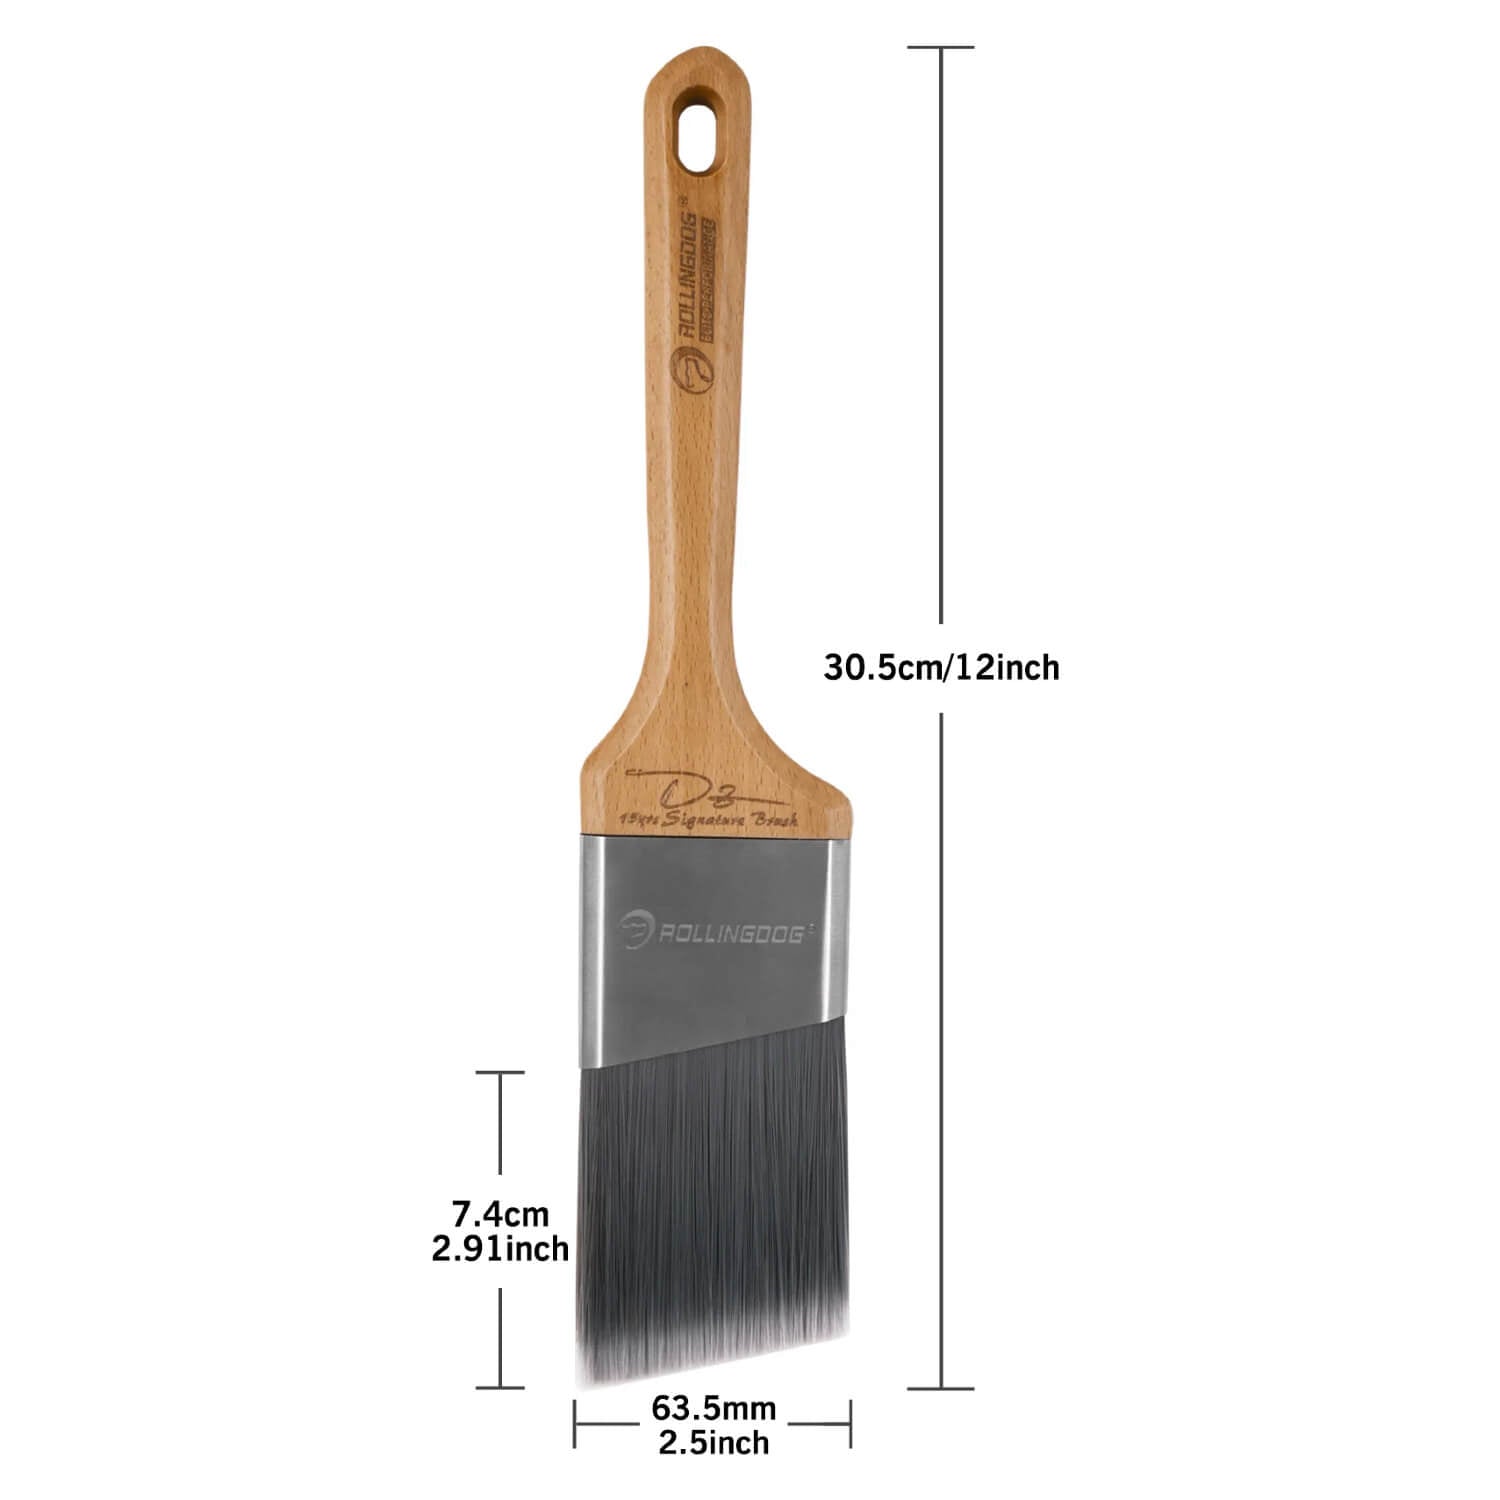
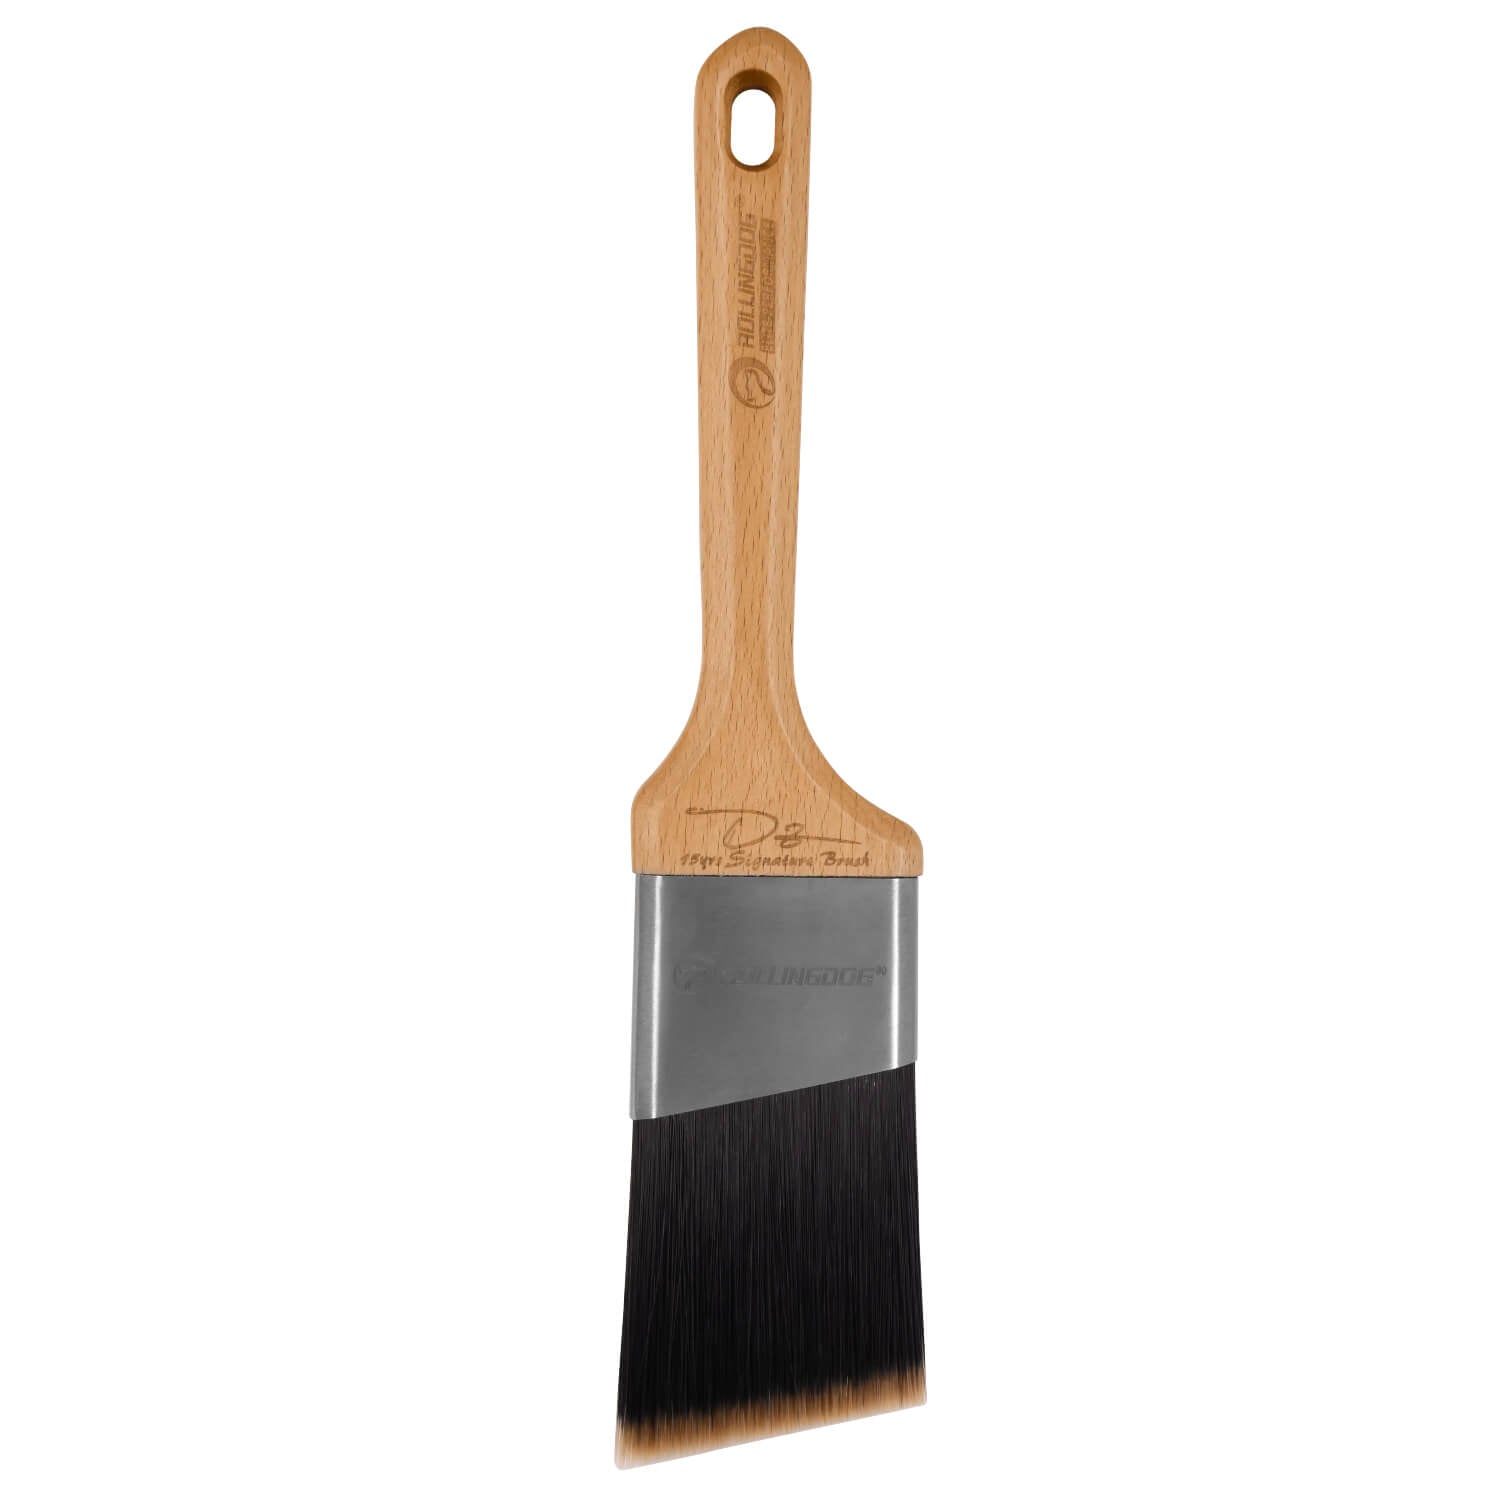
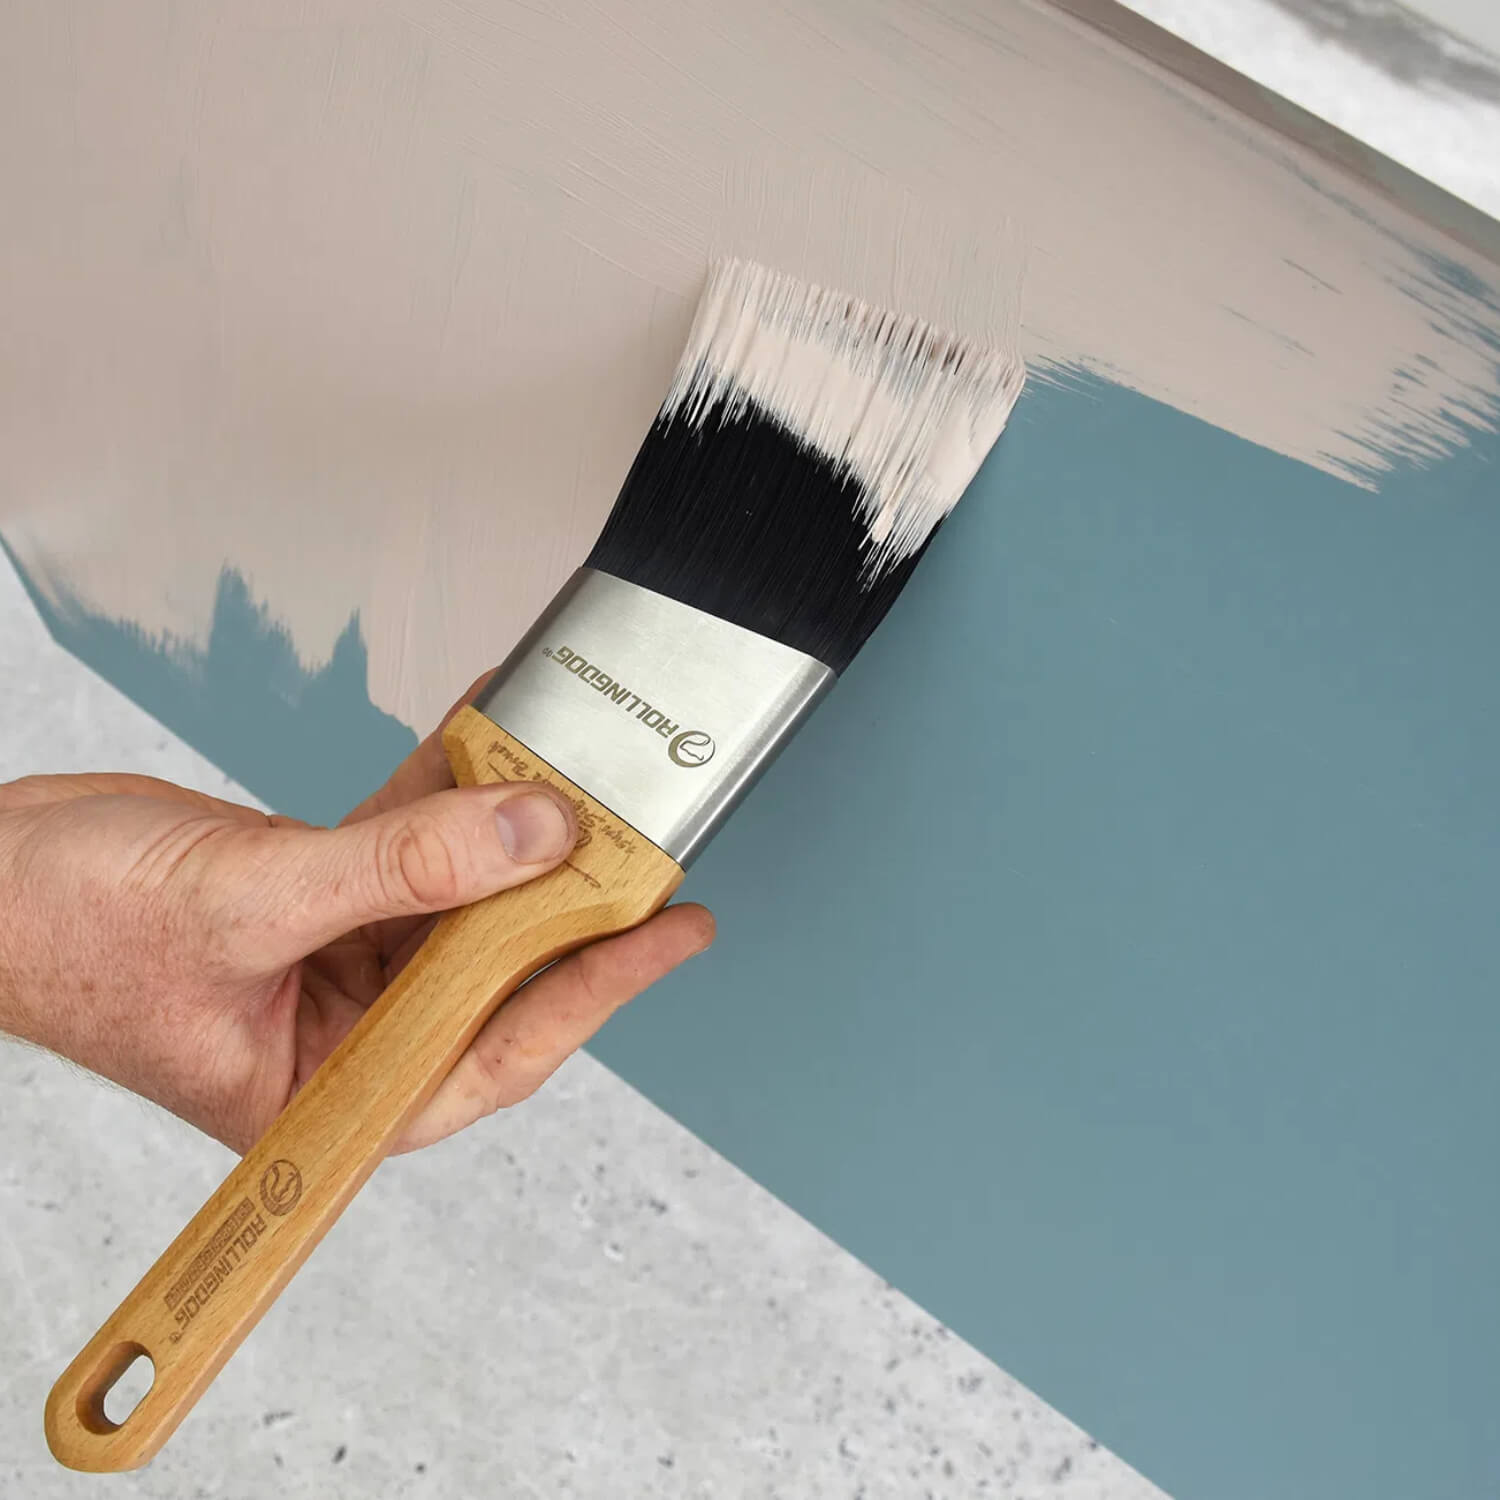
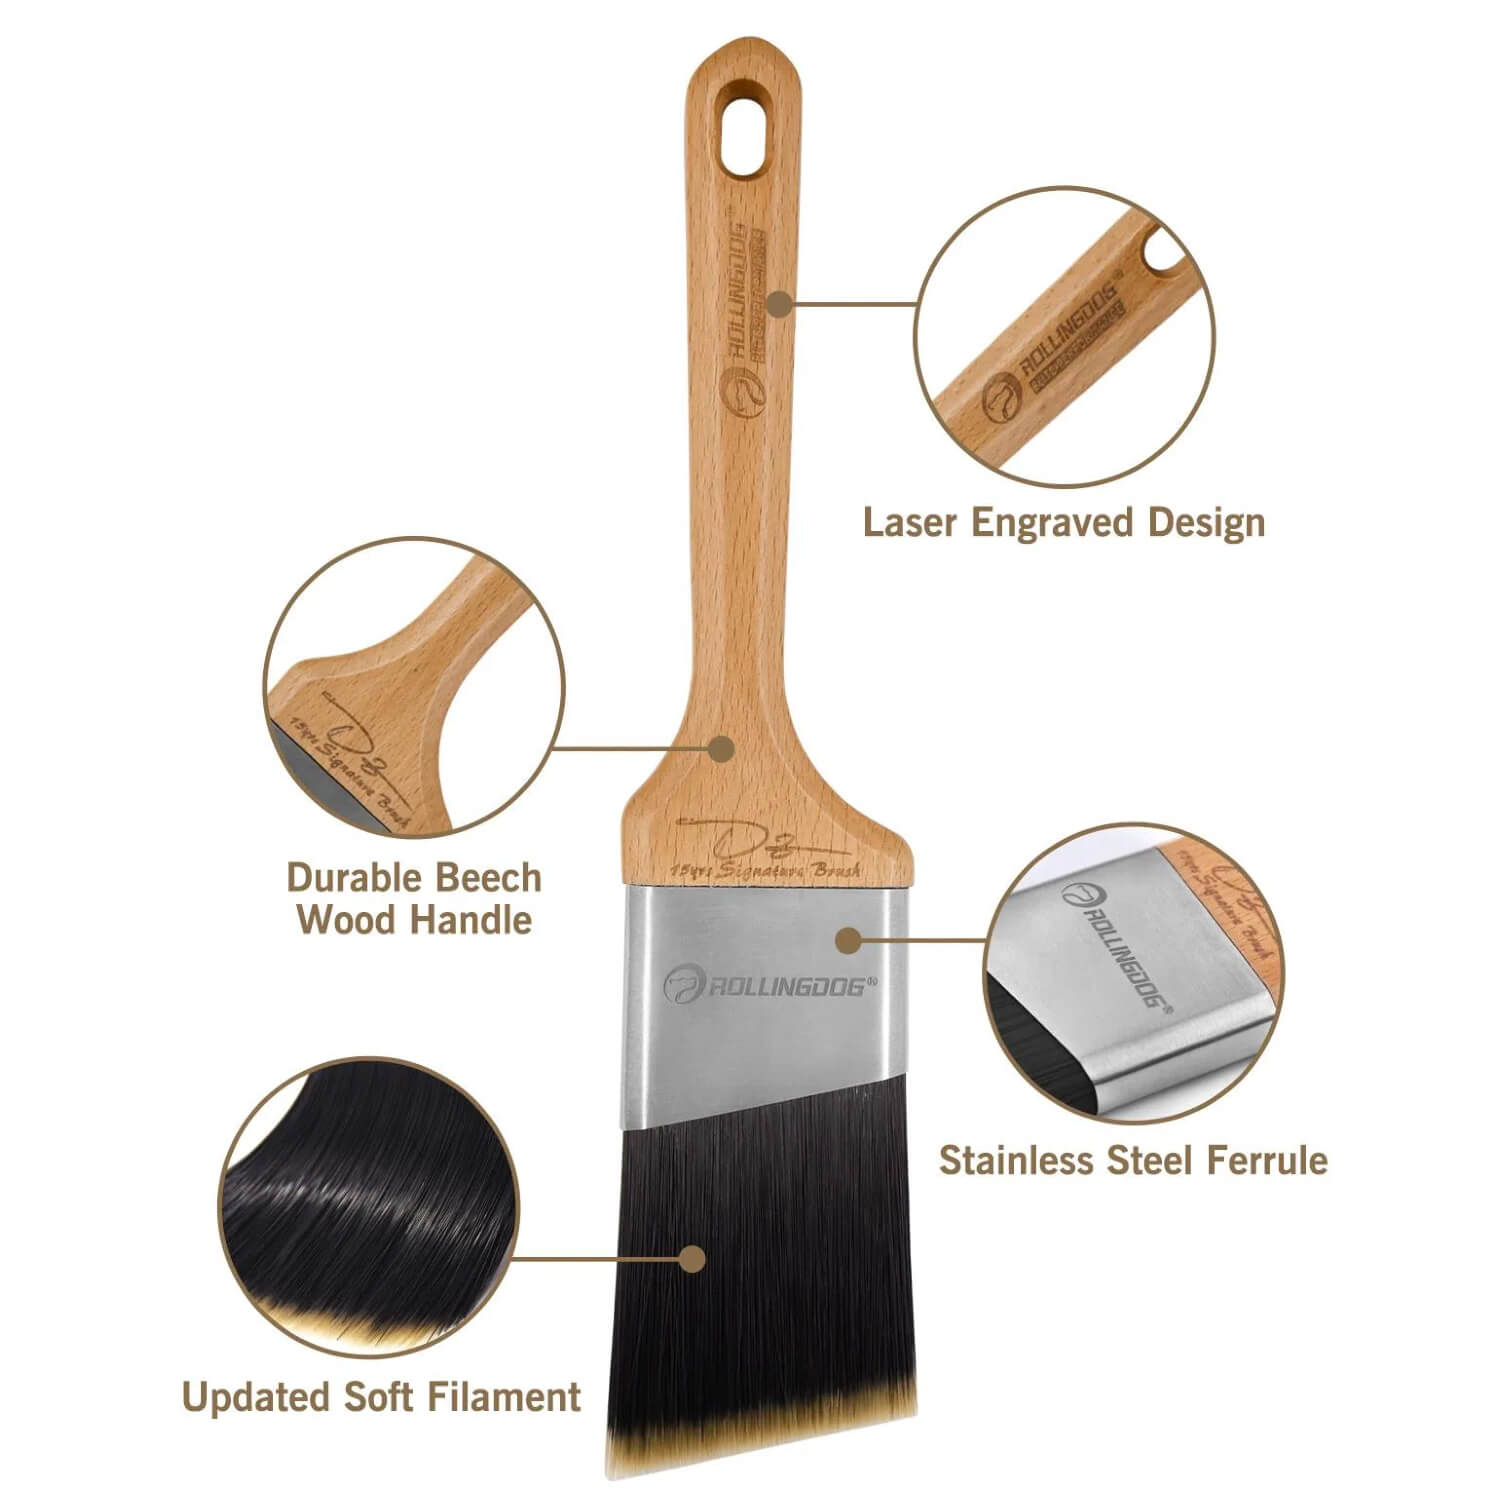
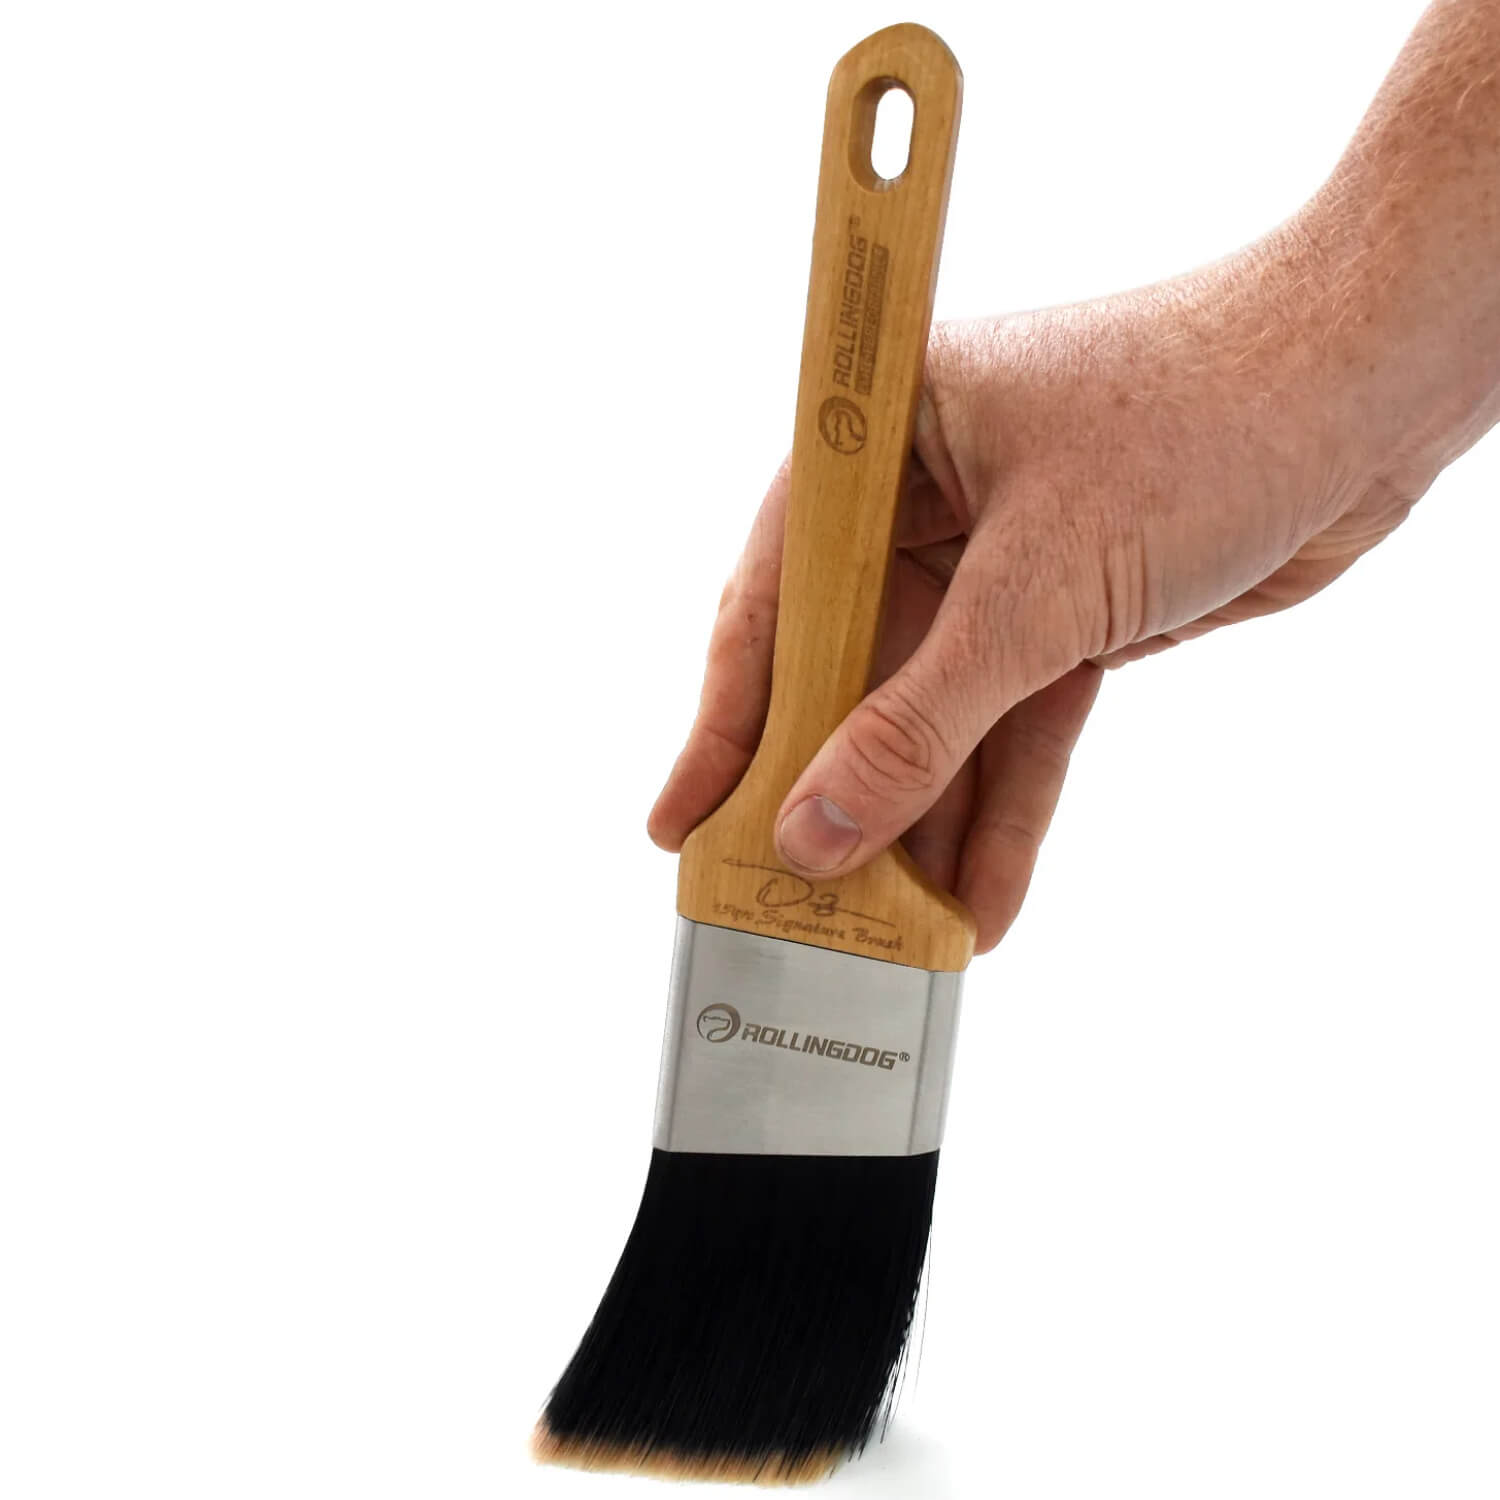
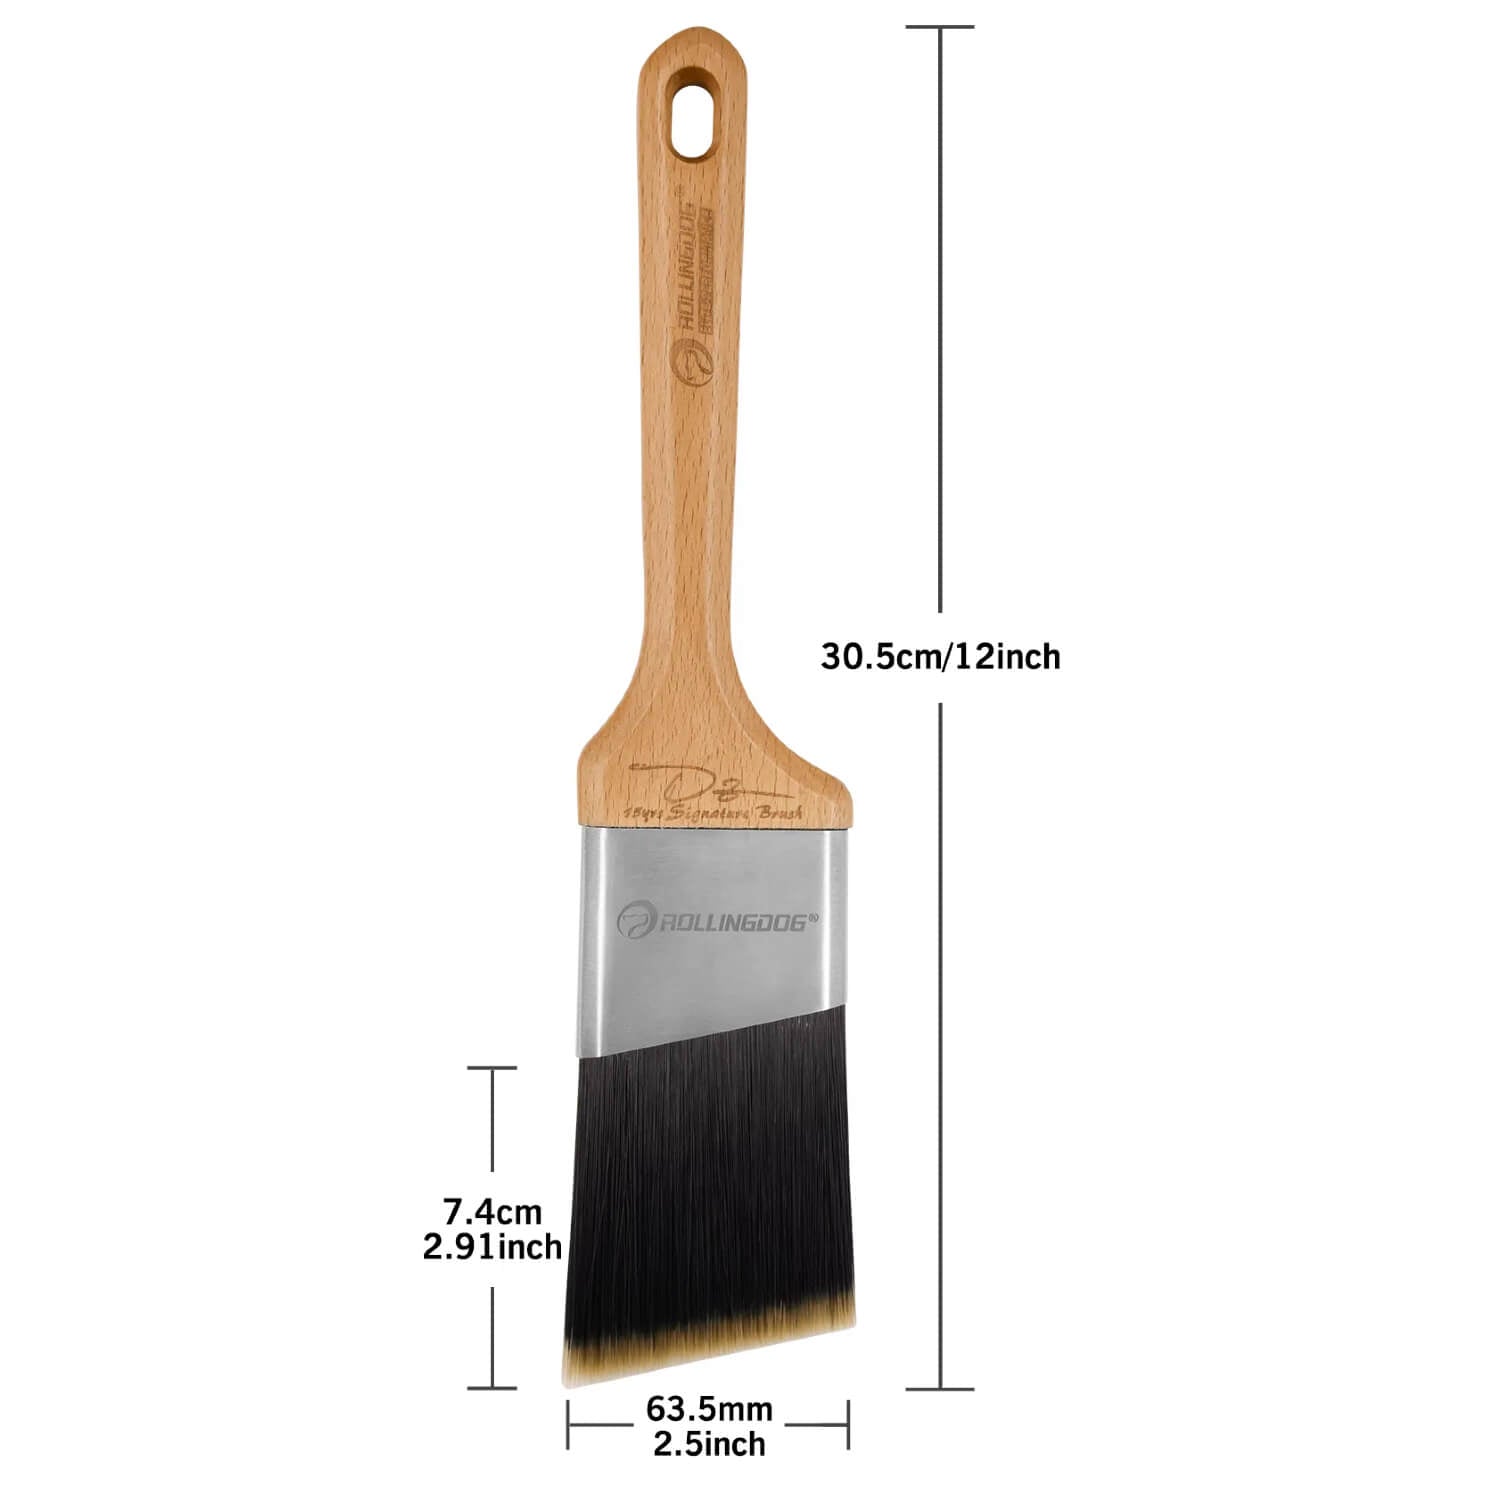
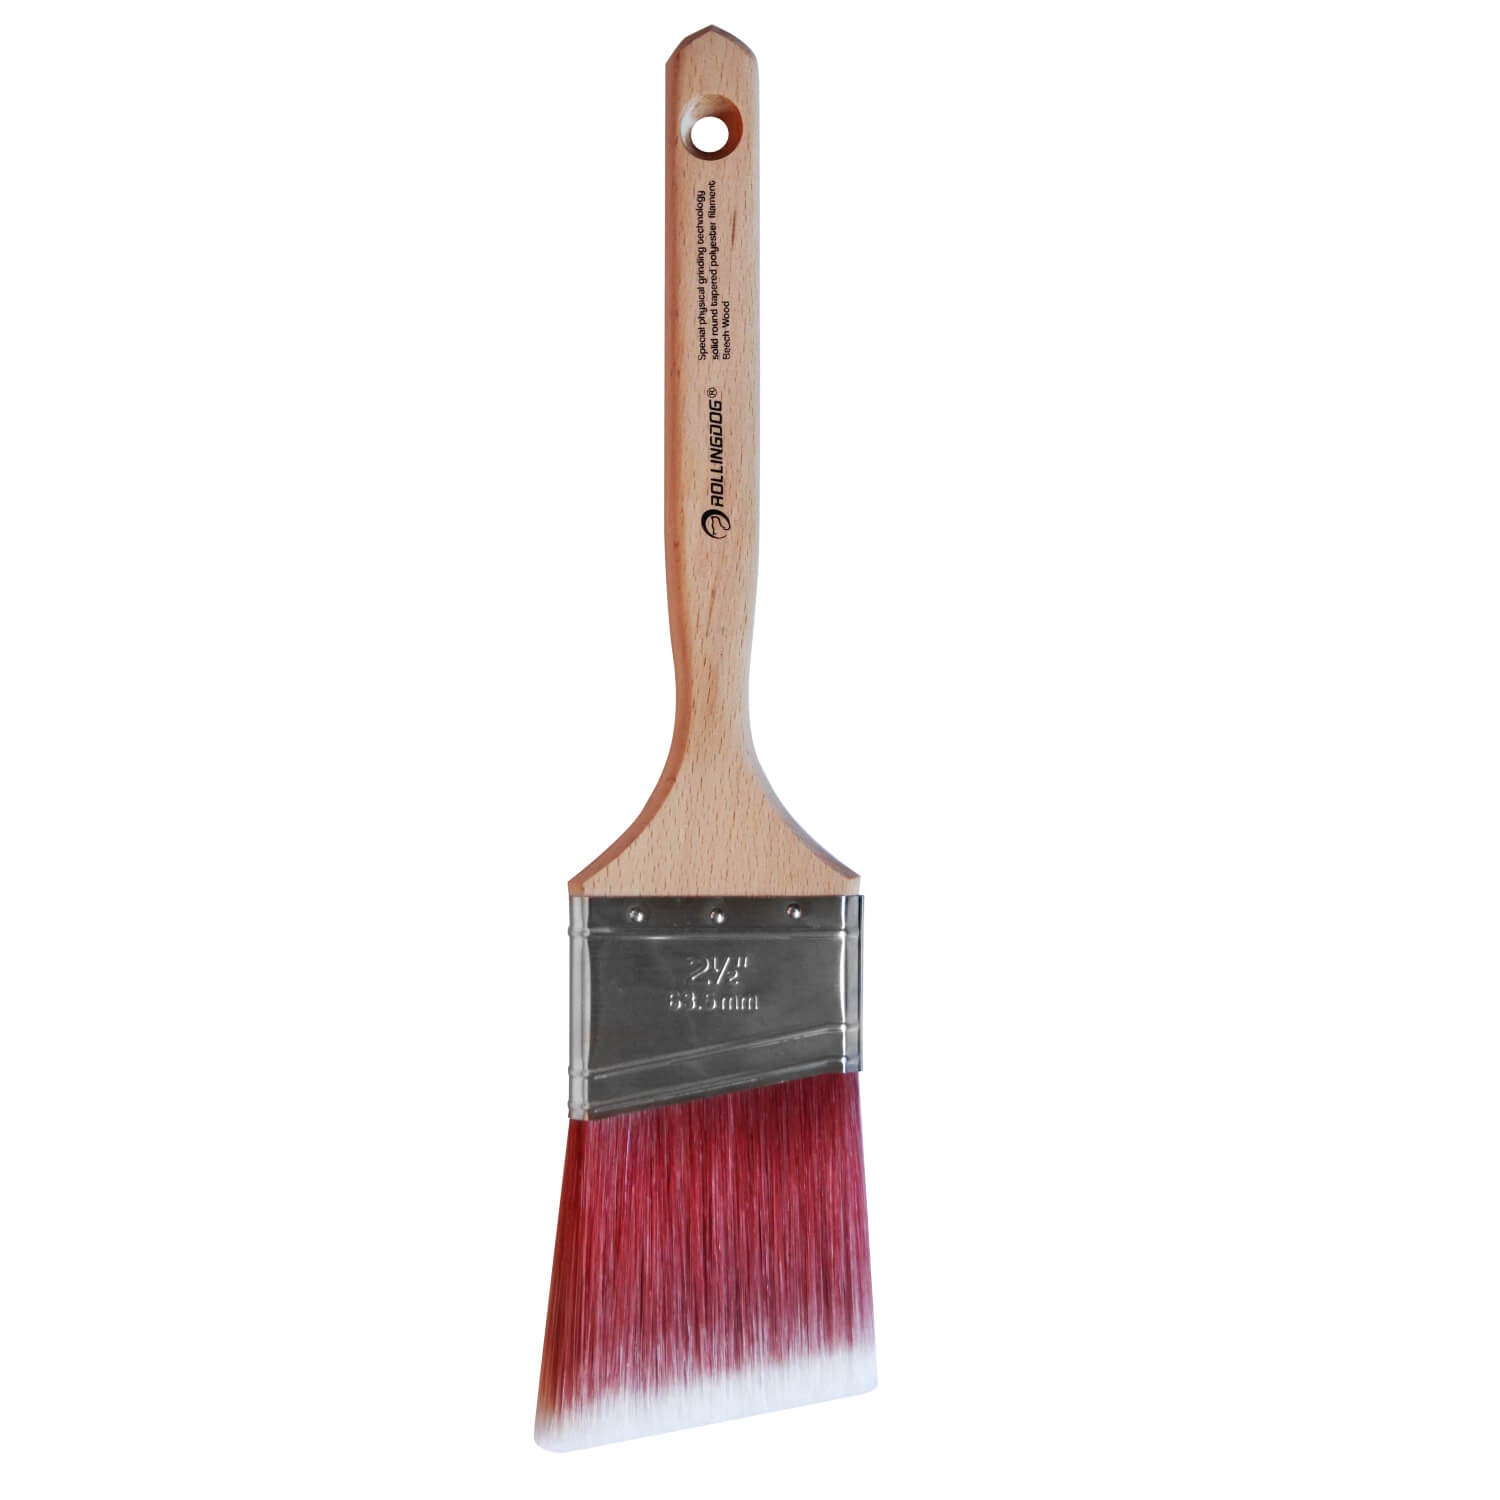
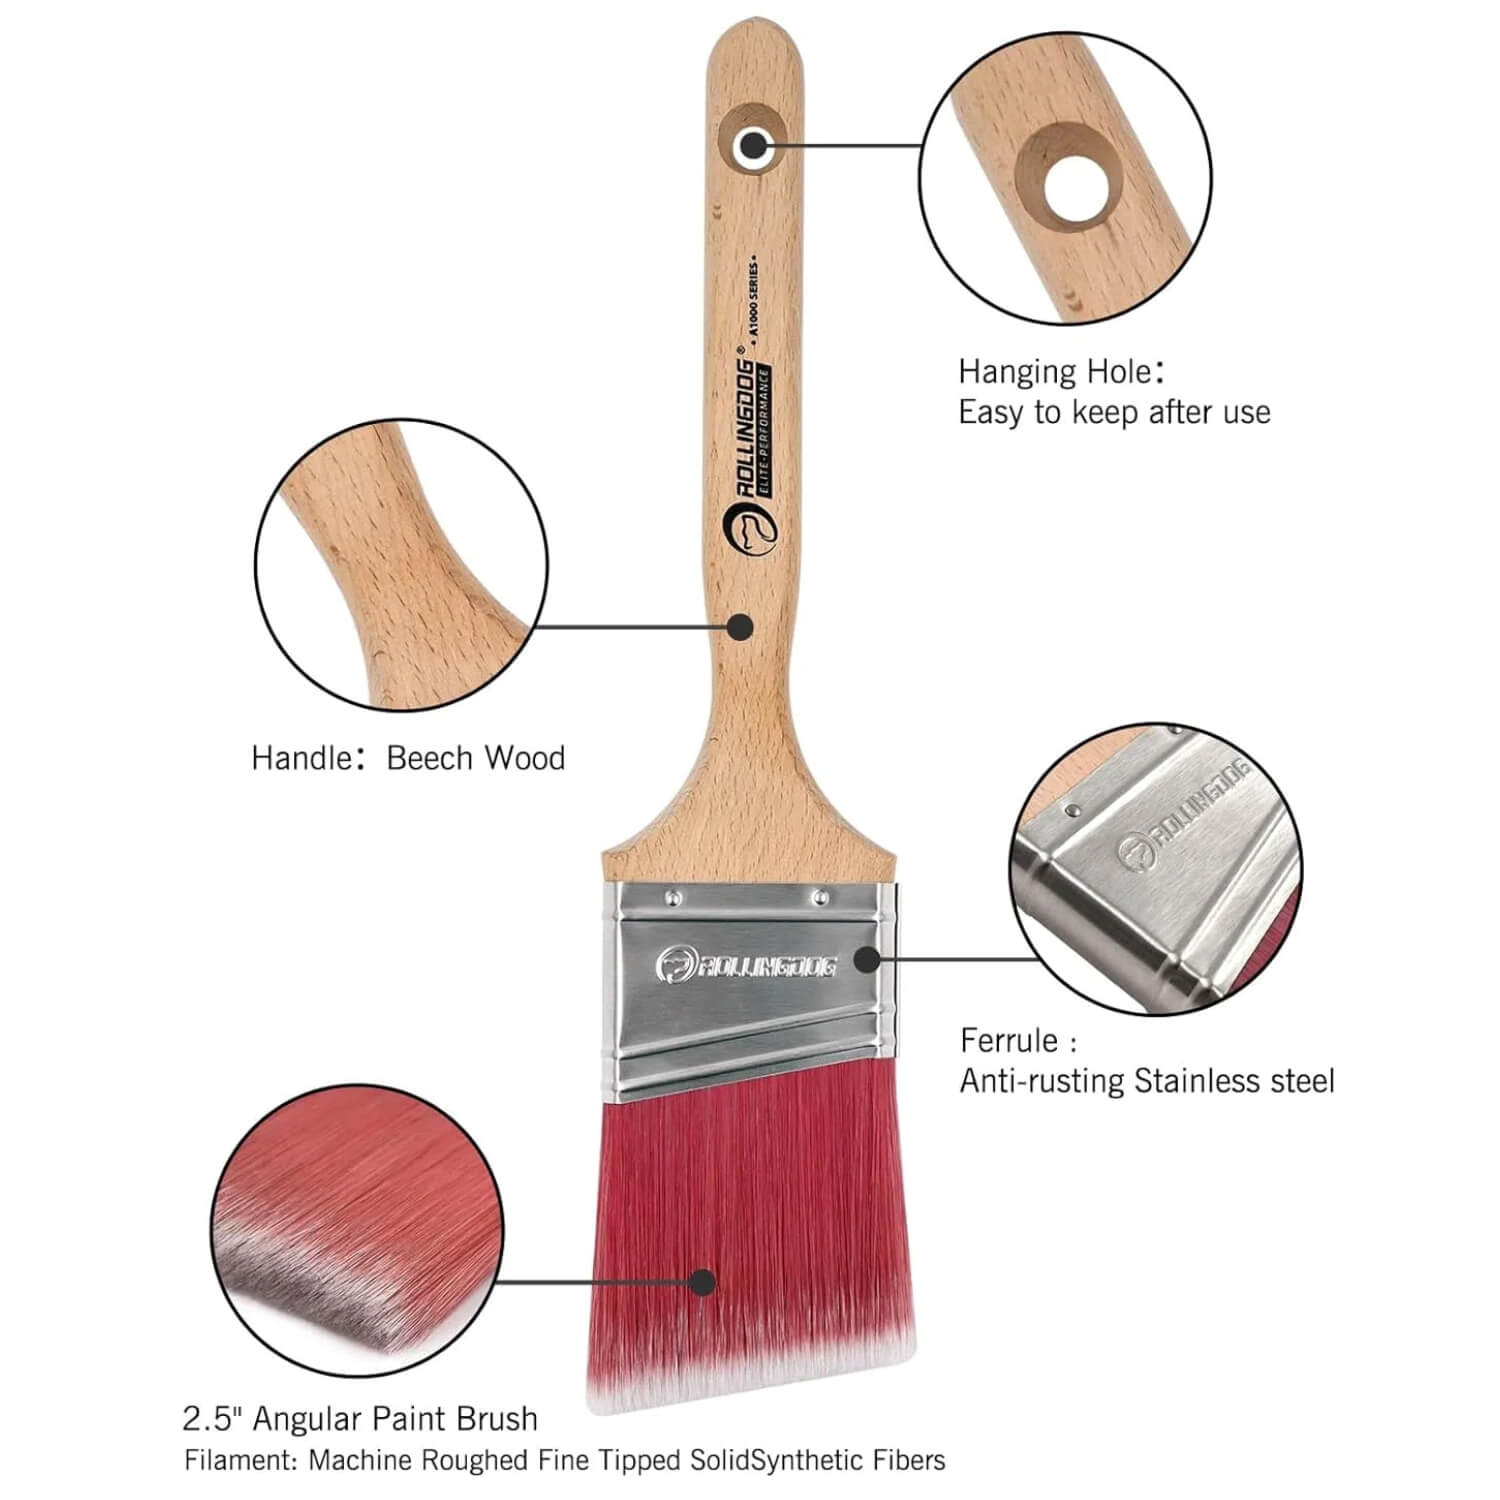
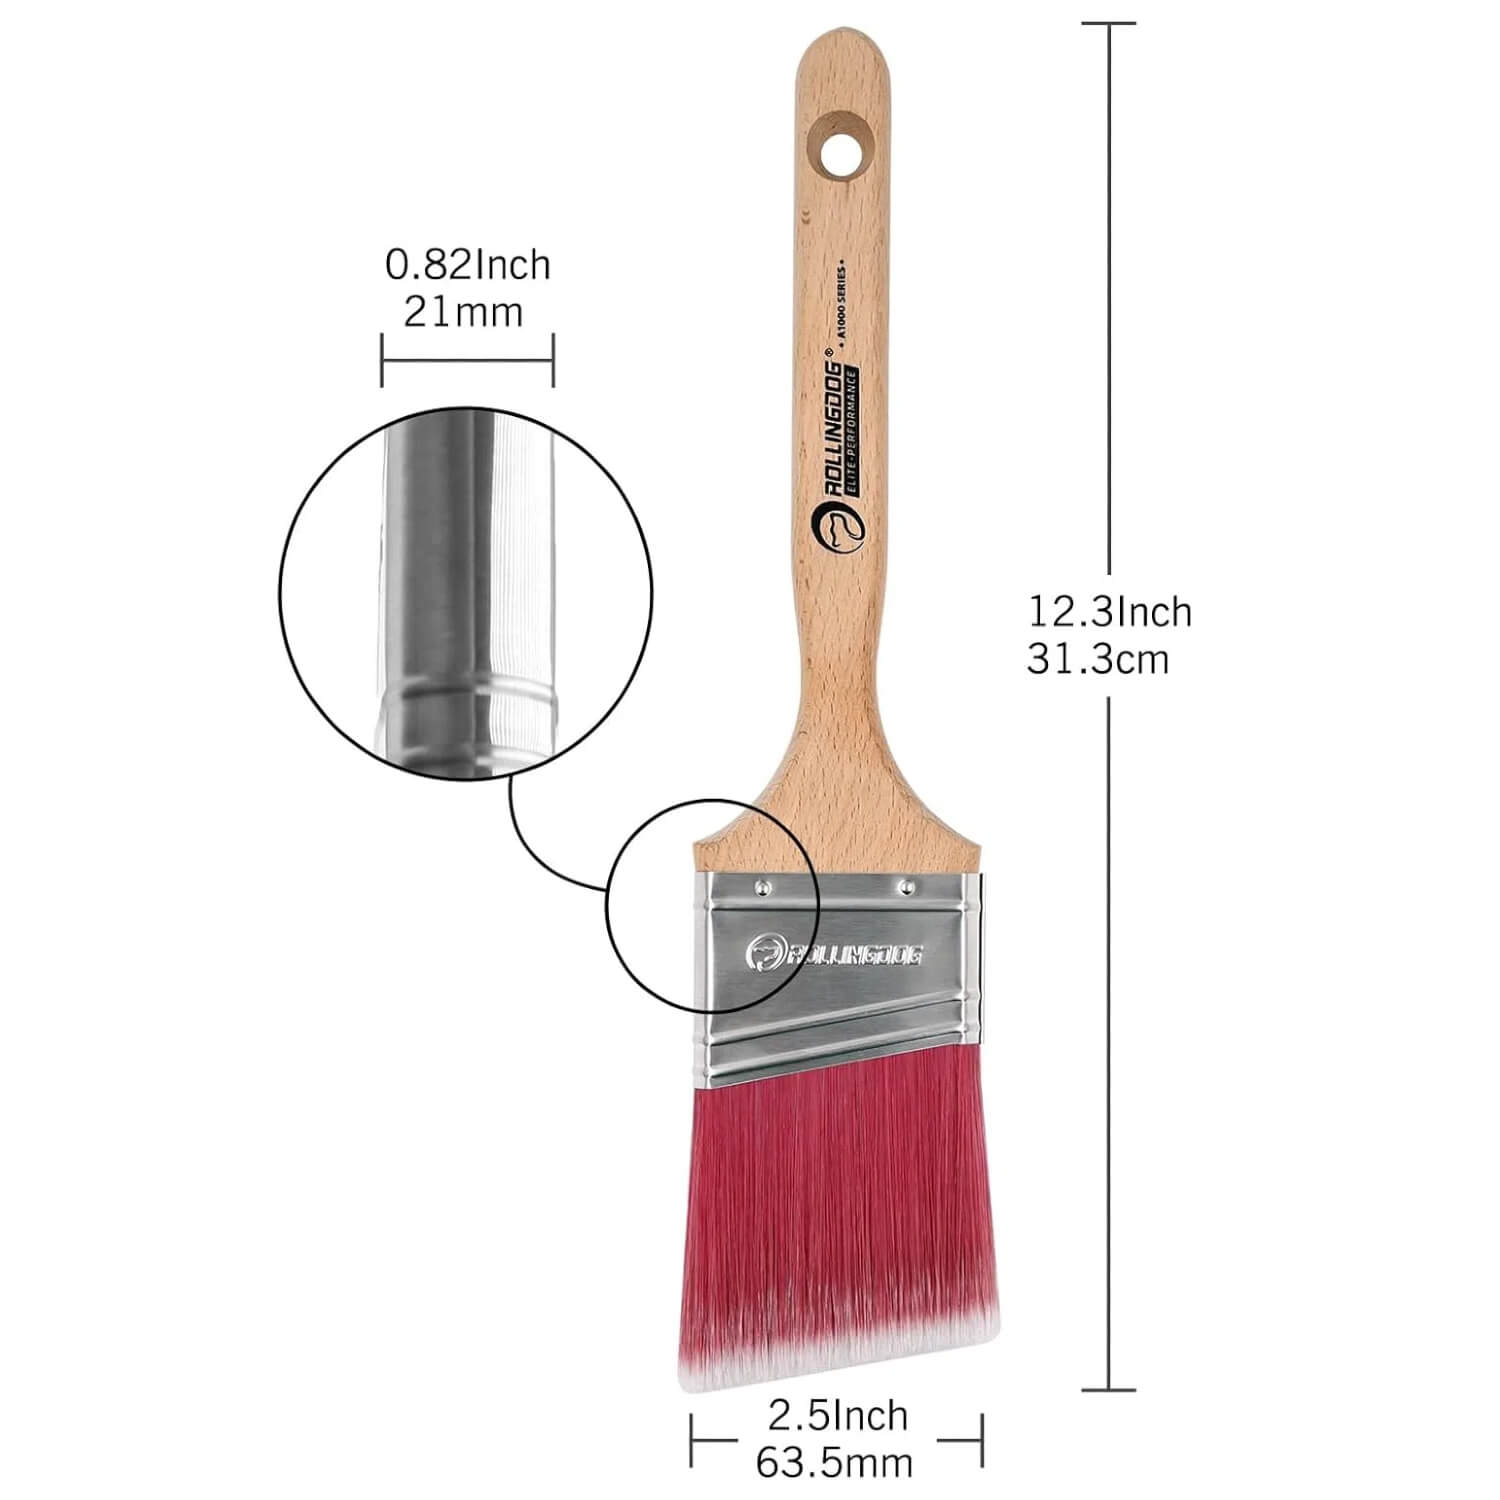
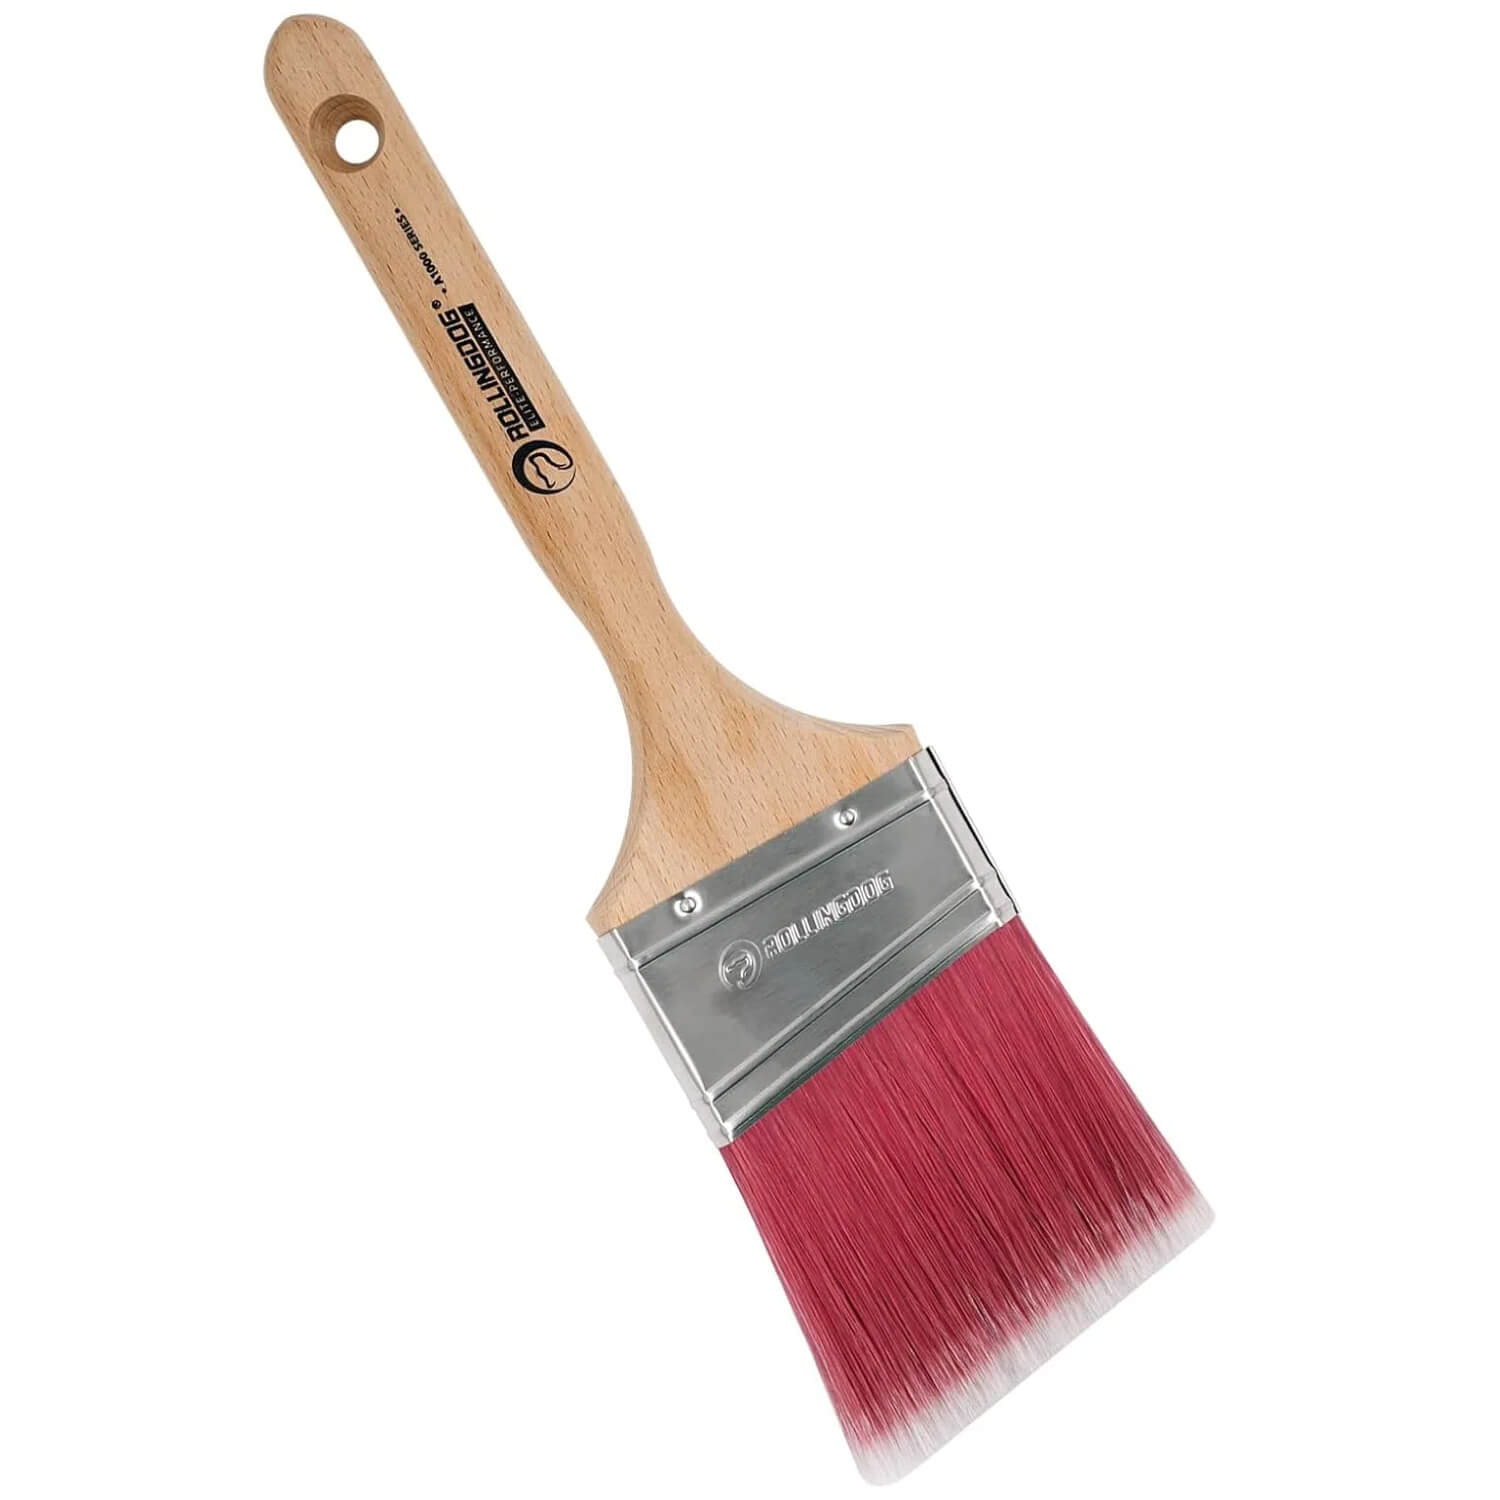
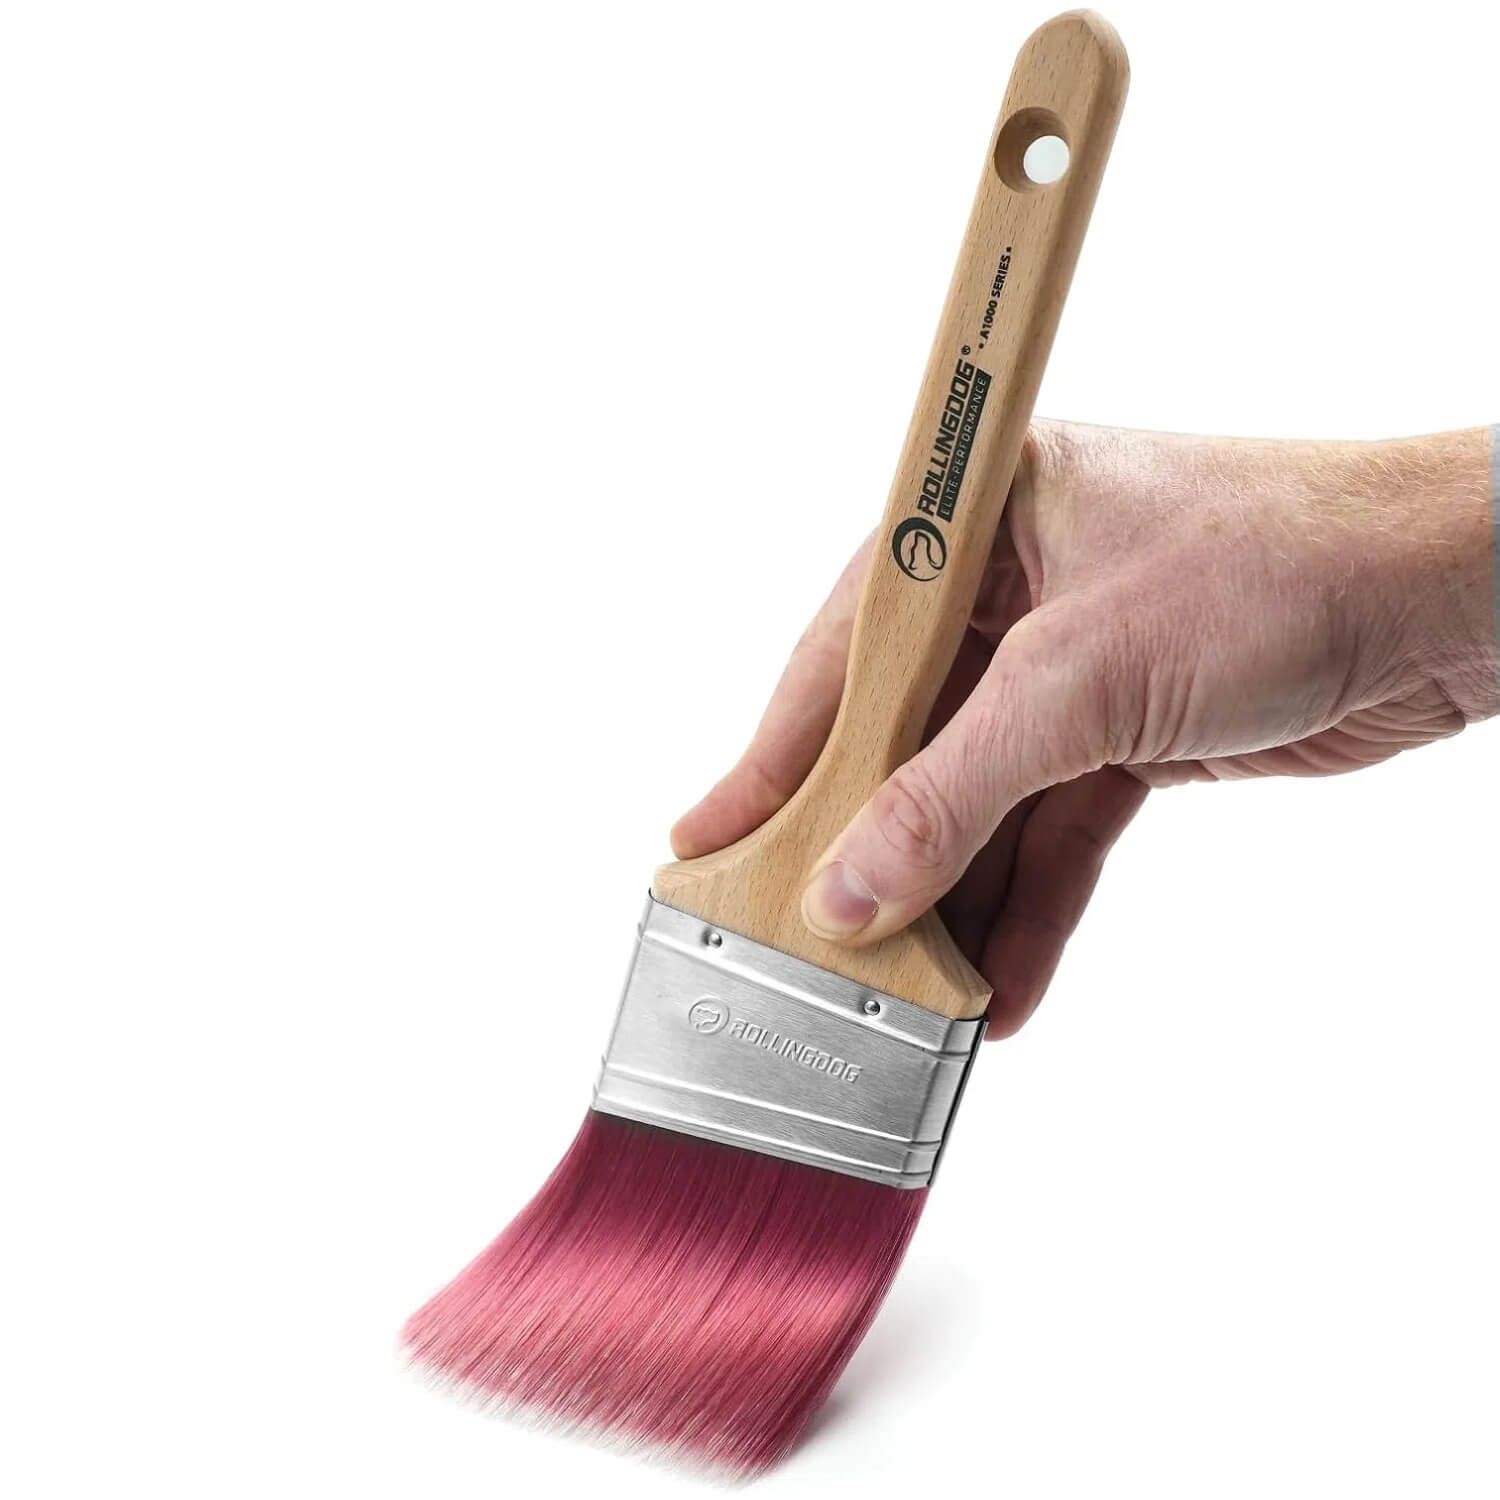
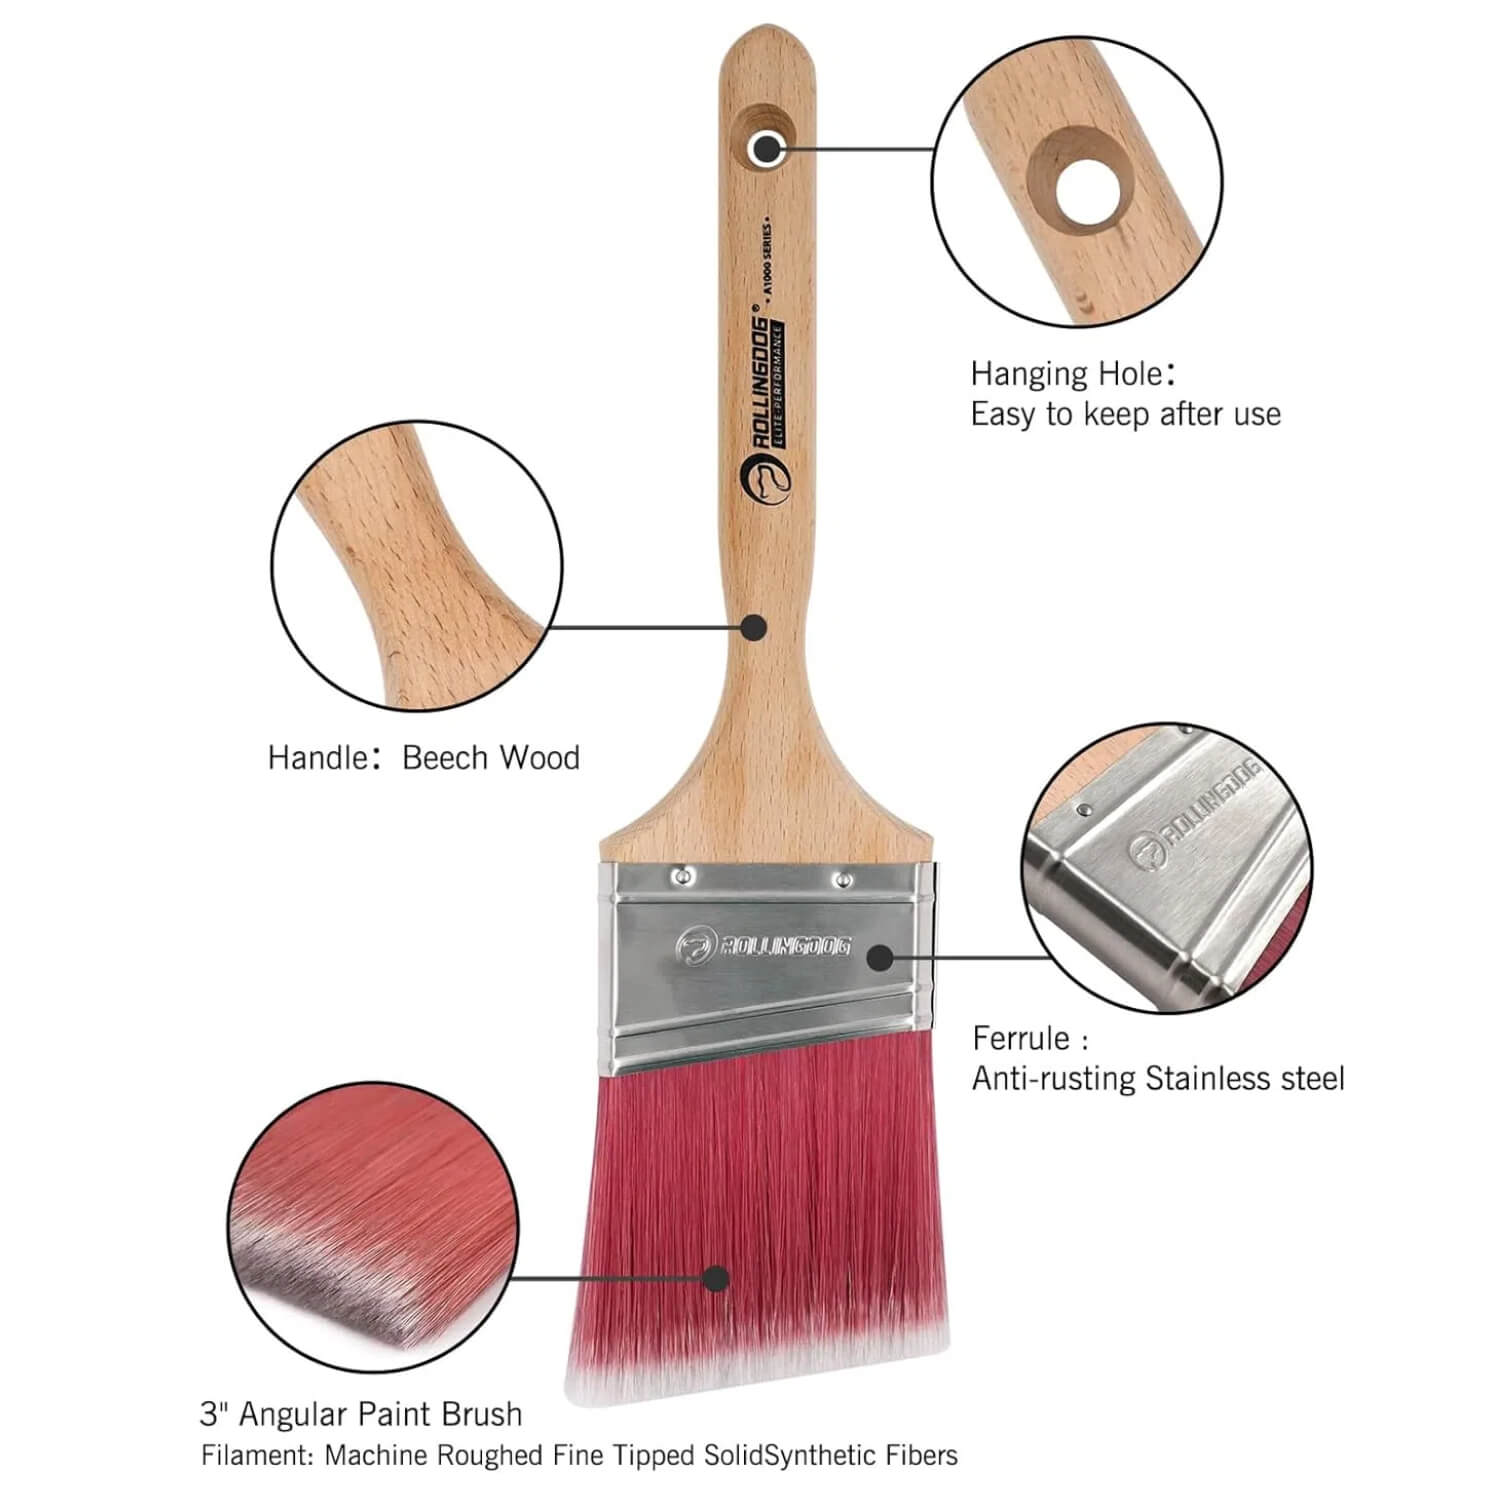
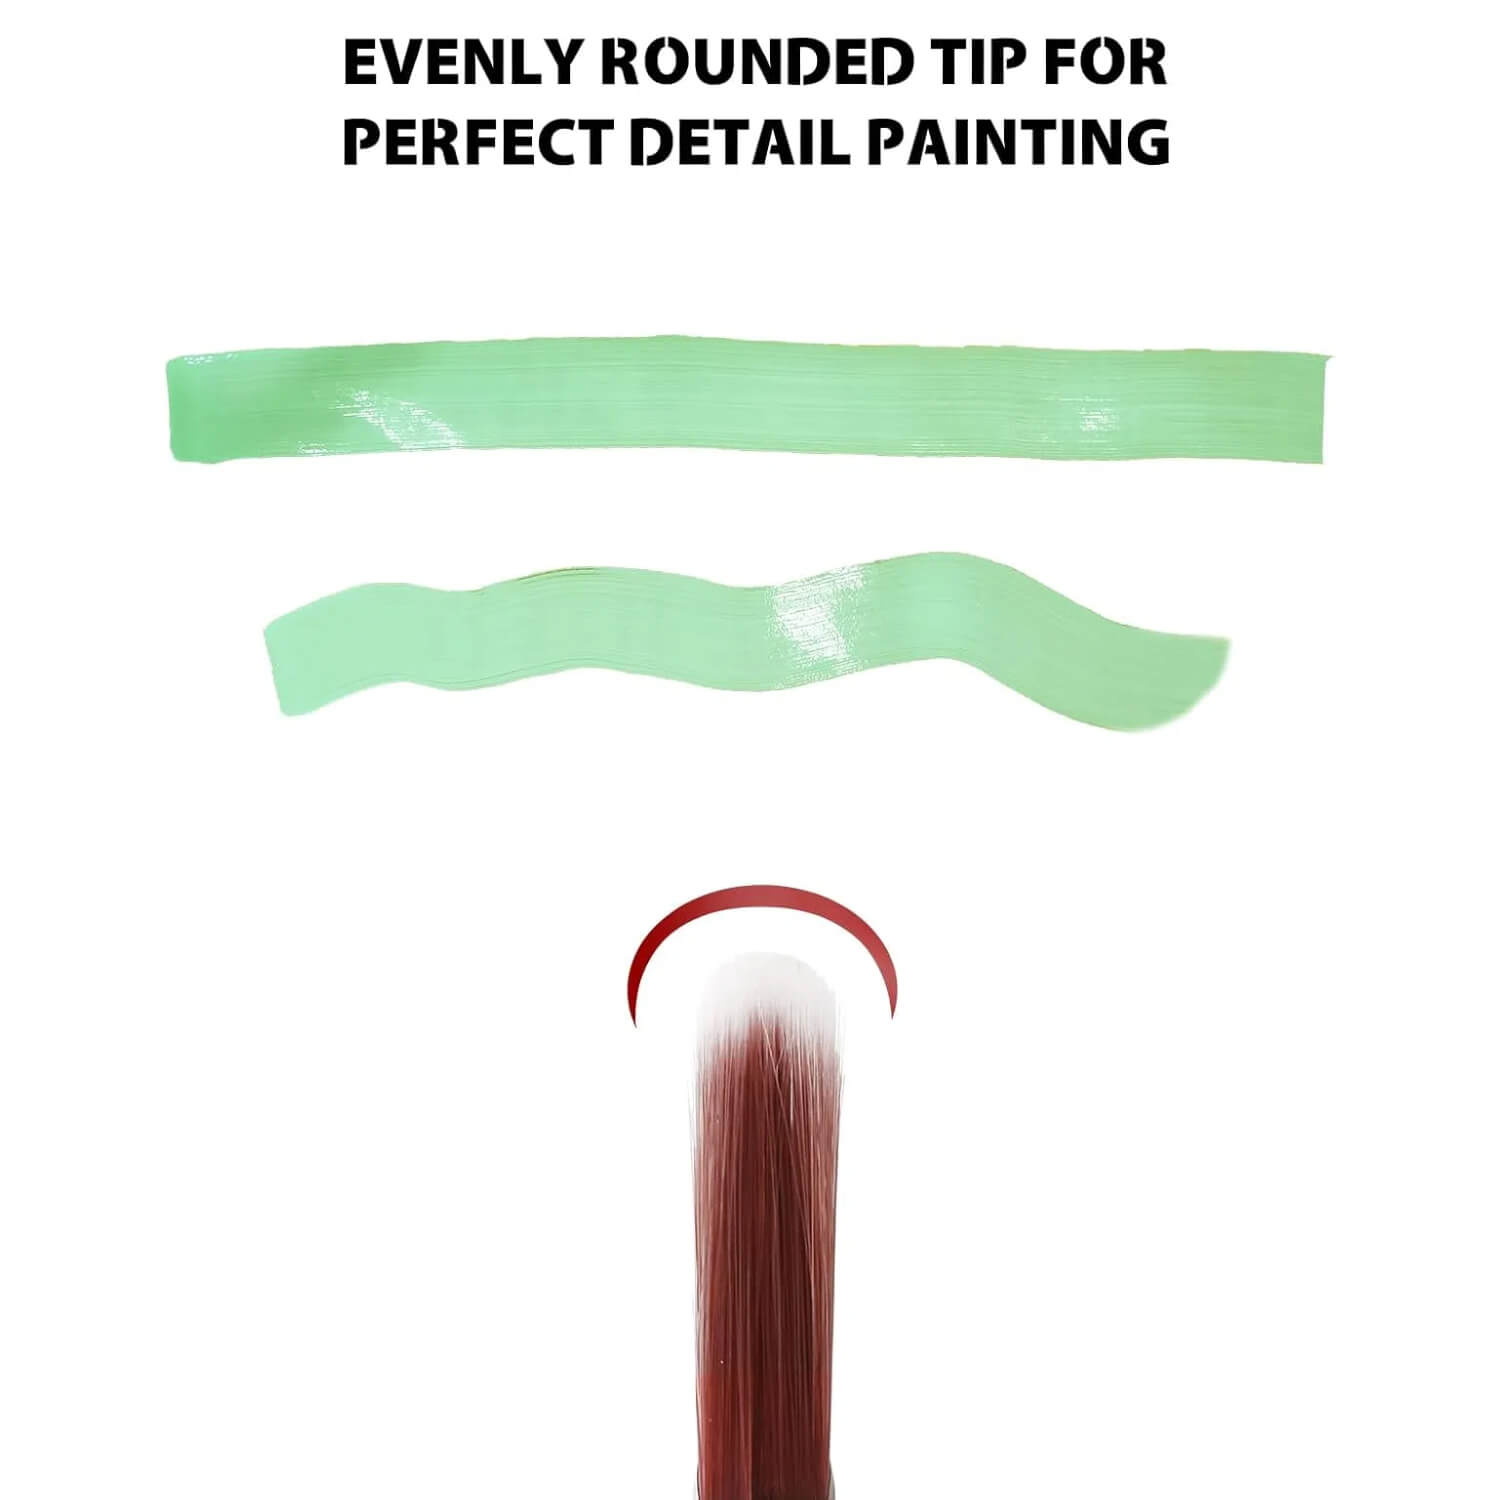
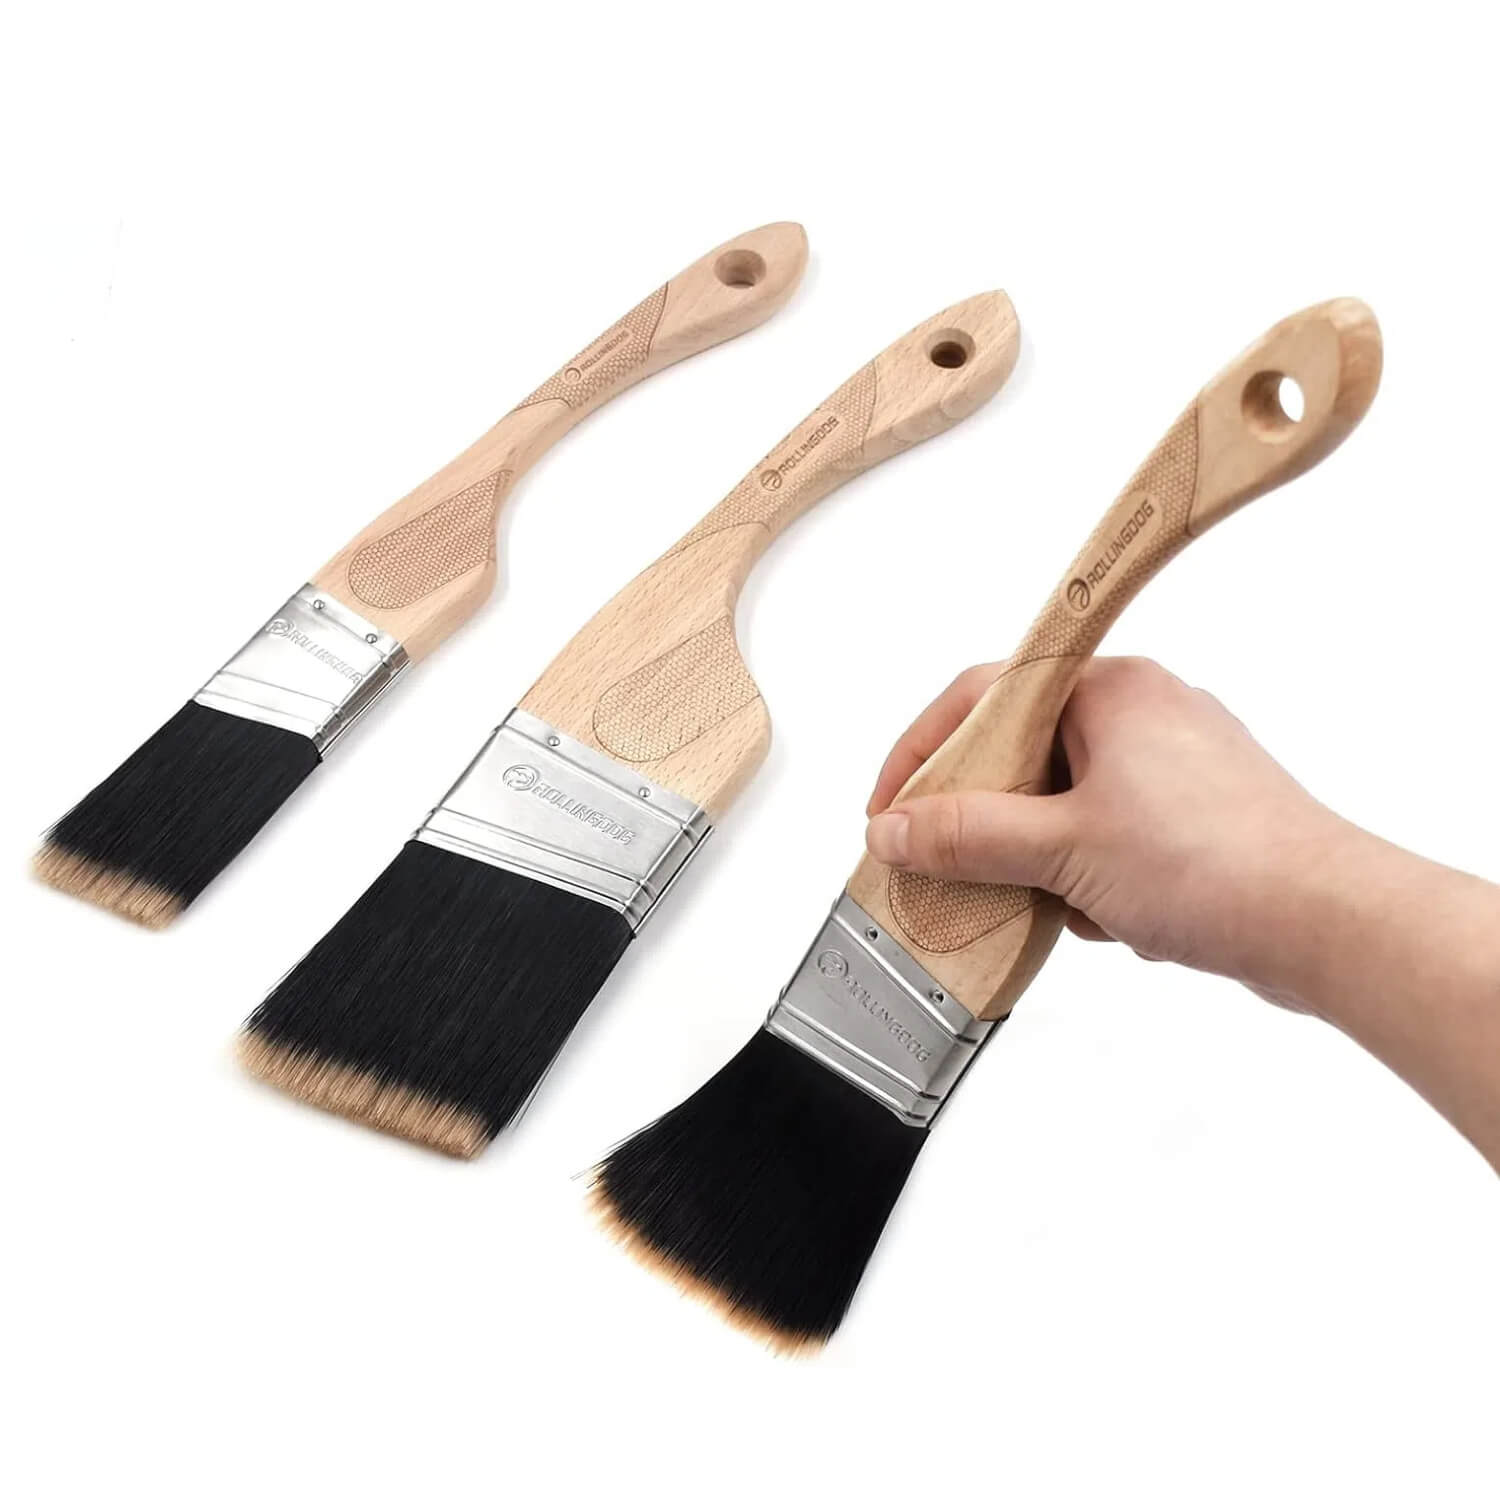
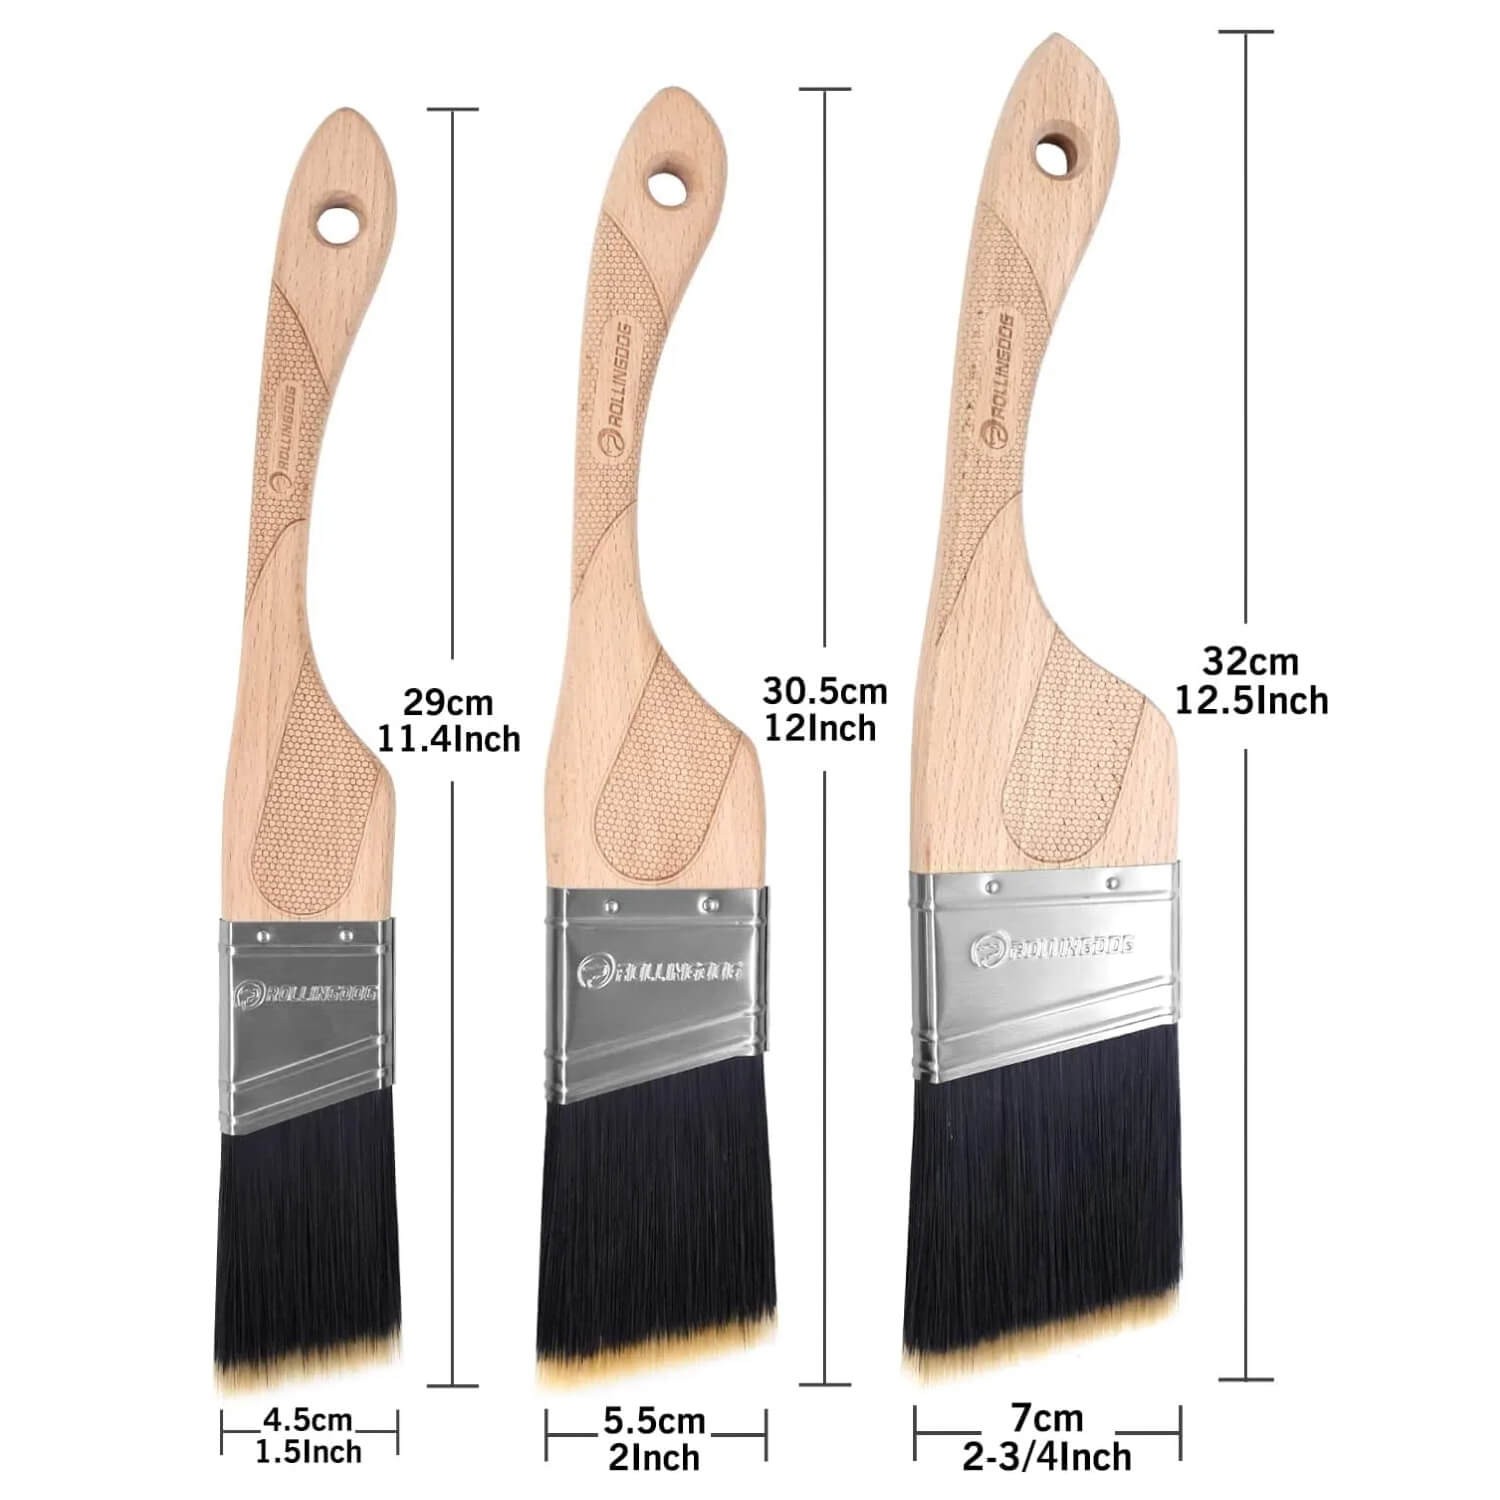
An angled sash brush is specifically designed for cutting in. The angled bristles make it easier to guide the brush precisely along edges and corners while maintaining control.
Drop Cloth
Even when painting carefully, small drips or splatters can occur. A drop cloth helps protect floors and nearby surfaces during the painting process.
Good Lighting
Proper lighting makes it easier to see where the edge of your paint line should be. Bright lighting improves accuracy when painting along trim, ceilings, and corners.
Step-by-Step: How to Cut in Paint Without Tape
Follow the steps below to cut in paint cleanly without using painter's tape.
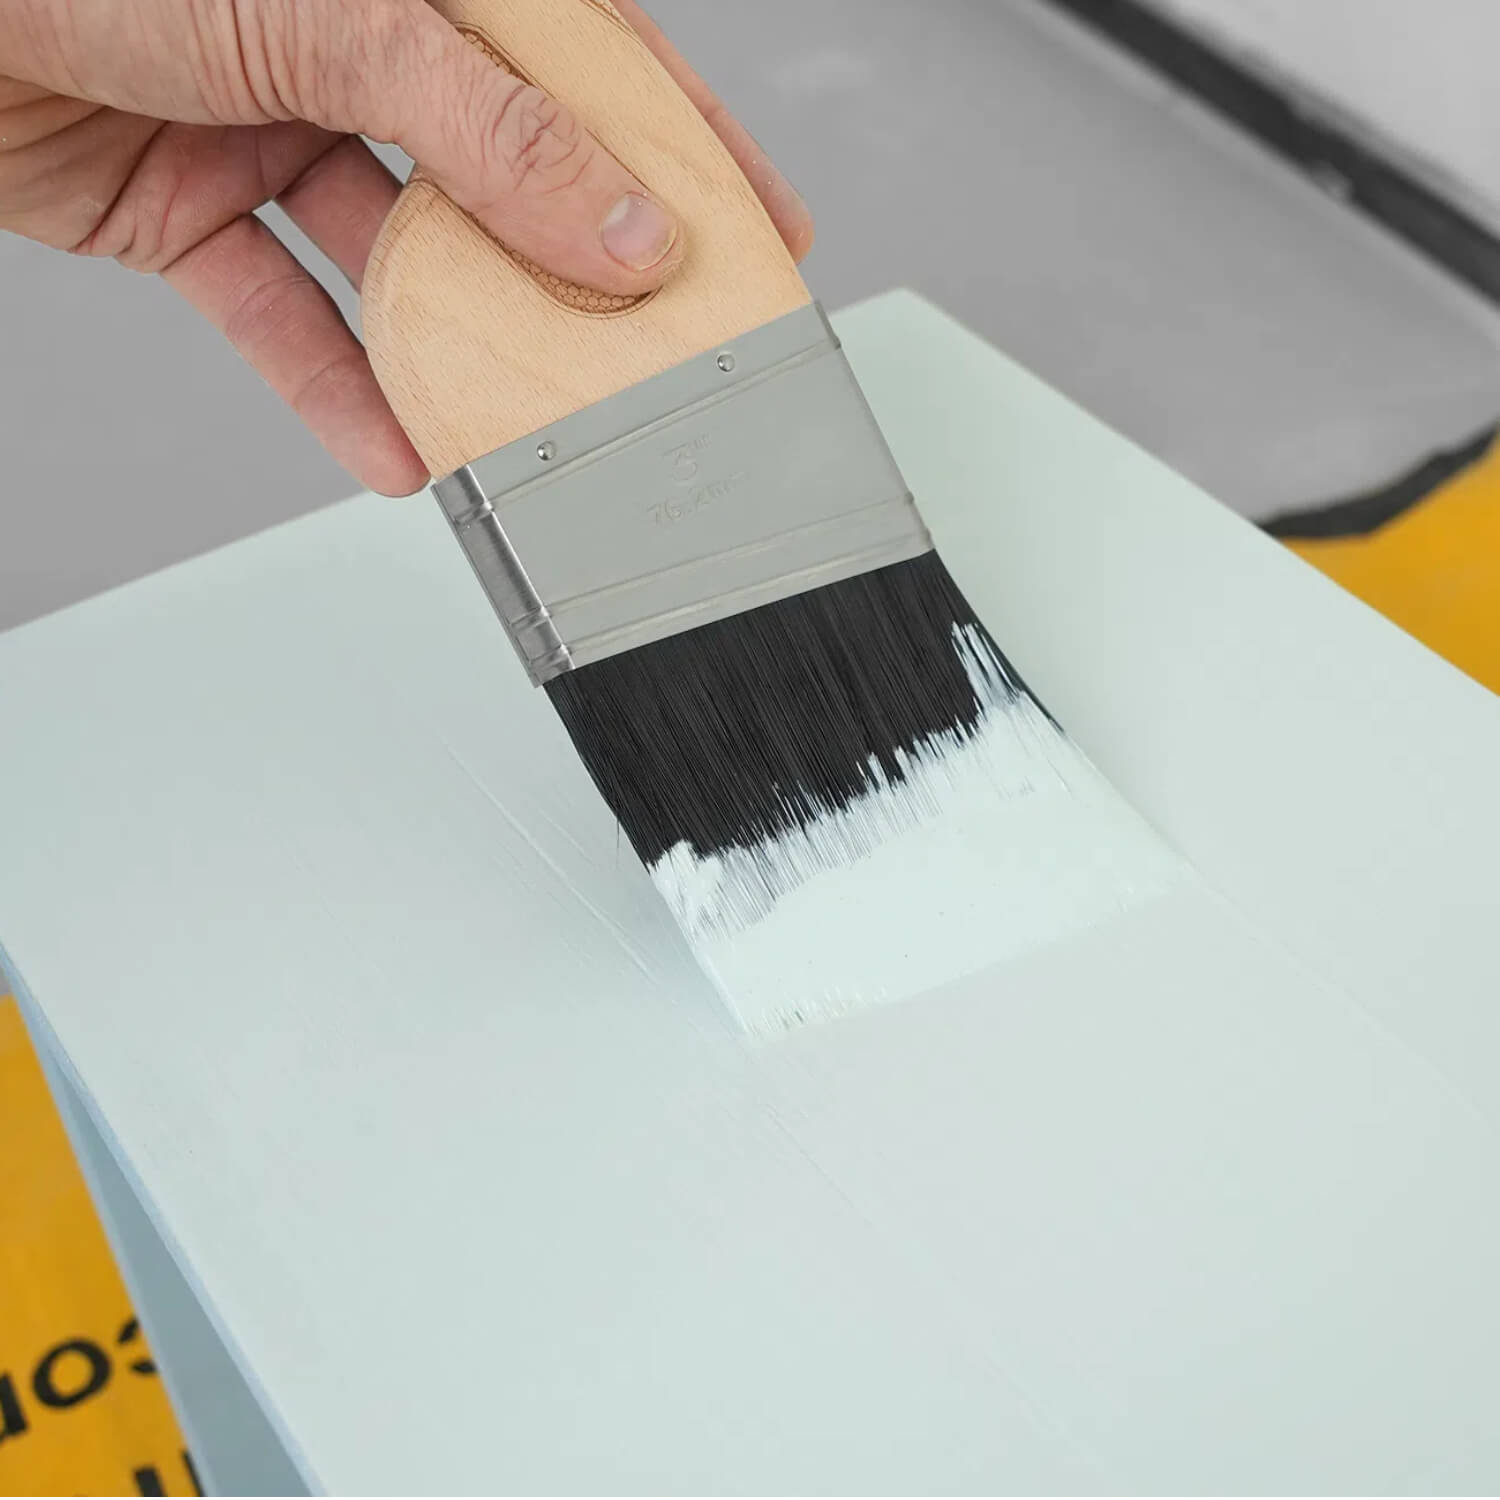
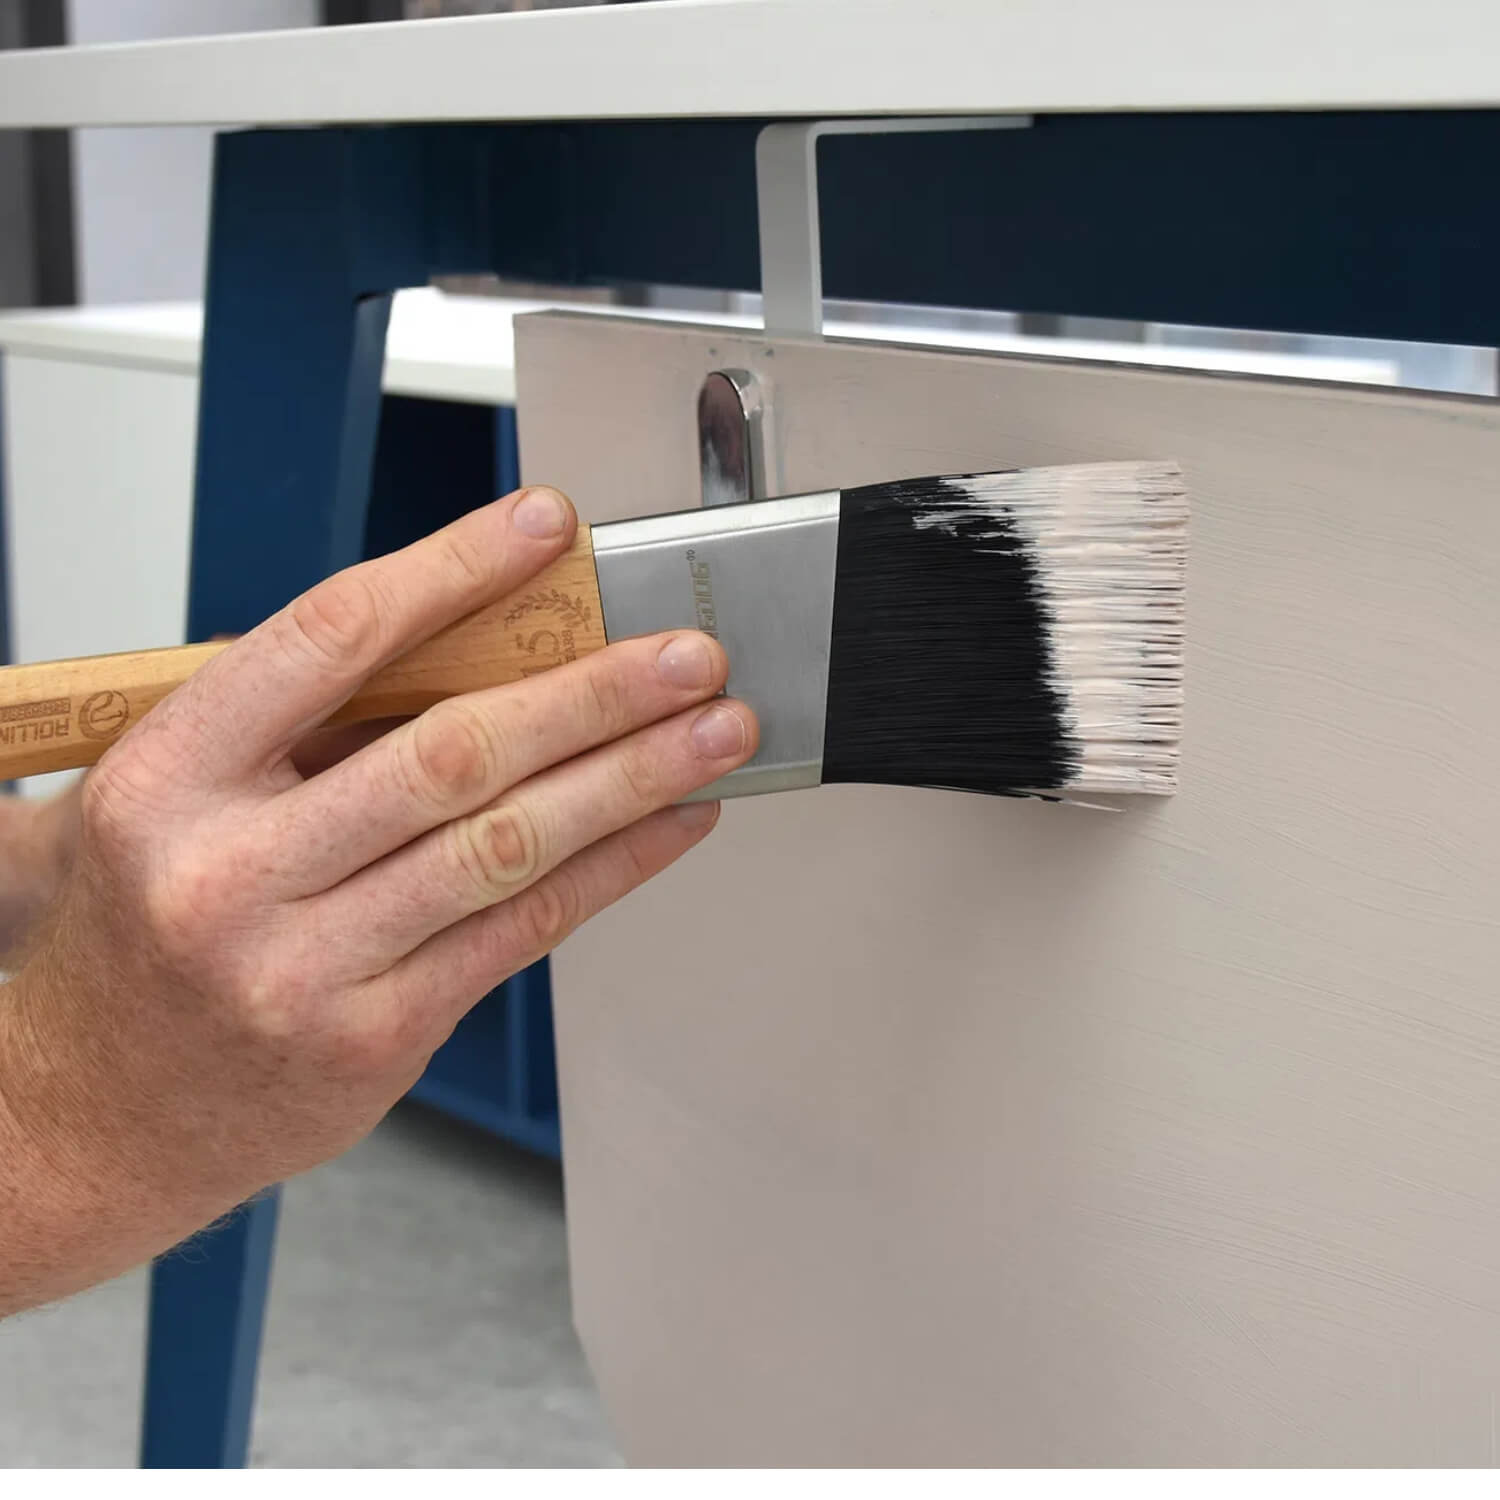
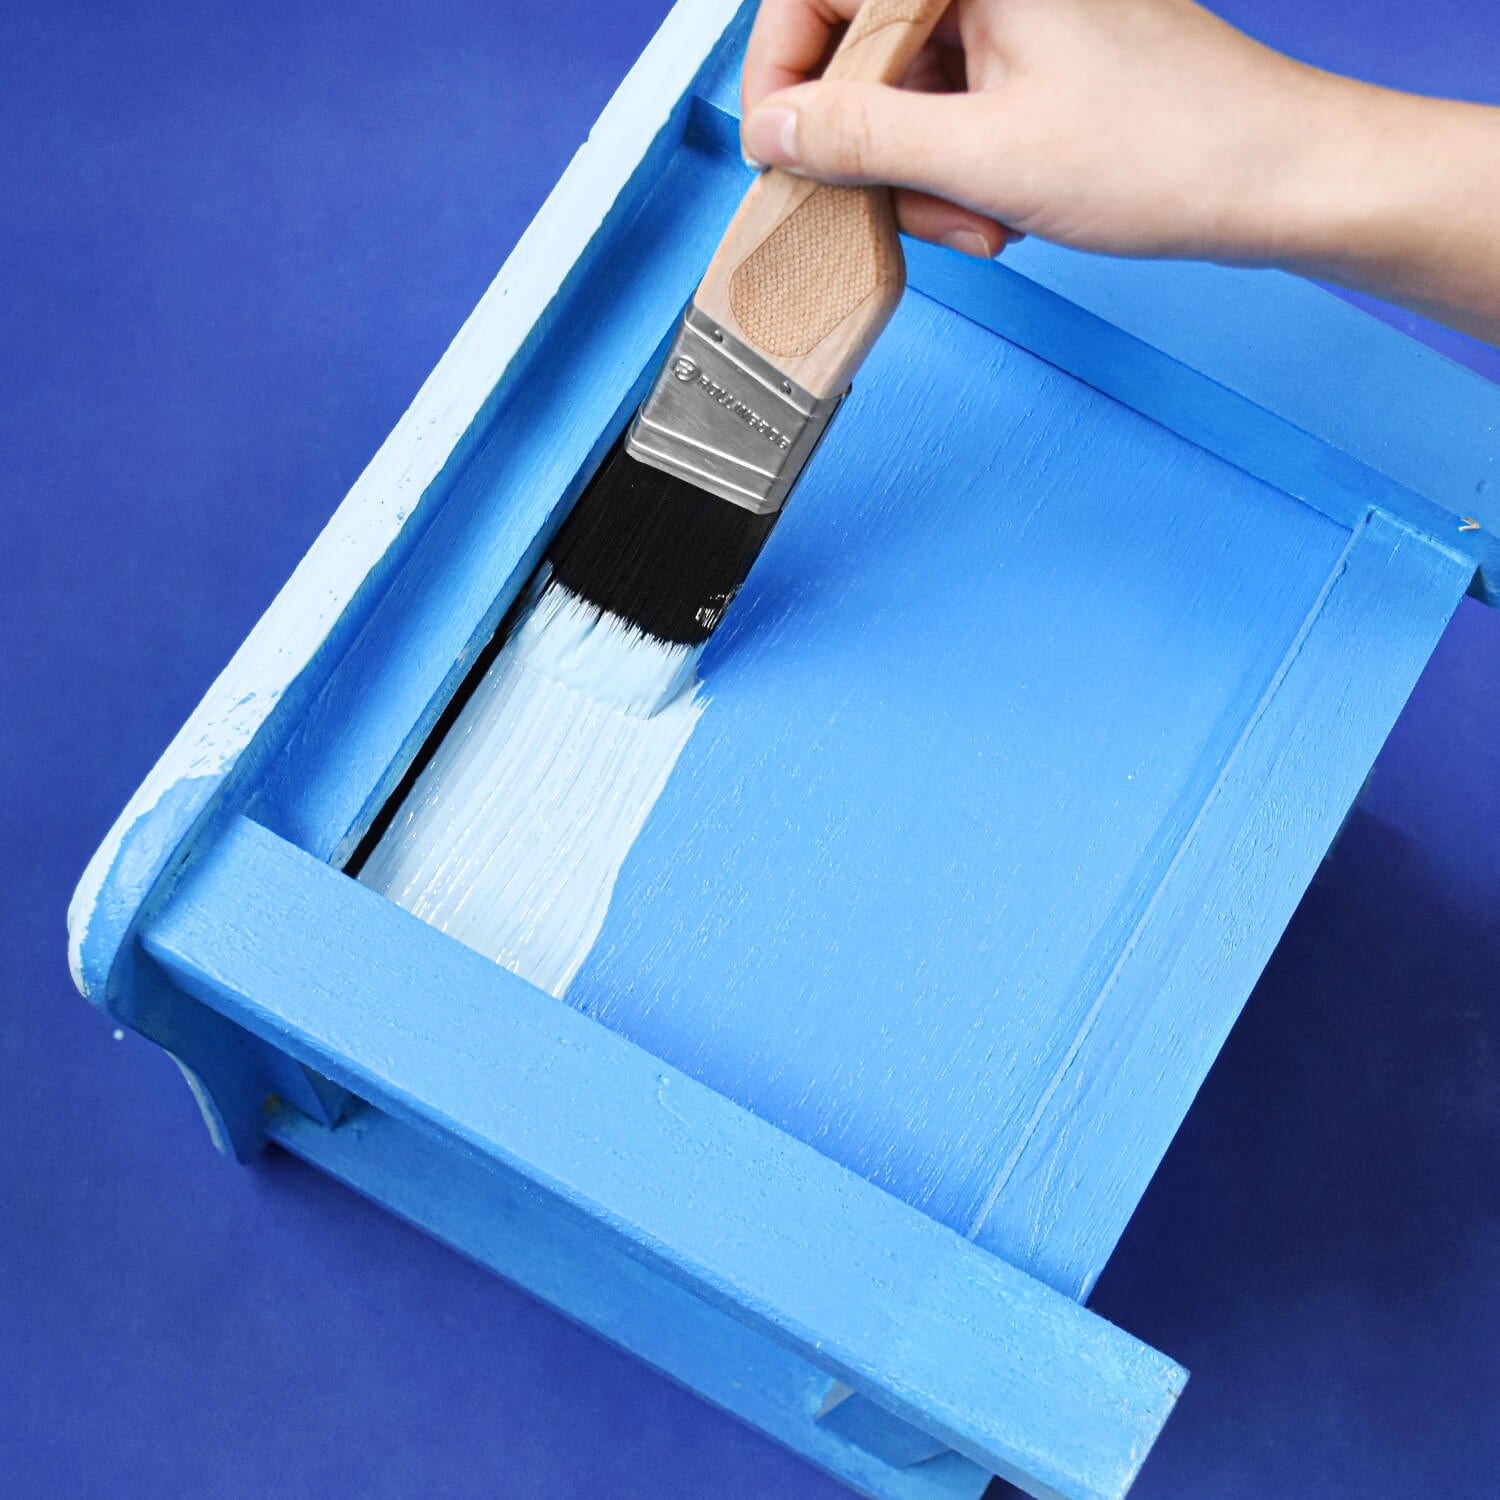
Step 1: Load the Brush Properly
Dip only the tip of the brush into the paint, then lightly tap the sides of the brush against the container to remove excess paint.
Avoid overloading the brush. Too much paint can make it harder to control the edge and may cause drips or uneven lines.
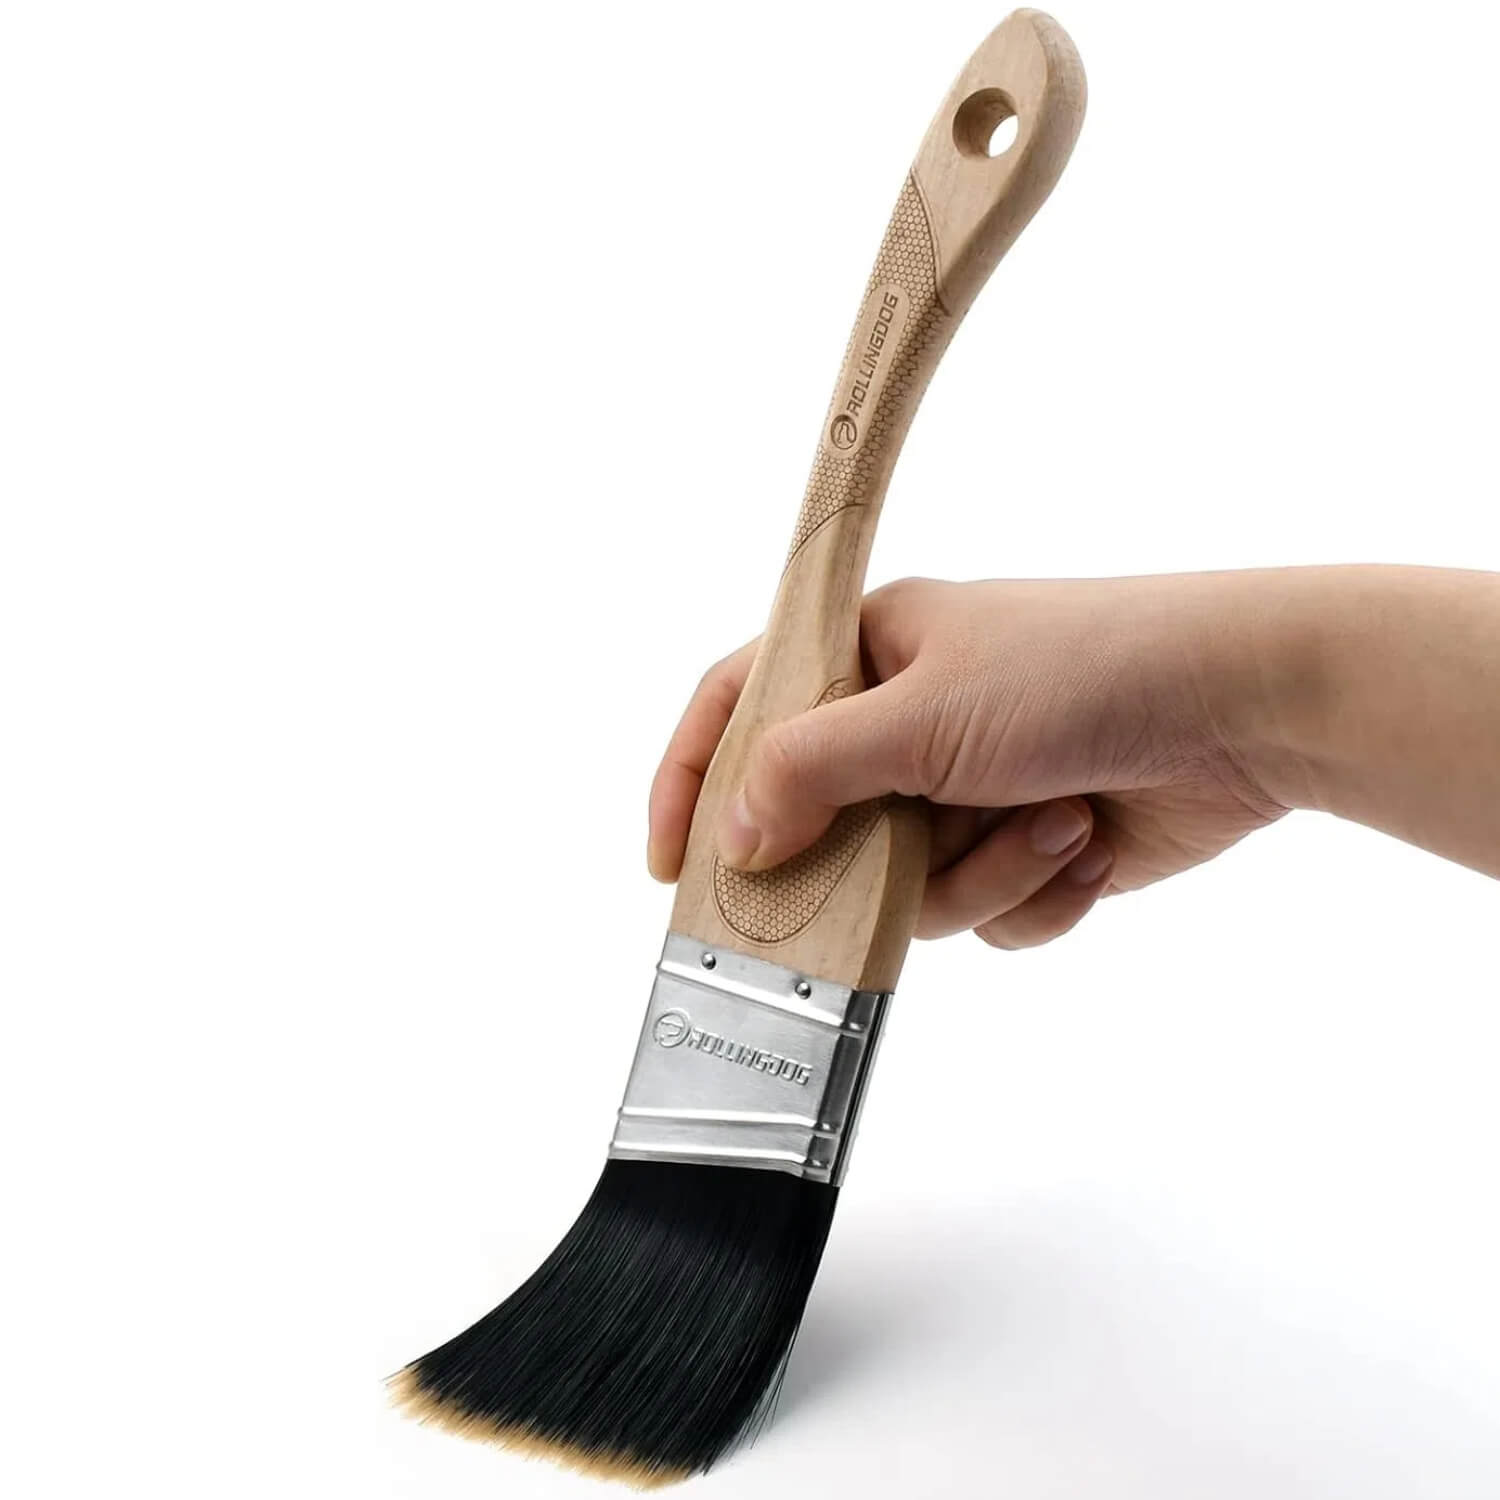
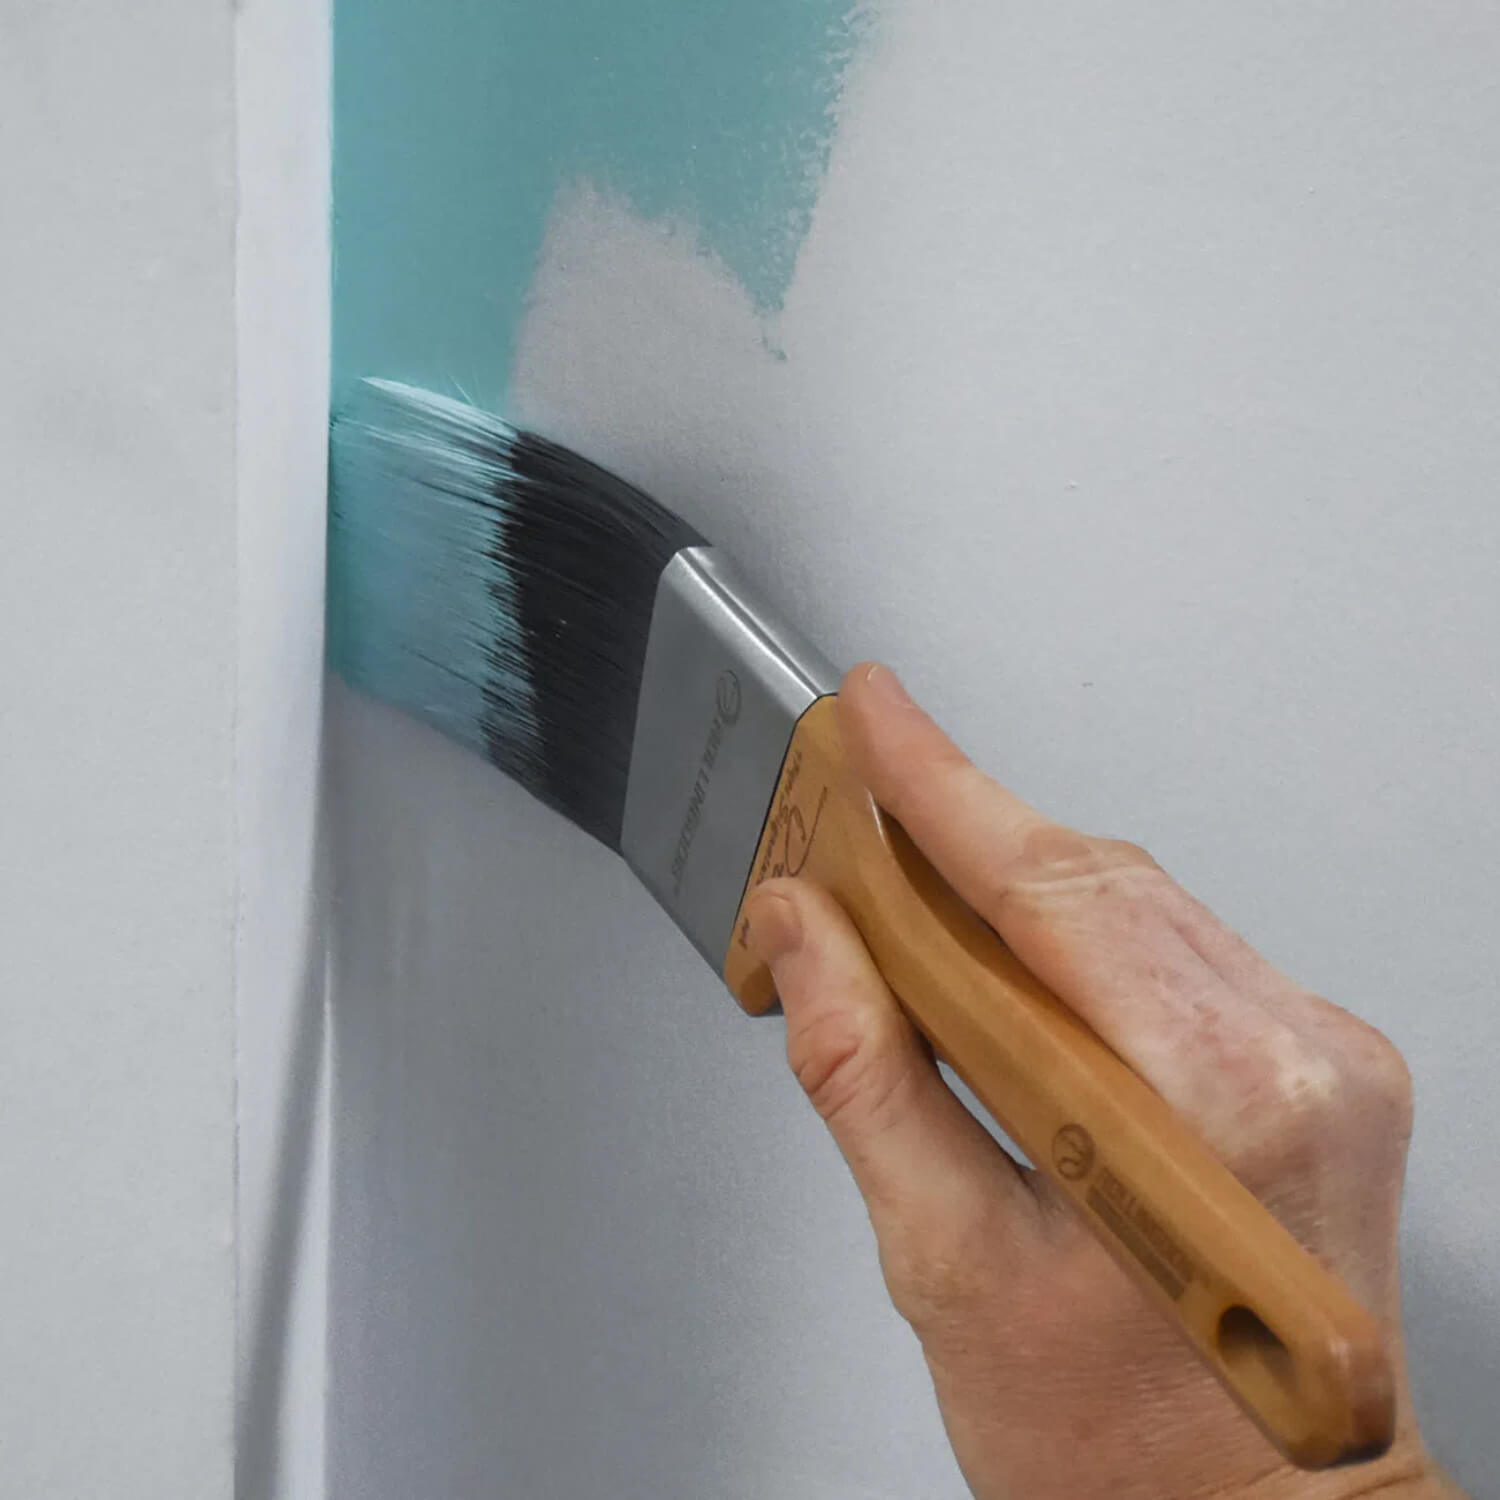
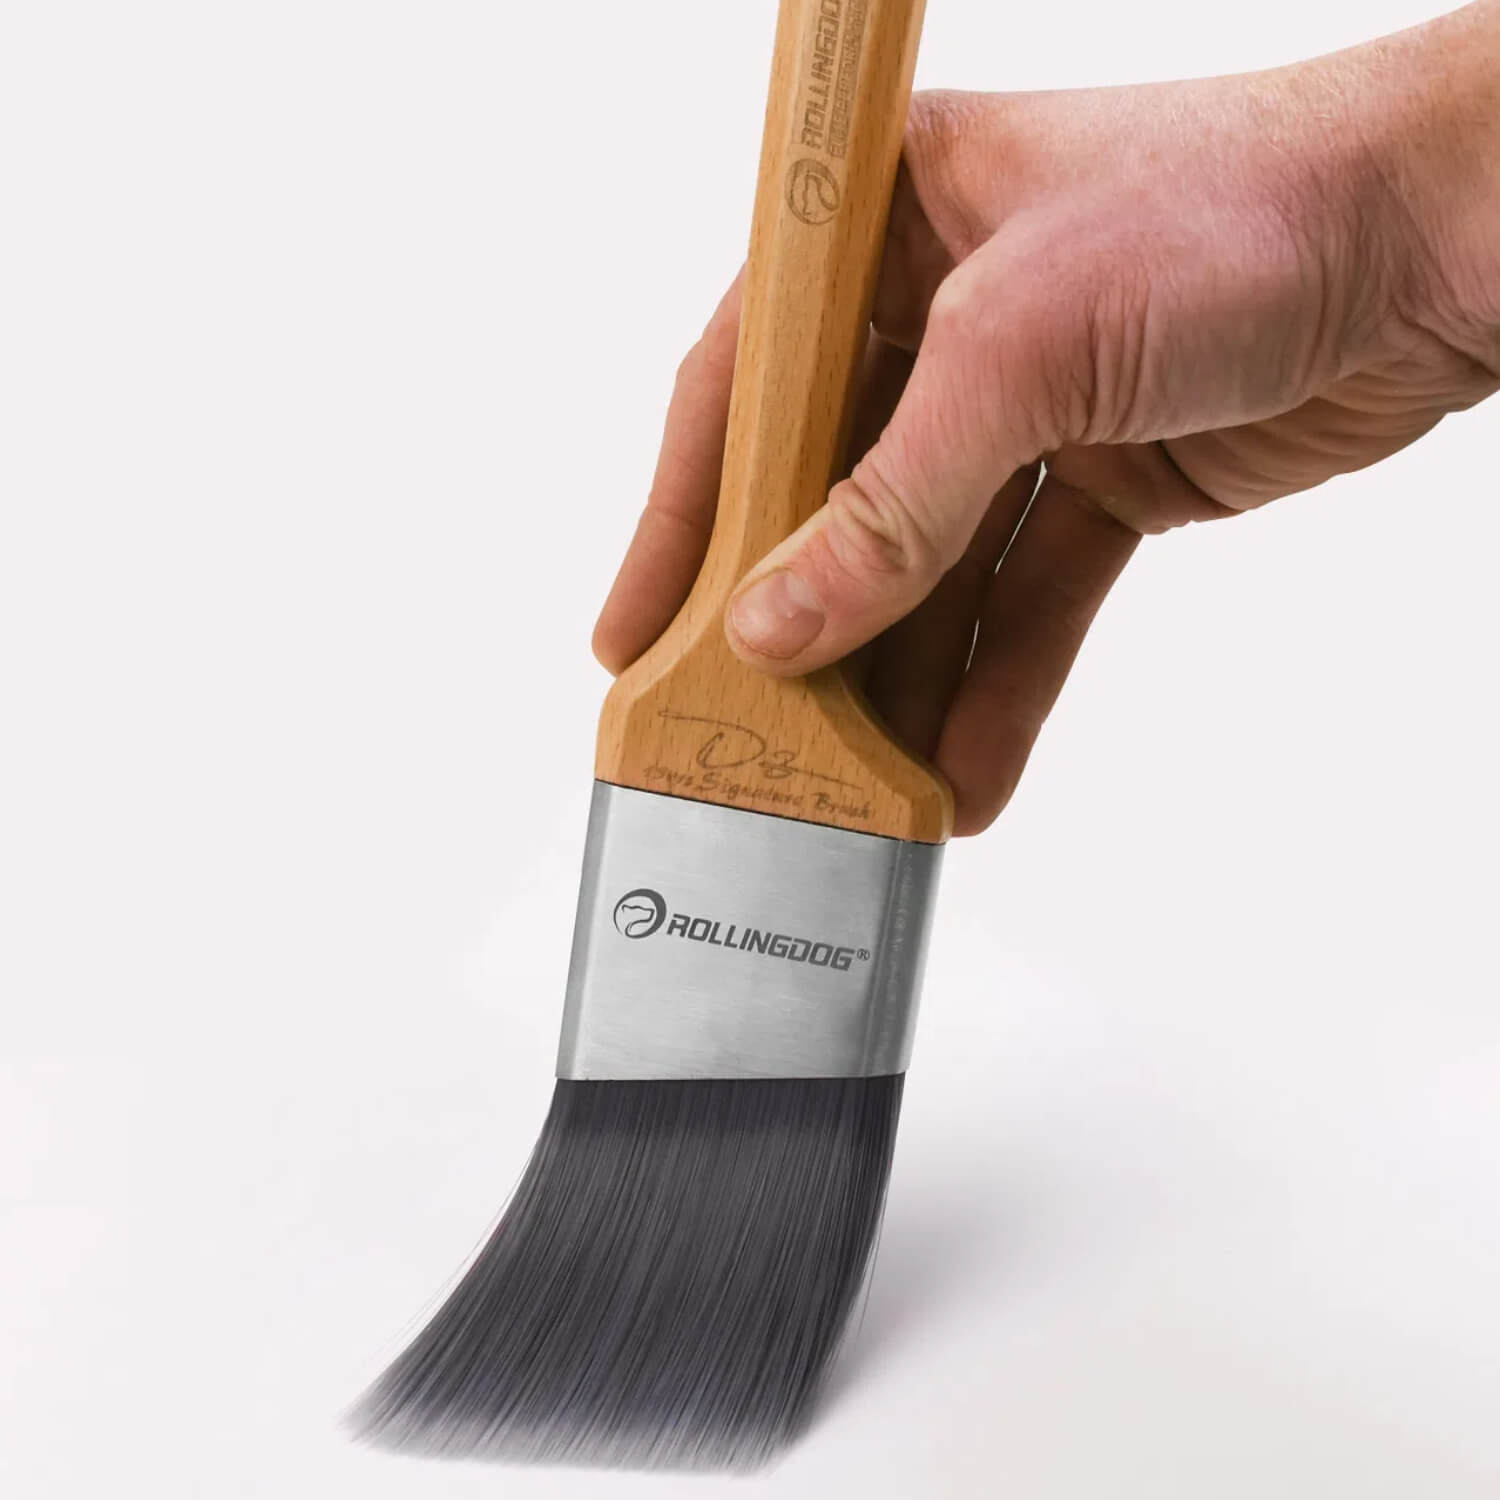
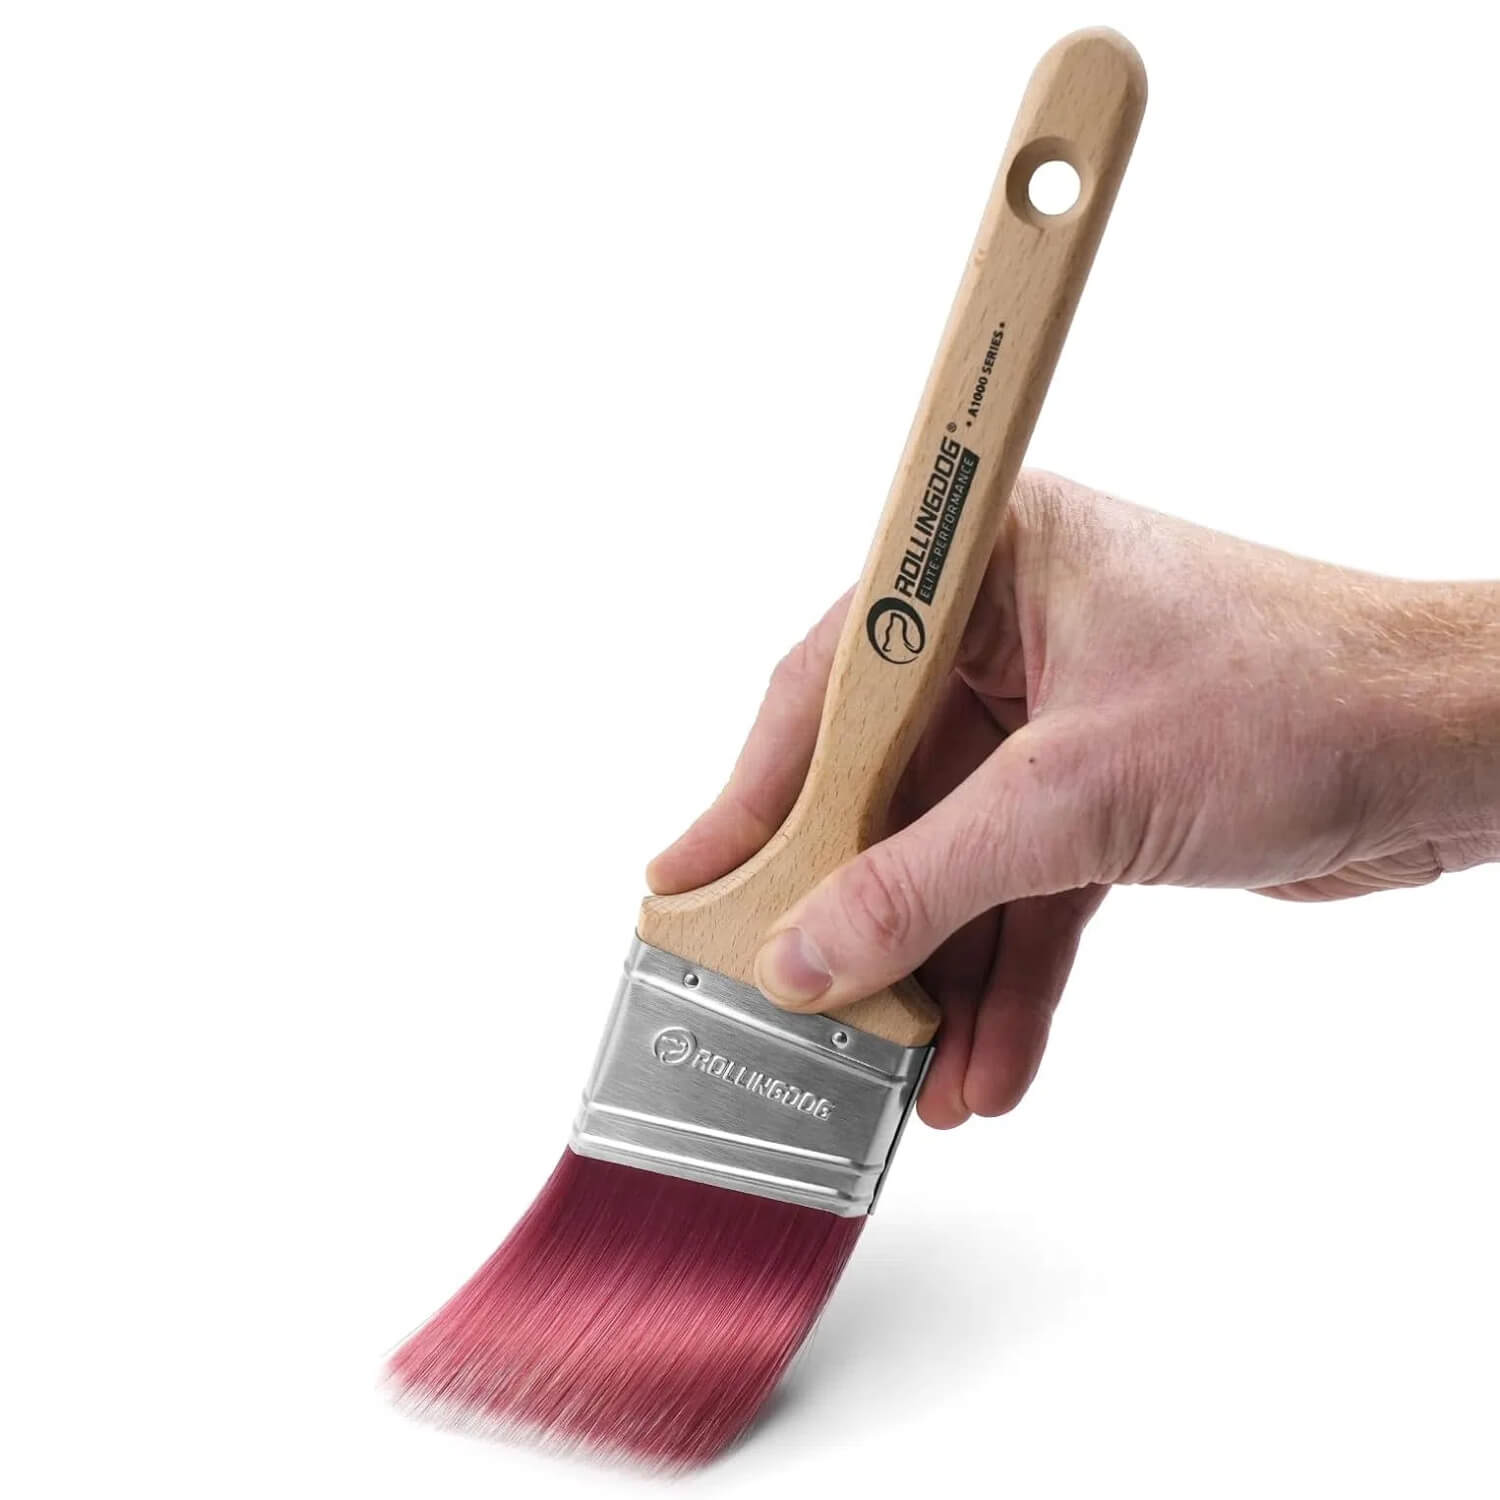
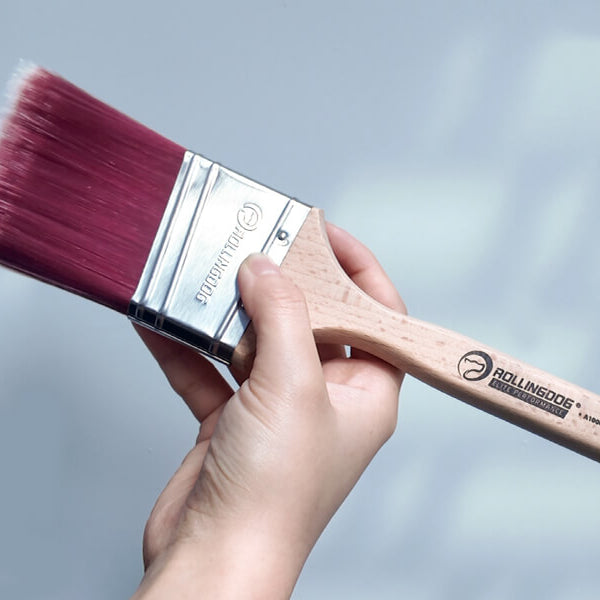
Step 2: Hold the Brush for Better Control
Hold the brush like a pencil with your fingers positioned close to the ferrule. This grip provides greater control when guiding the brush along an edge.
Step 3: Start Slightly Away from the Edge
Instead of beginning directly on the trim or ceiling line, start your first brush stroke slightly away from the edge.
This first pass helps distribute paint on the wall and allows the brush to glide more smoothly.
After that, guide the brush gradually toward the edge to create a clean line.
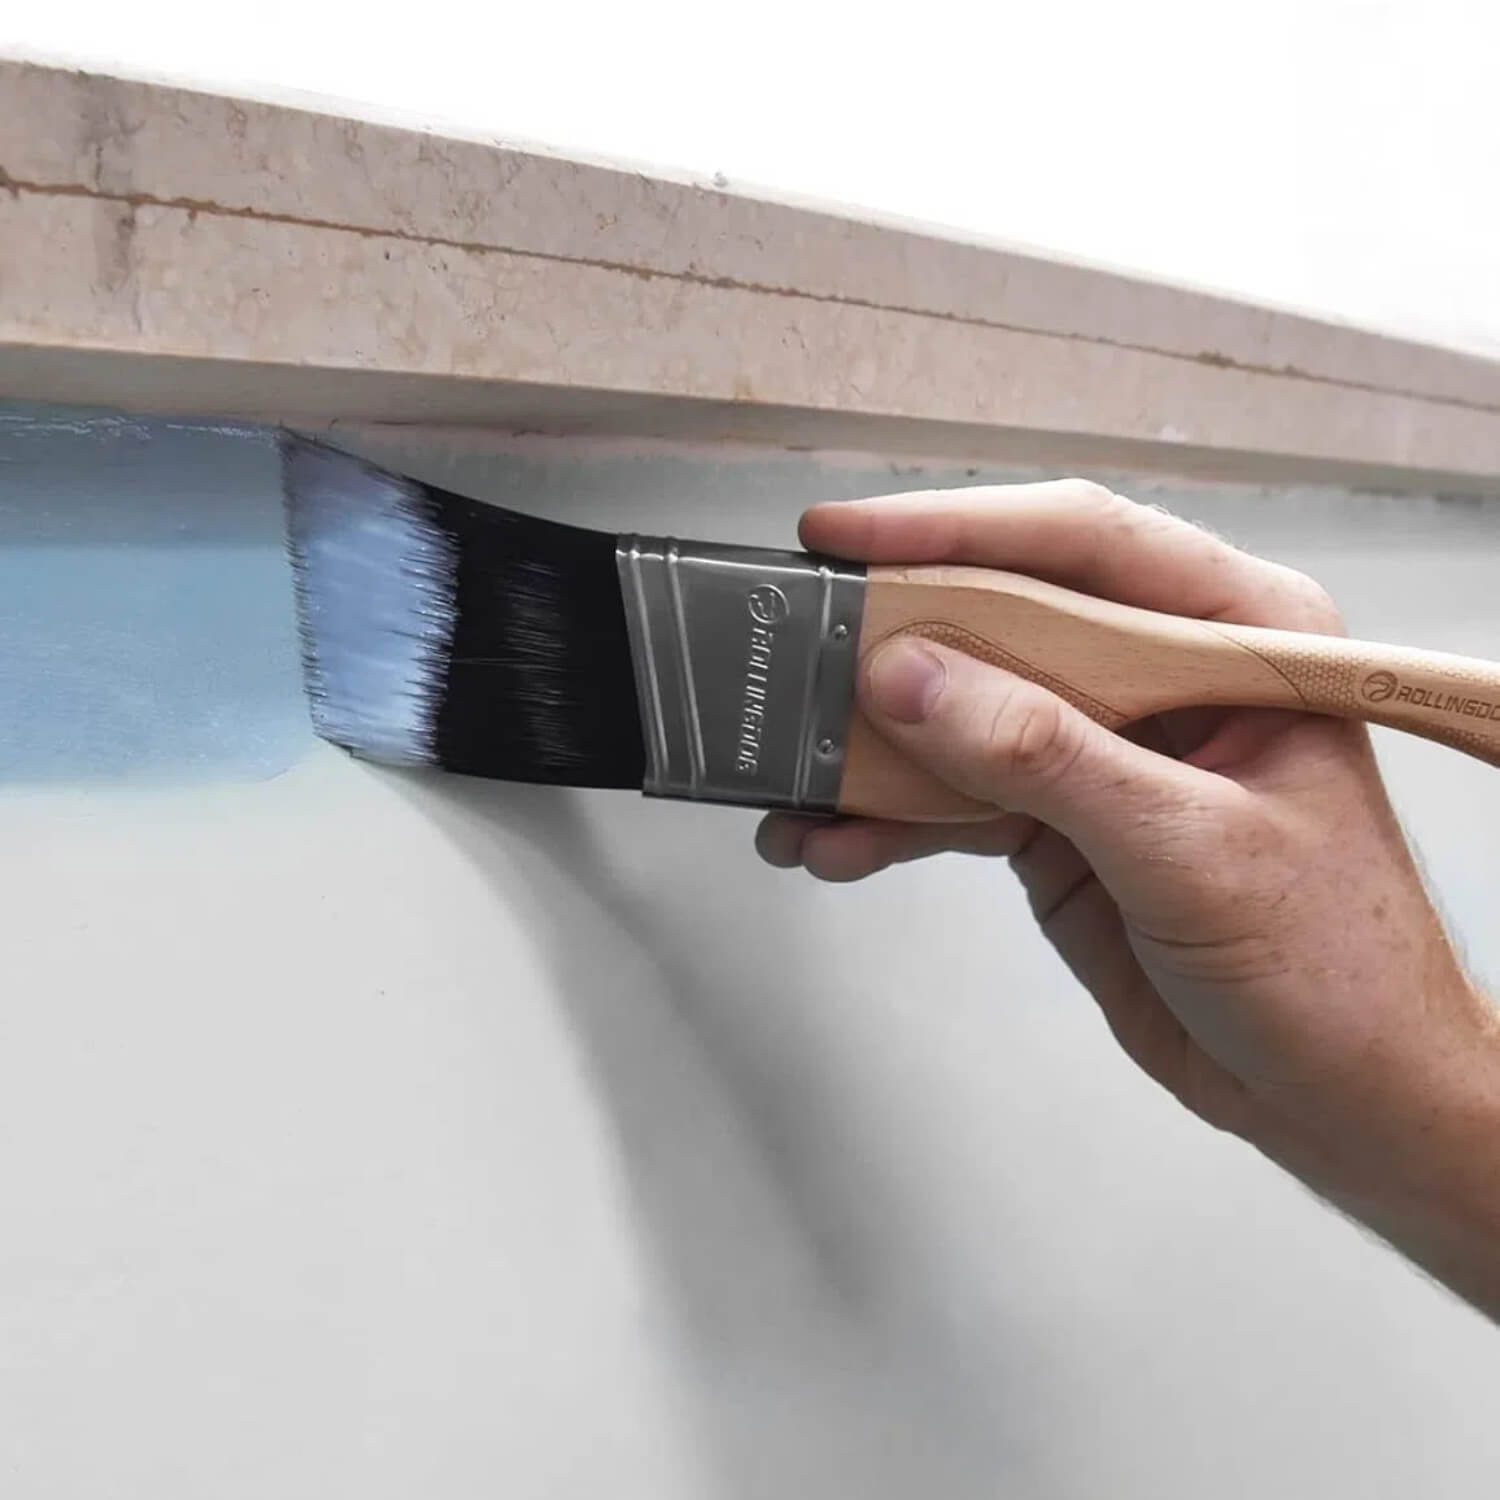
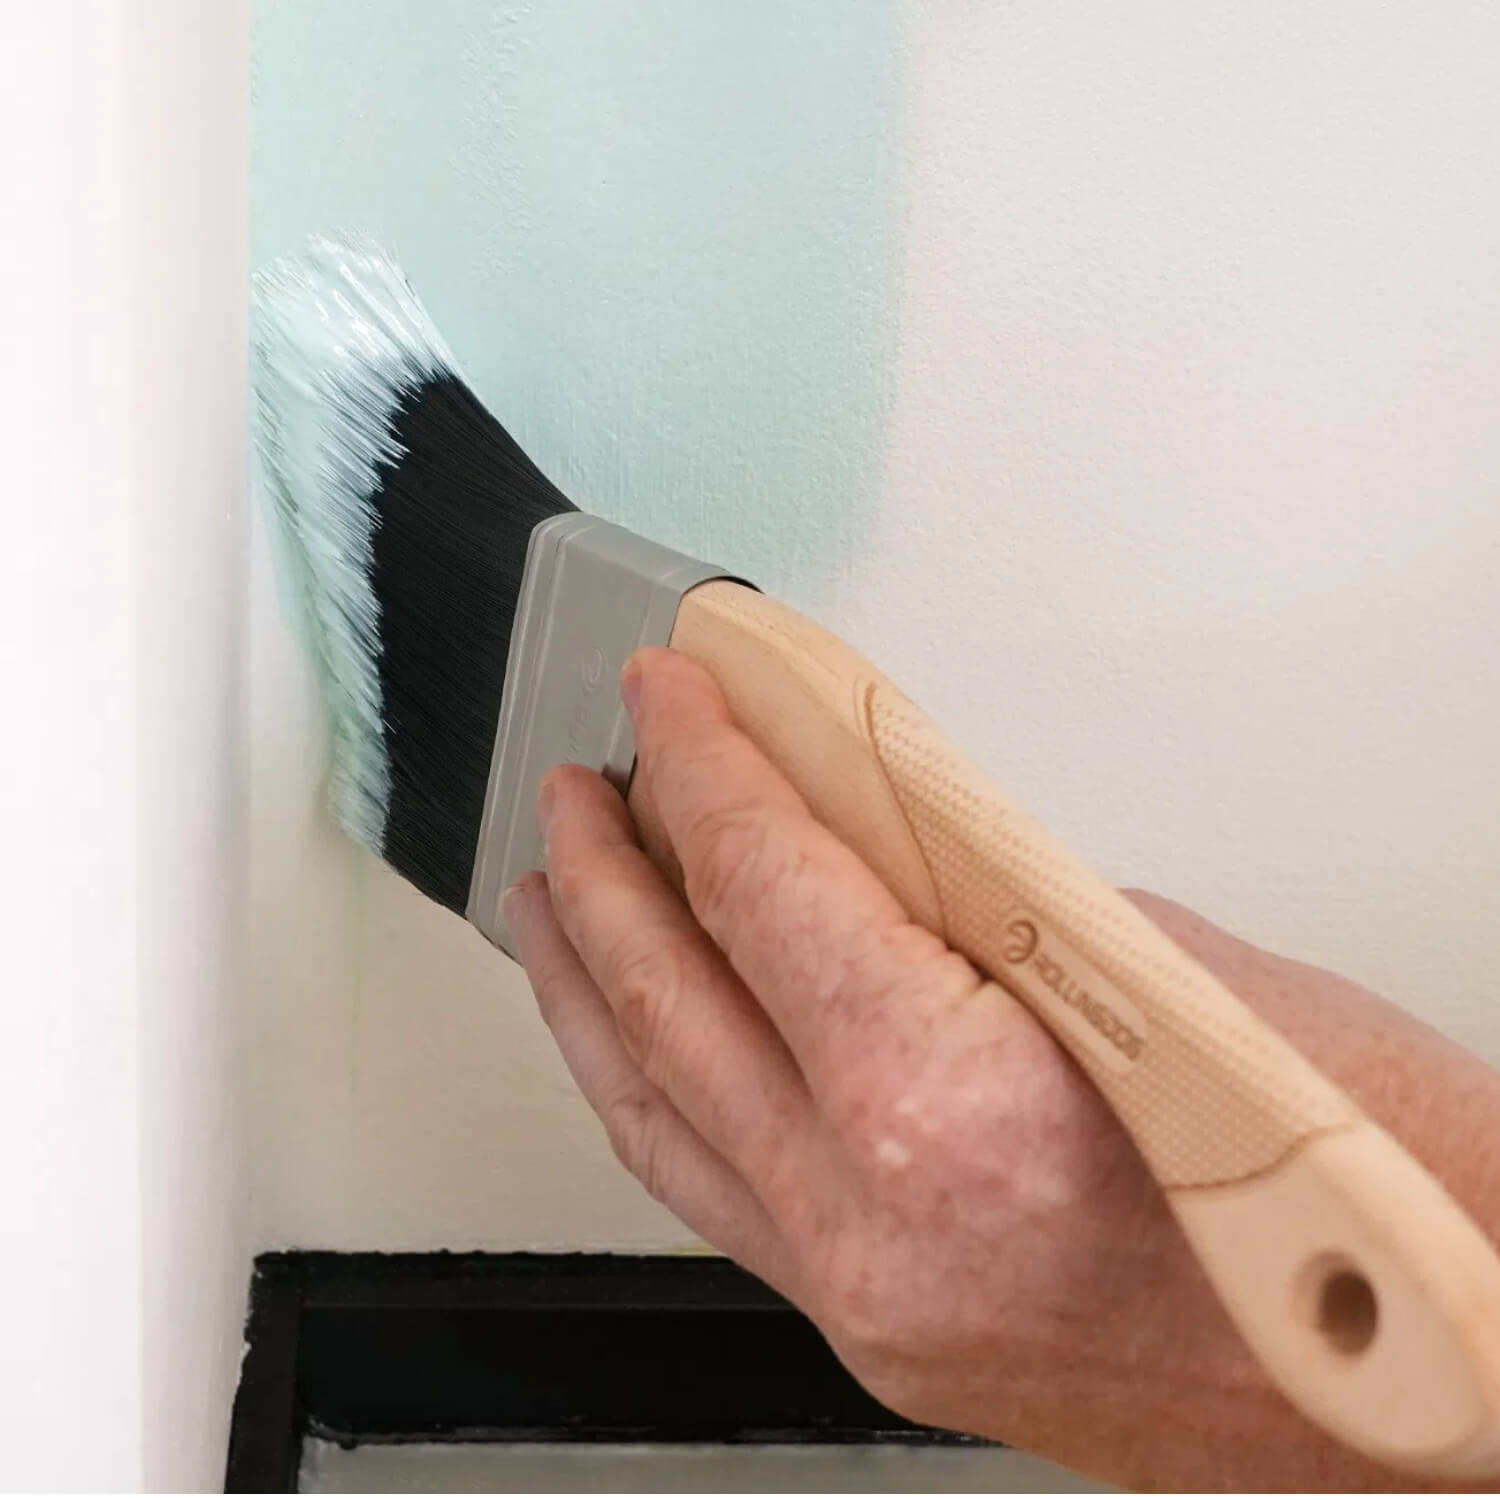
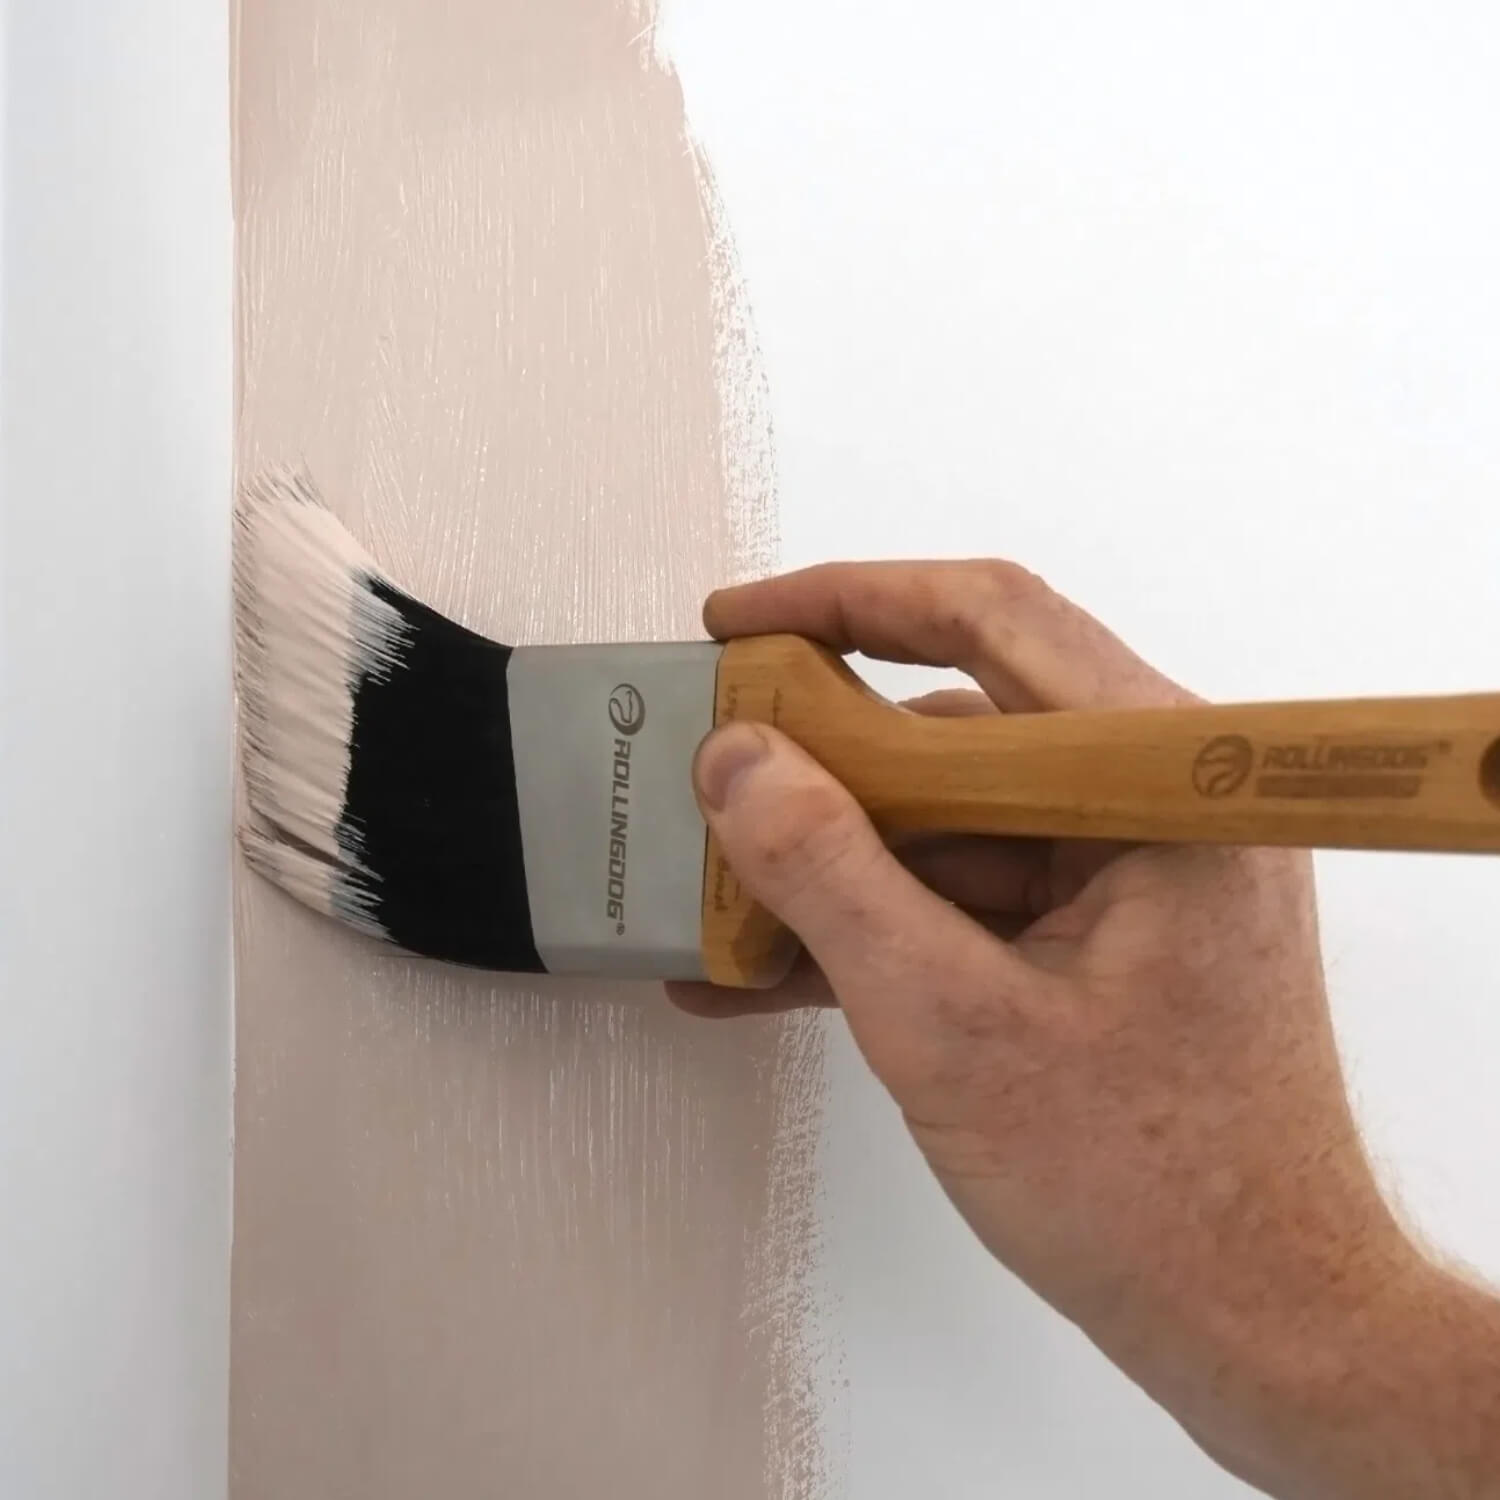
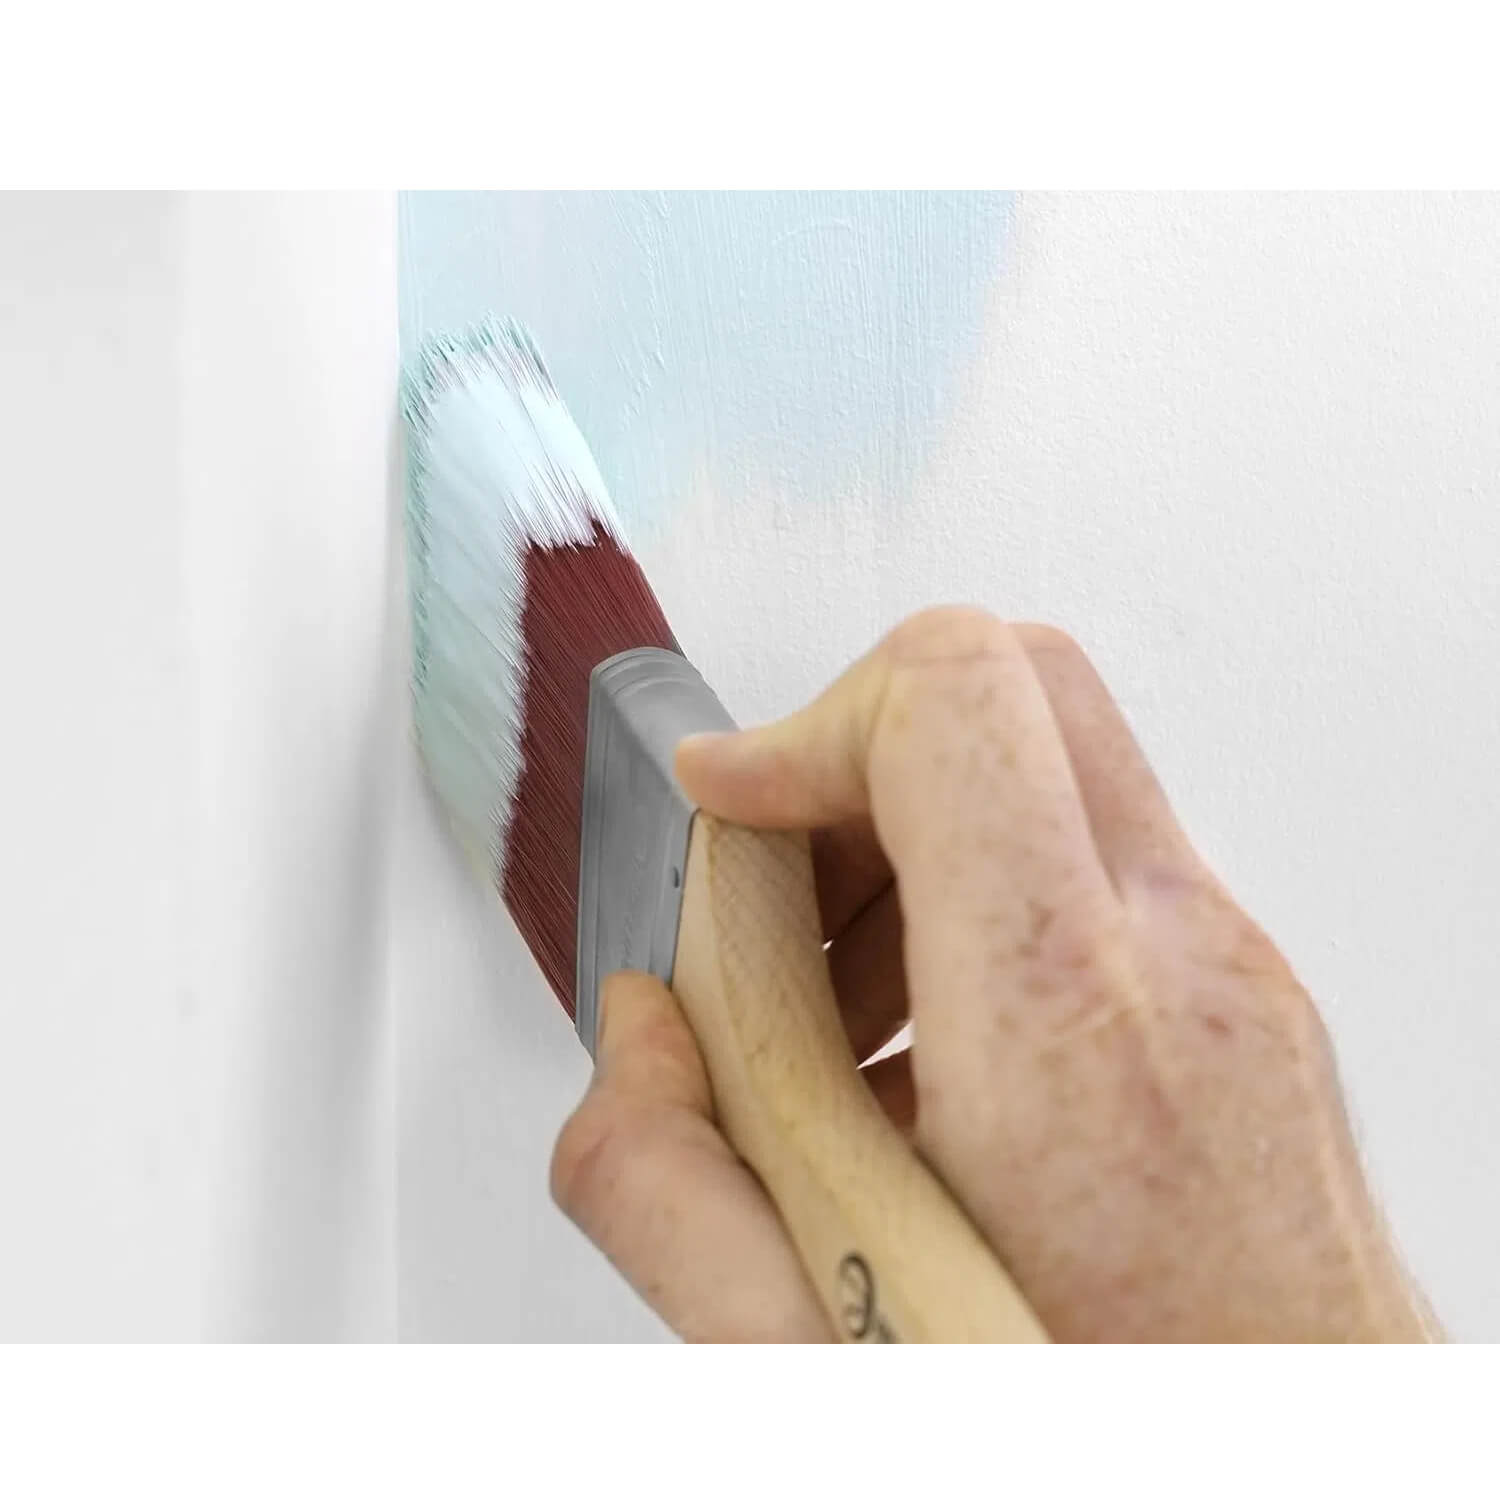
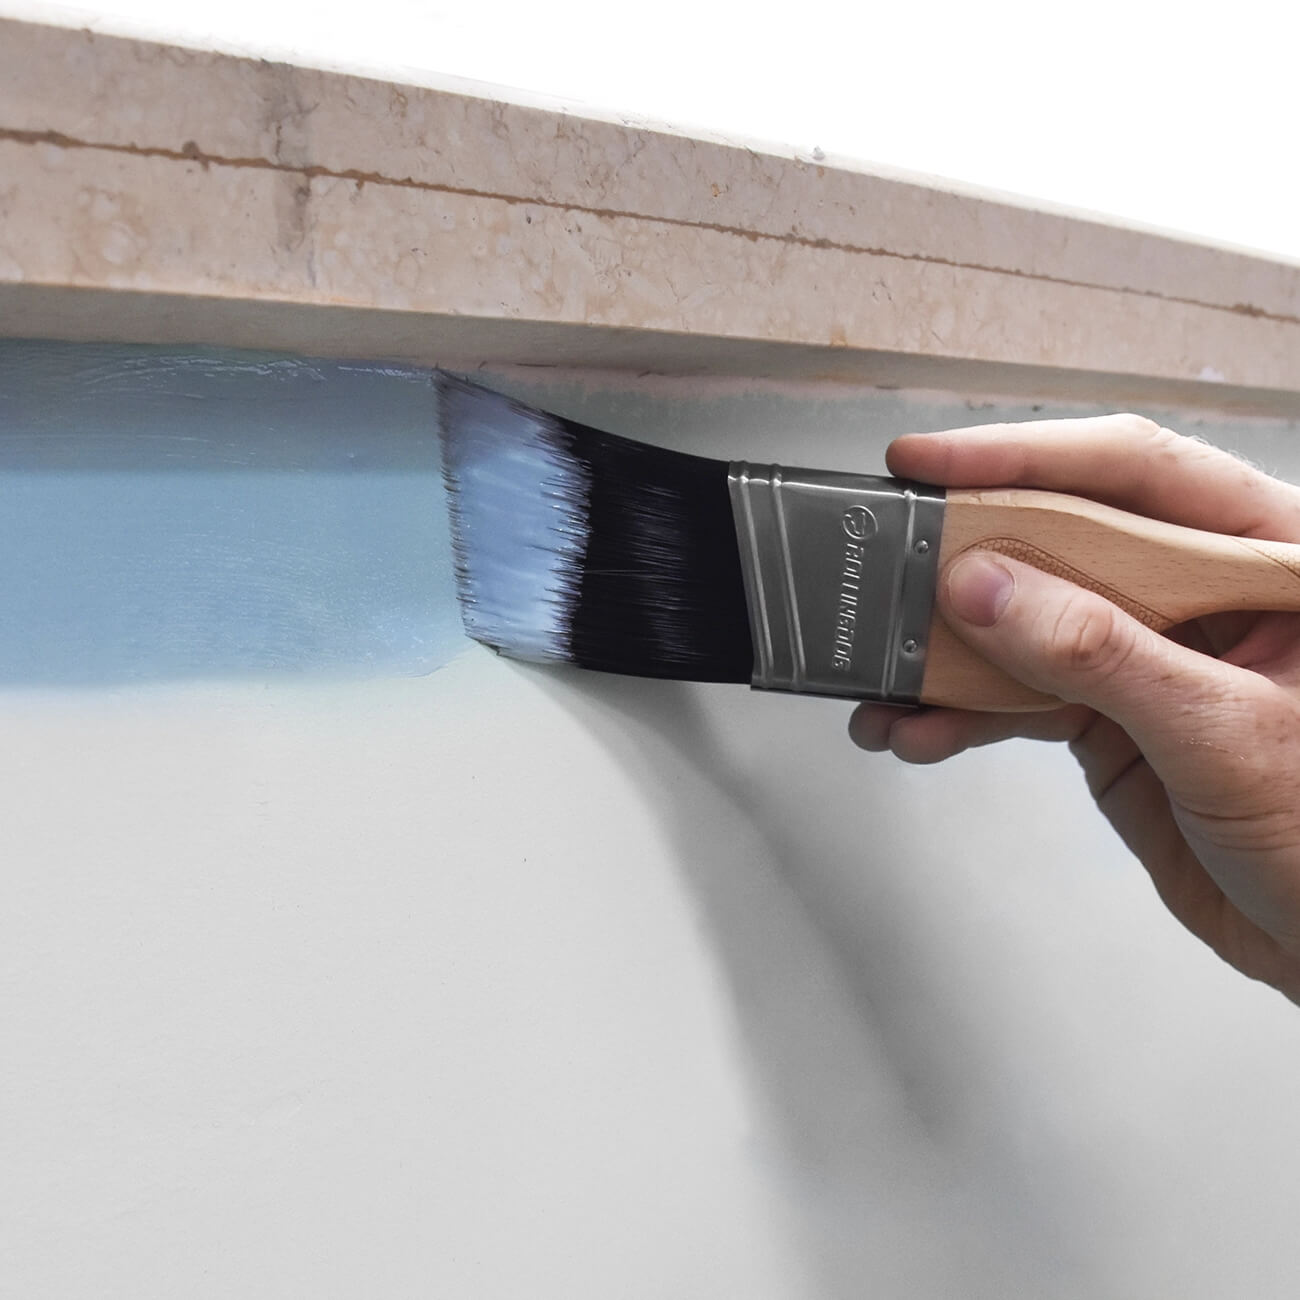
Step 4: Guide the Brush Along the Edge
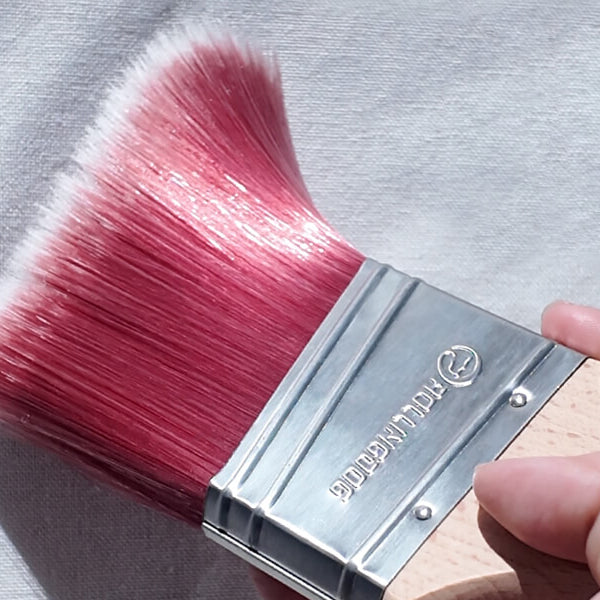
Use the narrow edge of the angled brush to guide the paint along the trim or corner.
Apply light, steady pressure and move the brush slowly along the edge using smooth strokes. The angled bristles make it easier to control the paint line while keeping the brush aligned with the edge.
Focus on controlling the tip of the bristles rather than pressing the entire brush against the surface.
Step 5: Work in Small Sections
Rather than trying to paint a long edge in one continuous stroke, work in short, manageable sections.
This approach helps maintain better control and ensures the brush always carries enough paint for a smooth finish.
Learning how to cut in paint without tape can save time and simplify your painting projects. By using a high-quality angled brush, controlling the amount of paint on the brush, and working in small sections, you can achieve clean and precise paint lines.
With a little patience and the right technique, cutting in becomes an efficient way to paint edges around ceilings, trim, and corners while maintaining a professional-looking finish.